As an Amazon Associate KitchenwareSets.com earns from qualifying purchases.
13 Dream Cottage Kitchen Ideas to Create Your Perfect Cozy Space
Feeling overwhelmed by the sleek, cold lines of your modern kitchen? Do you scroll through images of cozy, inviting spaces and wish your kitchen felt less like a showroom and more like the true heart of your home? You’re not alone. Many homeowners find that while modern kitchens are functional, they can sometimes lack the warmth, personality, and soulful charm that makes a house feel like a haven.
This feeling of disconnect is common. The focus on minimalism, integrated appliances, and glossy surfaces can inadvertently create a space that feels sterile or impersonal. You want a kitchen that invites you to linger over a cup of coffee, one where imperfections tell a story, and every corner radiates a sense of comfort. You’re craving a retreat from the noise of the world, a timeless space that feels both nostalgic and perfectly suited for today.
The solution is to embrace the principles of a cottage kitchen, which emphasizes warmth, coziness, and a lived-in feel. It’s a design style that blends rustic charm with practical function, using natural materials like wood and stone, soft color palettes, vintage-inspired hardware, and personal, decorative touches to create an authentic and inviting atmosphere. We’ve spent years analyzing what makes a kitchen truly feel like the heart of a home, and the timeless principles of cottage design are always at the core. Get ready to transform your space with 13 actionable ideas that are both inspirational and achievable.
The Core Ingredients of a Cottage Kitchen
Before diving into specific ideas, it’s helpful to understand the foundational pillars of the style. The key elements of a cottage kitchen are natural materials, soft color palettes, vintage finishes, and functional charm. Based on analysis of hundreds of successful cottage designs, these core elements consistently appear, forming the bedrock of the style.
- Natural Materials: Think reclaimed wood for shelving, butcher block for countertops, and woven textiles for warmth. Stone, ceramic, and linen are staples.
- Soft & Muted Color Palettes: The look is built on creamy whites, soft blues, sage greens, and warm taupes that create a serene and welcoming vibe.
- Vintage & Simple Finishes: Details matter. Aged brass or matte black hardware, simple faucets, and collected decor contribute to the “perfectly imperfect” aesthetic.
- Functional Charm: The beauty of a cottage kitchen is in its practicality. Open shelving for frequently used dishes, freestanding furniture, and apron-front sinks are both beautiful and hardworking.
13 Dream Cottage Kitchen Ideas to Create Your Perfect Cozy Space
Ready to create the cozy kitchen of your dreams? Here’s the deal: transforming your space doesn’t have to be an all-or-nothing renovation. It’s about layering textures, choosing the right colors, and adding personal touches that tell your story. These 13 ideas are curated from celebrated designers and real-life home renovations, offering proven strategies for achieving an authentic cottage feel. You can mix, match, and adapt them for any kitchen size or budget to create a space that is uniquely yours.
1. Embrace Natural Materials for Timeless Warmth
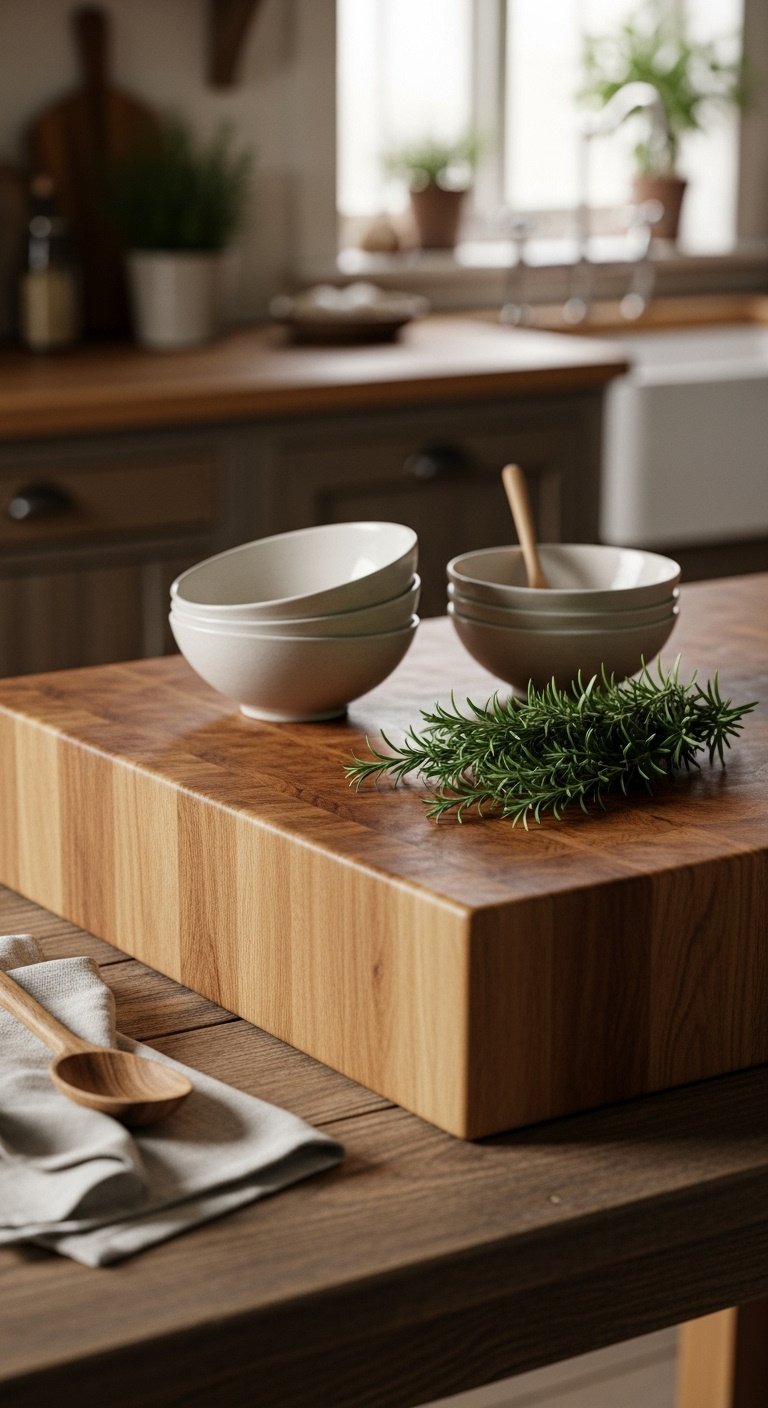
The fastest way to build the foundation of a cottage kitchen is to incorporate natural materials like wood and stone. These elements add immediate warmth, texture, and a sense of history that painted surfaces alone cannot replicate. From countertops to shelving, these materials are the cornerstone of the aesthetic.
- Materials Needed: Reclaimed wood planks for shelving, butcher block countertop, natural stone tiles, penetrating sealer for wood/stone, brass shelf brackets.
- Step-by-Step Directions:
- Source Your Materials: Visit a local lumberyard or architectural salvage for reclaimed wood and stone. Choose a durable wood like maple or oak for butcher block.
- Install Countertops: If replacing countertops, have a professional install the butcher block for a perfect fit.
- Seal All Surfaces: Apply a food-safe penetrating sealer to the butcher block and any natural stone to protect against stains and moisture. Reapply as needed, typically every 6-12 months.
- Add Shelving: Install reclaimed wood shelves using vintage-style brass or iron brackets for a rustic, open feel.
Pro-Tip: When choosing reclaimed wood, look for pieces with character like nail holes or saw marks, but ensure they are properly cleaned, sanded, and sealed to be safe for a kitchen environment.
Pin this natural material inspiration for your dream kitchen board!
2. Incorporate Unique & Cheerful Tile
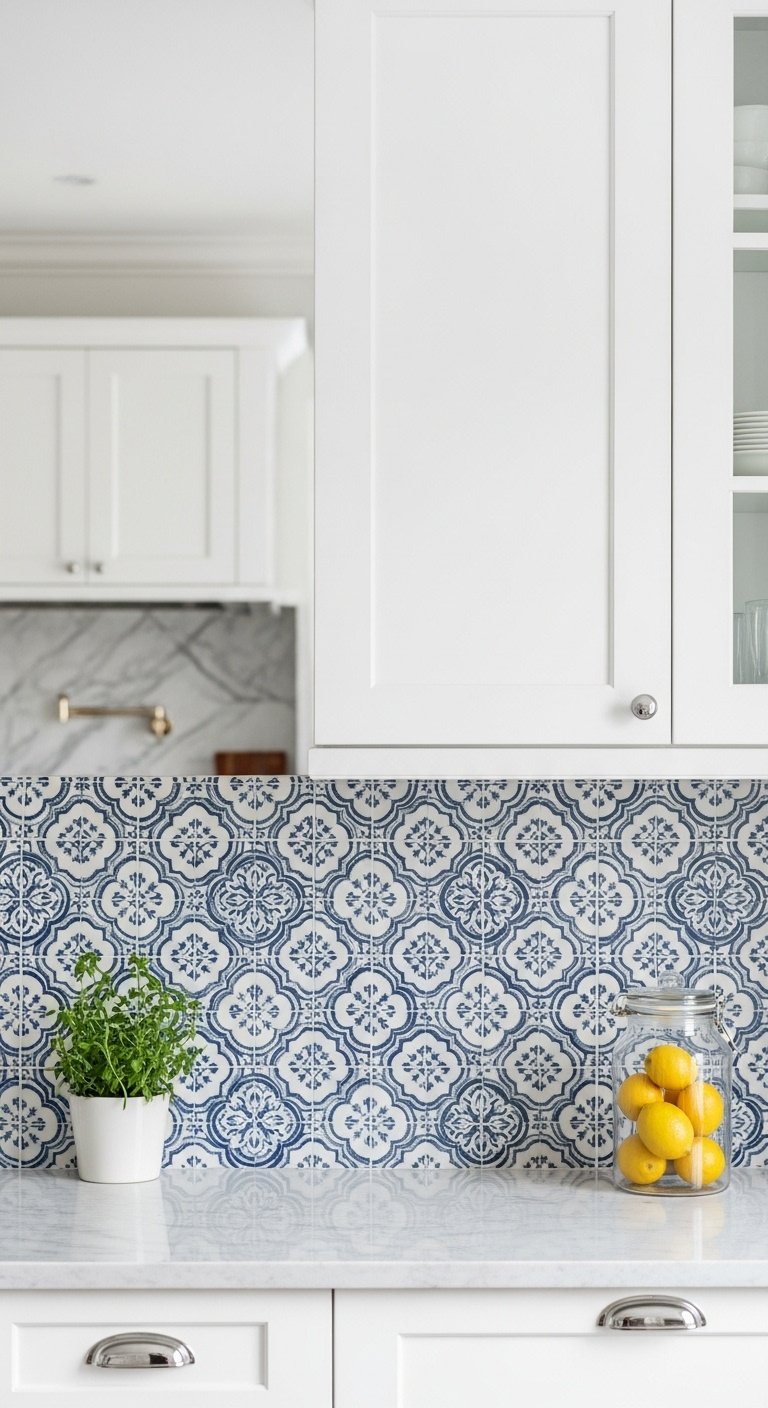
A patterned backsplash is the perfect way to add personality and a cheerful focal point to your cottage kitchen. Hand-painted or vintage-inspired tiles can introduce color and pattern, breaking up the visual weight of cabinetry and creating a stunning feature wall.
- Materials Needed: Patterned ceramic or porcelain tiles, tile adhesive (thin-set mortar), grout, notched trowel, grout float, tile saw (can be rented).
- Step-by-Step Directions:
- Choose Your Tile: Select a patterned tile that complements your cabinet and countertop colors. A blue-and-white pattern is a classic cottage choice.
- Prep the Wall: Ensure the wall is clean, dry, and flat. Mark a level guideline to start your first row.
- Apply Adhesive: Use the notched trowel to apply a thin, even layer of tile adhesive to a small section of the wall.
- Set the Tiles: Press each tile firmly into the adhesive with a slight twist. Use tile spacers for even grout lines. Make cuts as needed with the tile saw.
- Grout the Joints: After the adhesive has cured (usually 24 hours), remove the spacers and apply grout with a grout float, pressing it into the joints. Wipe away excess with a damp sponge.
Lesson Learned: For high impact, let a bold patterned tile be the star. In my experience, pairing it with simple, solid-colored countertops and cabinets, like a sleek white quartz, prevents the design from becoming overwhelming.
Love this look? Save it to your ‘Kitchen Backsplash Ideas’ board on Pinterest!
3. Use Open Shelving & Glass-Front Cabinets
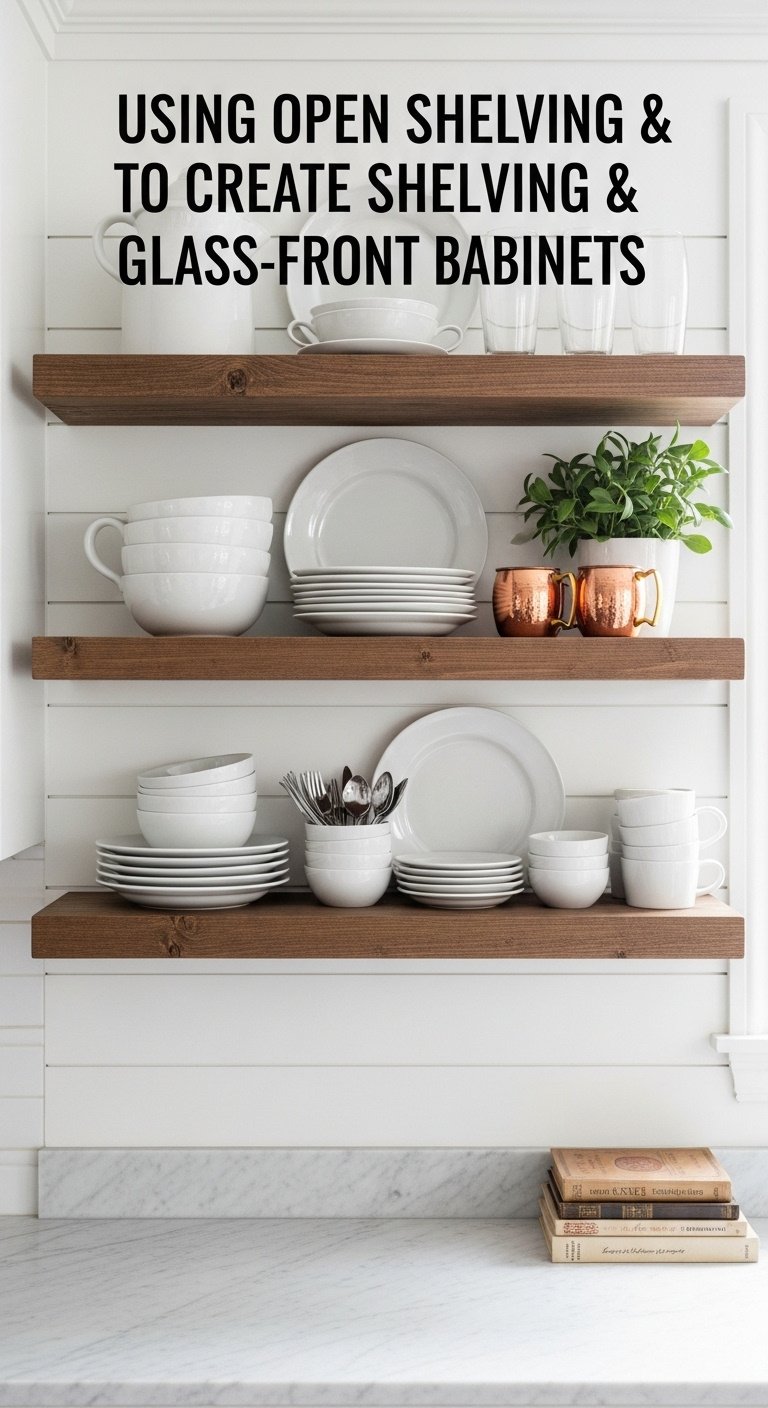
To achieve a collected, airy, and personal feel, replace some solid upper cabinets with open shelves or glass-front doors. This breaks up the visual bulk of solid cabinetry and provides the perfect opportunity to display treasured dishes, glassware, and flea market finds.
- Materials Needed: Floating shelf kit or wood planks and brackets, glass-front cabinet doors (or a kit to convert existing doors), decorative items, plate rack inserts.
- Step-by-Step Directions:
- Assess Your Uppers: Decide whether to replace a few upper cabinets with open shelves or simply swap solid doors for glass-front ones.
- Install Shelving: Securely mount floating shelves or brackets into wall studs to ensure they can handle the weight of dishes.
- Curate Your Display: This is key. Display only your most loved and frequently used items. Mix textures and heights: stack plates, lean cutting boards, and add a small plant or piece of art.
- Organize Glass Cabinets: Use plate racks and stack bowls neatly inside glass-front cabinets. This keeps them organized and visually pleasing.
Pro-Tip: To avoid a cluttered look on open shelves, stick to a cohesive color palette for your displayed dishes (e.g., all white, or shades of blue and cream).
Ready to show off your treasures? Pin this open-shelving idea!
4. Choose a Soft & Muted Color Palette

The cottage color palette is defined by soft, muted shades that feel serene and timeless. Think creamy whites, warm taupes, sage greens, and soft blues. These colors reflect light beautifully, making the kitchen feel airy and inviting, and provide a perfect backdrop for rustic textures.
- Materials Needed: Paint samples, high-quality primer, angled paintbrush, small roller, painter’s tape, chosen paint in a satin or semi-gloss finish for cabinets.
- Step-by-Step Directions:
- Gather Samples: Pick up paint swatches in classic cottage hues like Sherwin-Williams Alabaster, Benjamin Moore Grant Beige, or a soft sage green.
- Test in Your Space: Paint large squares of your top 2-3 colors on different walls in your kitchen. Observe them at various times of day to see how the light affects them.
- Create a Balanced Palette: Pair a creamy white on the walls with a slightly deeper, muted color like sage green or warm beige for the cabinets. This creates depth without being overwhelming.
- Prep and Paint: For cabinets, proper prep is essential. Clean, sand, and prime the surfaces before applying two coats of your chosen color for a durable finish.
Pro-Tip: Don’t forget the ceiling! Painting it a very pale, soft blue can create an airy, open feeling reminiscent of a sky, a classic cottage design trick.
Find your perfect shade! Save this color palette to your ‘Home Inspiration’ board.
5. Focus on Charming & Rustic Flooring
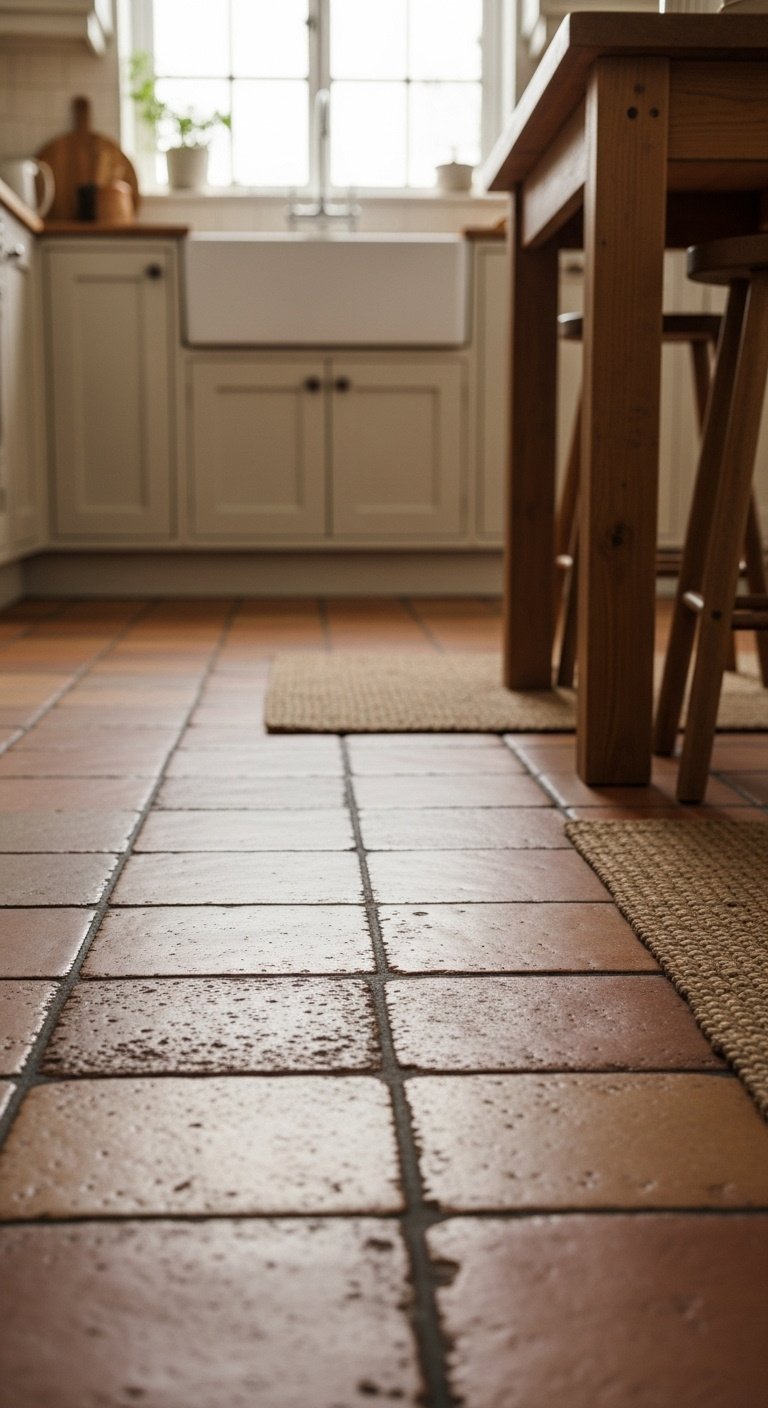
The right flooring can ground your cottage kitchen design with authentic charm and texture. Options like warm terracotta tiles evoke an English cottage feel, while painted wood floors offer a vintage, schoolhouse vibe. It’s a foundational element that shouldn’t be overlooked.
- Materials Needed: Terracotta tiles, tile adhesive, grout, sealer OR floor primer, durable porch & floor paint, painter’s tape for patterns.
- Step-by-Step Directions:
- Option 1: Terracotta Tiles: For an authentic English cottage look, have terracotta tiles professionally installed. Ensure they are sealed properly to protect against staining in a kitchen environment.
- Option 2: Paint Existing Wood Floors: If you have wood floors, give them a cottage makeover with paint. Clean and lightly sand the floors.
- Prime and Paint: Apply a high-quality floor primer followed by two coats of durable porch and floor paint in a color like soft gray, white, or even a checkerboard pattern.
- Add a Rug: Layer a vintage-style woven rug over your chosen flooring to add texture, warmth, and another layer of cottage charm.
Lesson Learned: While beautiful, unsealed terracotta is very porous. In a high-traffic kitchen, splurging on a high-quality, penetrating sealer is non-negotiable to prevent grease and food stains.
Step up your style! Pin this flooring idea for your renovation plans.
6. Play with Paint to Transform Cabinets & Walls
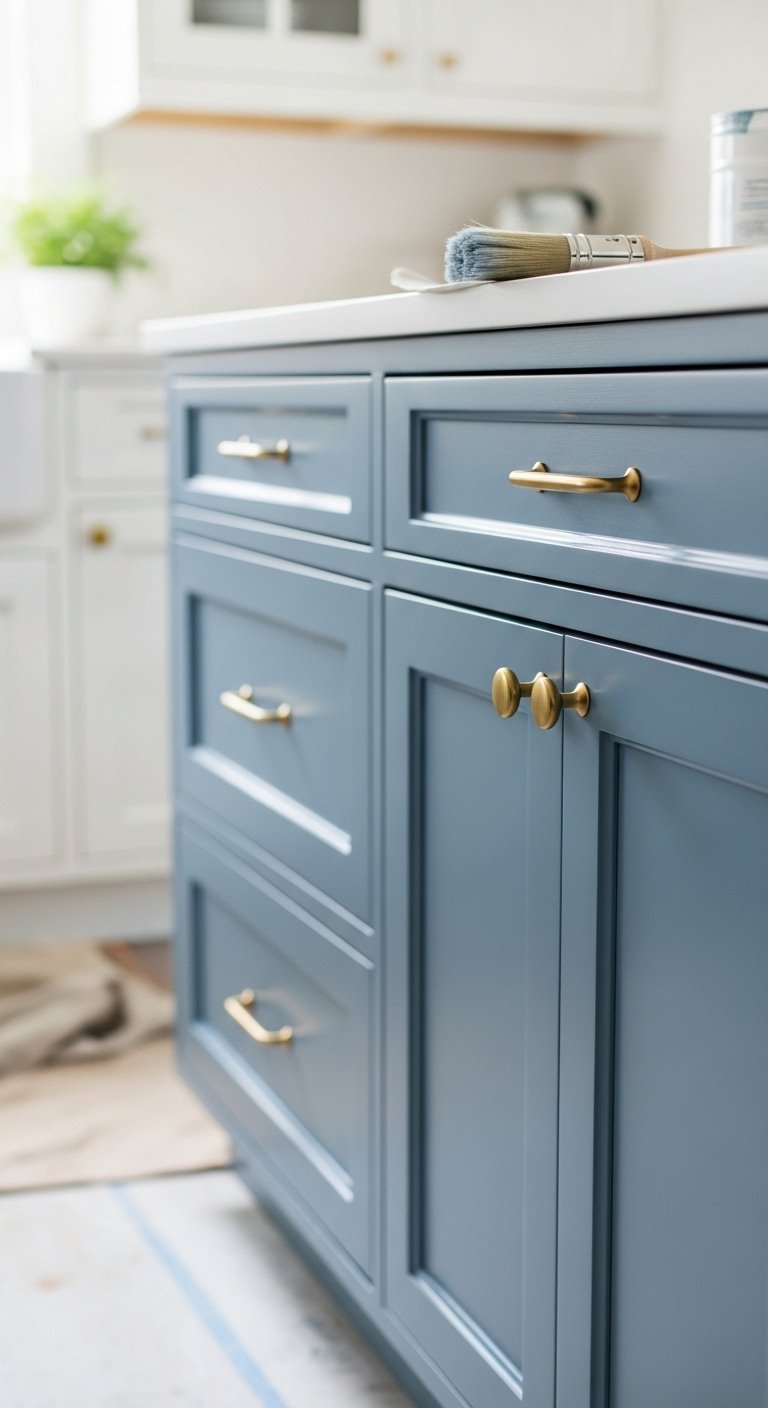
Never underestimate the power of paint. A fresh coat is the most budget-friendly and high-impact way to achieve a cottage kitchen makeover. Painting dated wood or laminate cabinets in a soft, muted hue can instantly transform the entire feel of the room without a full demolition.
- Materials Needed: Degreaser/cleaner, sandpaper (120 and 220 grit), high-adhesion primer, high-quality cabinet paint (alkyd enamel is excellent), mini foam roller, angled brush.
- Step-by-Step Directions:
- The Perfect Prep: This is the most crucial step. Remove all doors and hardware. Thoroughly clean every surface with a degreaser.
- Sand & Prime: Lightly sand all surfaces to remove the old finish and help the primer adhere. Wipe away all dust. Apply one coat of a high-adhesion primer.
- Apply Paint: Using a mini foam roller for flat surfaces and an angled brush for details, apply two thin coats of your chosen paint, allowing for proper drying time between coats as per the manufacturer’s instructions.
- Reassemble: Once fully cured (this can take several days), reattach your doors and install your new or existing hardware.
Pro-Tip: Don’t rush the curing process! Even if the paint feels dry to the touch, it needs several days to a week to fully harden. I learned this the hard way; reinstalling doors too early can lead to nicks and smudges.
Get inspired to pick up a paintbrush! Save this transformation idea.
7. Select Simple Finishes & Vintage Hardware
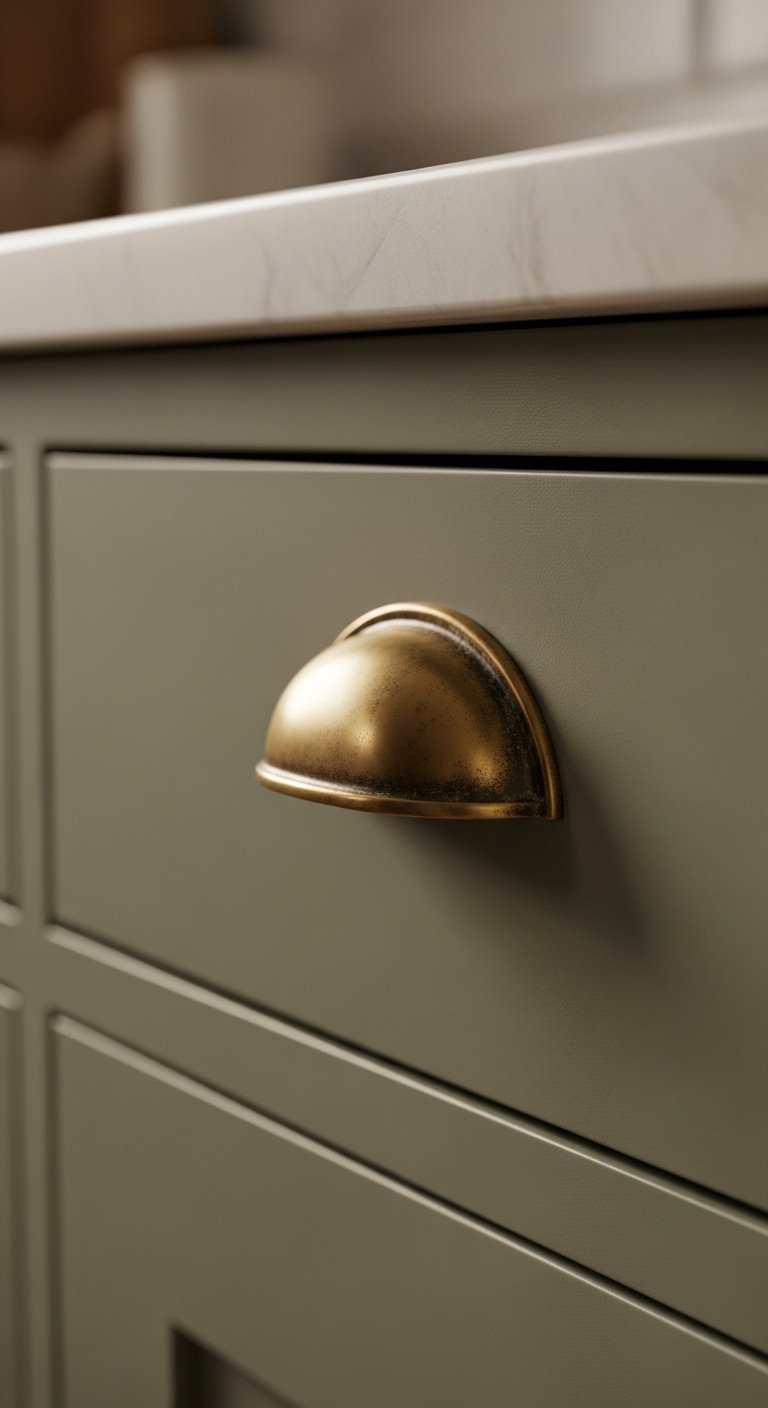
The small details make a huge difference. Swapping out standard hardware for vintage-inspired pulls and knobs in aged brass, copper, or matte black instantly elevates the custom, collected-over-time feel of a cottage kitchen. These simple finishes add a layer of authenticity.
- Materials Needed: New cabinet knobs/pulls, screwdriver, brass pot rail and S-hooks, drill (if hole sizes differ).
- Step-by-Step Directions:
- Choose a “Living Finish”: Select materials like unlacquered brass or copper that will patina and age over time, adding to the collected feel. Matte black offers a modern cottage contrast.
- Measure First: Before buying, measure the distance between the screw holes on your existing hardware to find new pulls that will fit perfectly.
- Easy Swap: Unscrew the old hardware from the inside of the cabinet door or drawer and simply screw in the new pieces.
- Add Functional Charm: Install a brass pot rail on a wall to hang copper pots, pans, and utensils. This is both beautiful and practical storage.
Lesson Learned: Don’t be afraid to mix metals in a cottage kitchen. A matte black faucet can look stunning with aged brass cabinet pulls, contributing to the “collected,” not “matchy-matchy,” aesthetic.
It’s all in the details! Pin this hardware idea for the perfect finishing touch.
8. Incorporate Freestanding Furniture & Islands
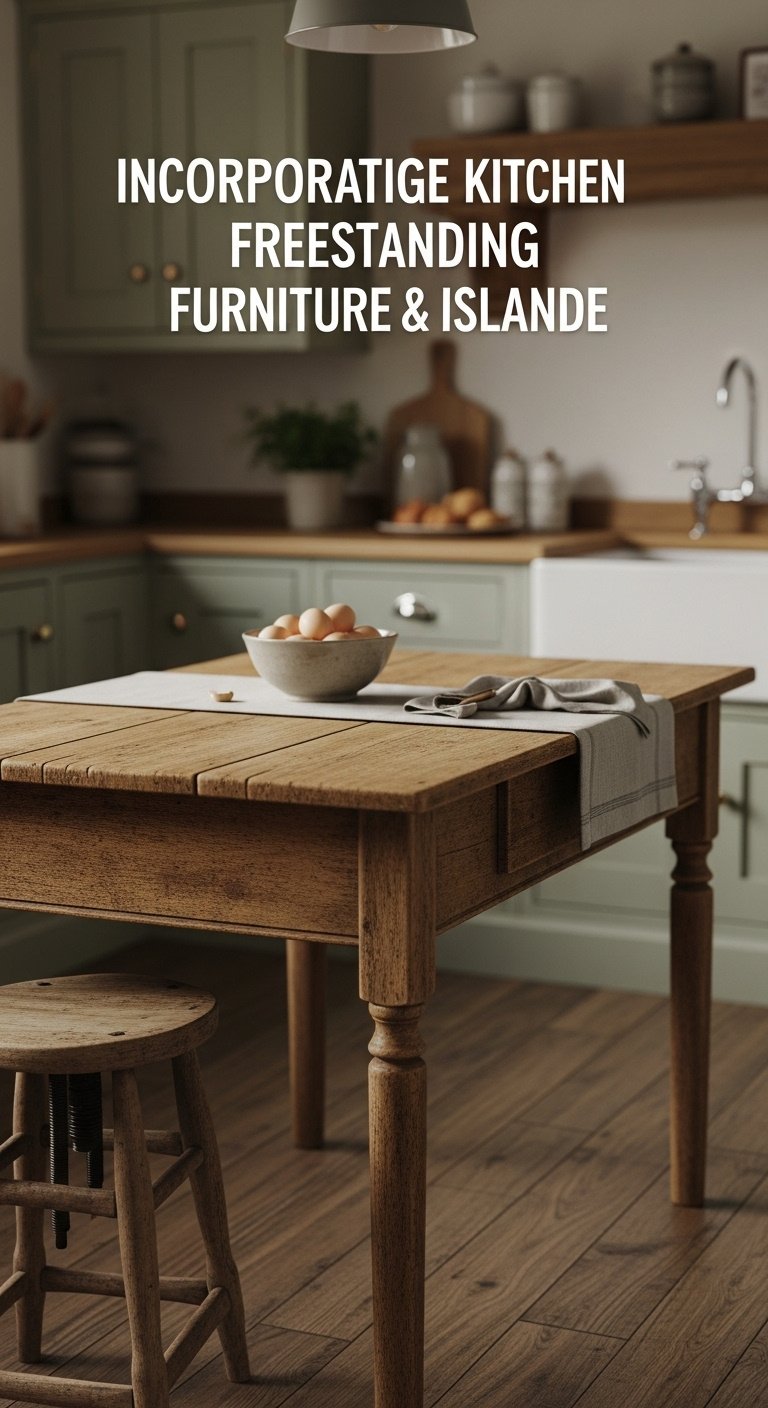
Authentic cottage kitchens often feel as though they’ve evolved over time. You can create this collected look by incorporating freestanding furniture like a vintage farm table as an island, or an antique hutch for dish storage, instead of relying solely on built-in cabinetry.
- Materials Needed: A vintage farm table or console table, sandpaper, chalk paint, wax or polycrylic sealer.
- Step-by-Step Directions:
- Source a Vintage Piece: Scour flea markets, antique shops, or online marketplaces for a piece with good bones—a small farm table, a butcher block, or a console table.
- Replace an Island: If space allows, consider using a rustic farm table in place of a modern, built-in island. This creates a casual spot for dining and prep.
- Create a “Hutch”: Place a freestanding antique cabinet or buffet against a wall for storing dishes and linens, breaking up the monotony of built-in cabinetry.
- Give it a Makeover: If the finish isn’t right, lightly sand the piece and give it a coat of chalk paint for a rustic, matte look. Seal with wax for protection.
Pro-Tip: Ensure any freestanding piece used for food prep is at a comfortable working height (standard counter height is 36 inches). You can add locking casters to a table to make it mobile and slightly taller.
Think outside the built-ins! Save this freestanding furniture idea.
9. Add Decorative Touches & Treasured Items
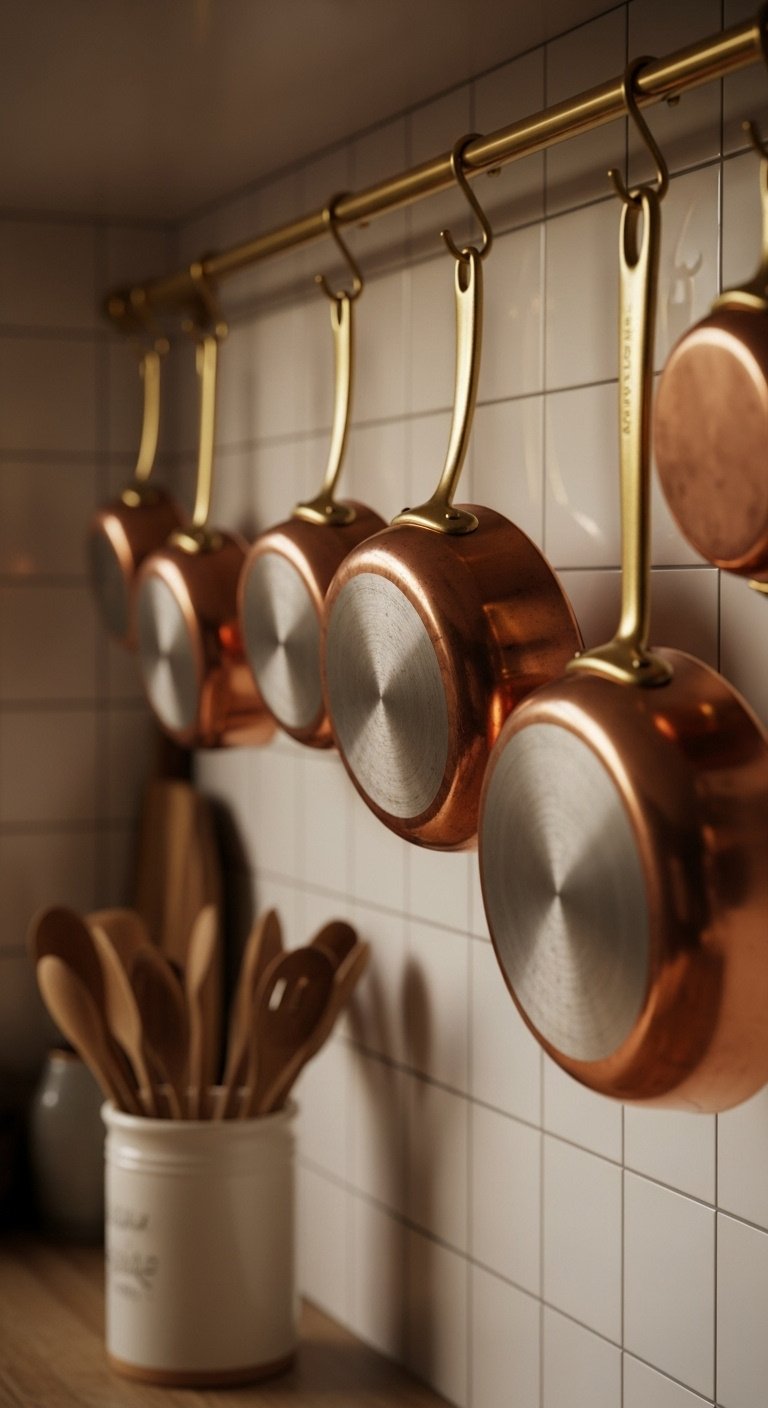
A cottage kitchen is a personal space. The final layer involves adding decorative touches and displaying treasured items that tell your story. This is what transforms a well-designed room into a soulful home.
- Materials Needed: Tension rod, fabric for curtains, iron-on hemming tape, copper pot rack, decorative plates, plate hangers.
- Step-by-Step Directions:
- Hang Cafe Curtains: Measure your window width. Cut fabric to size, leaving an inch on each side for a hem. Use iron-on hemming tape for a no-sew solution. Hang on a simple tension rod placed halfway up the window.
- Display Collections: Hang a collection of vintage blue-and-white plates on an open wall. Display gleaming copper pots from a pot rack or wall rail.
- Lean Artwork: Lean small, framed pieces of art or vintage cutting boards against the backsplash for a casual, layered look.
- Bring in Nature: Always have something living in the kitchen, whether it’s a small pot of herbs on the windowsill, a vase of fresh flowers, or a bowl of seasonal fruit.
Lesson Learned: The goal is “curated,” not “cluttered.” Choose a few meaningful collections to display and rotate them seasonally to keep the space feeling fresh and personal.
Make it personal! Pin this decor idea for a soulful kitchen.
10. Blend Classic Cottage with Modern Convenience
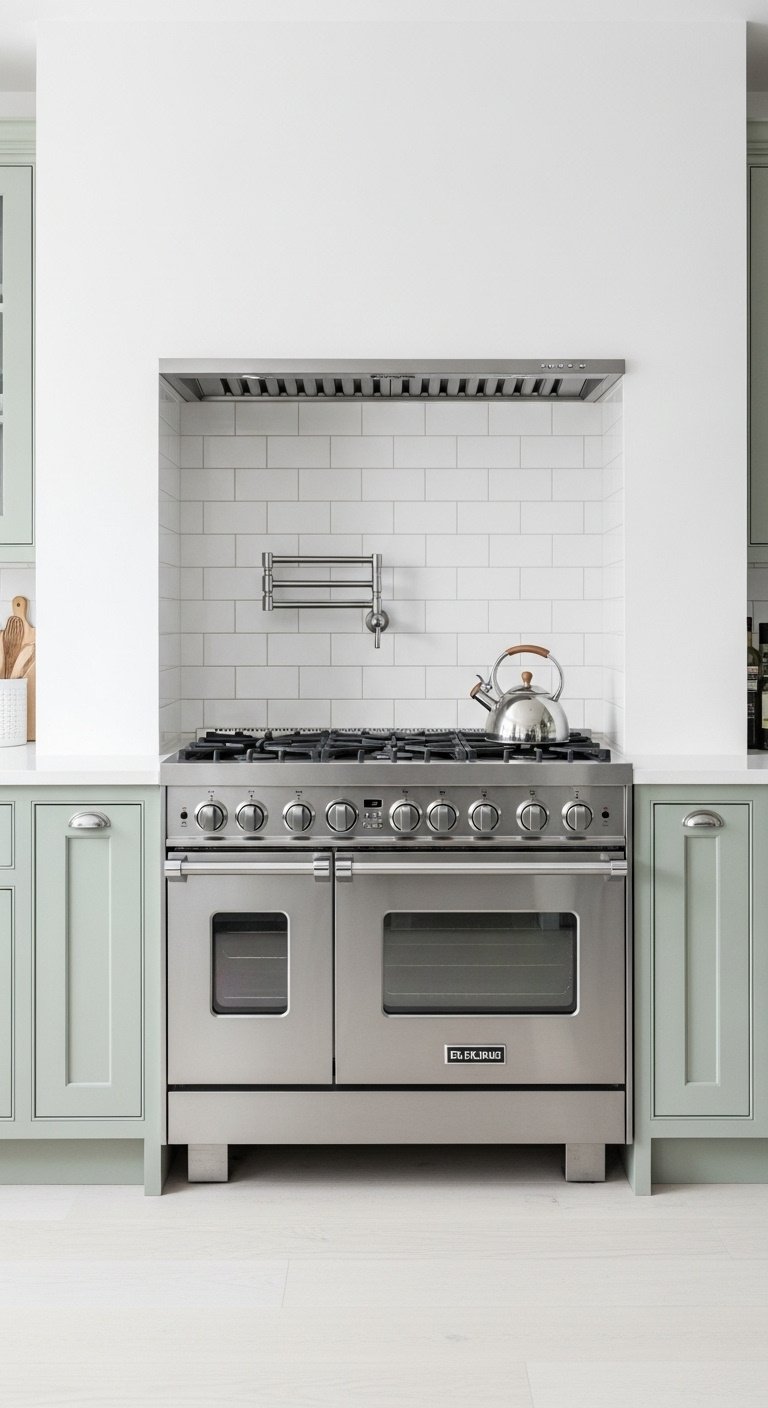
A cottage kitchen doesn’t have to mean sacrificing modern functionality. The key is to thoughtfully blend classic cottage elements with modern appliances and conveniences. This creates a balanced space that is both beautiful and highly practical for today’s lifestyle.
- Materials Needed: Modern pendant light fixture, sleek quartz countertop, minimalist cabinet hardware, stainless steel appliances.
- Step-by-Step Directions:
- Start with a Cottage Base: Establish the cottage feel with elements like wood floors, an apron-front sink, and a soft cabinet color.
- Incorporate Modern Surfaces: Choose a durable, low-maintenance modern countertop material like quartz in a simple, light color. This provides a clean work surface that contrasts beautifully with rustic elements.
- Upgrade Lighting: Swap a dated fixture for a sleek, modern pendant light over the island or a minimalist sconce. This adds an unexpected, contemporary touch.
- Choose Integrated Appliances: When possible, opt for panel-ready appliances that can be faced with cabinet fronts to blend in seamlessly, letting the cottage details shine.
Pro-Tip: The key to a successful blend is balance. For every sleek, modern element you introduce, make sure it’s balanced by a warm, textured cottage element nearby. For example, pair a stainless steel range with a rustic, reclaimed wood vent hood cover.
Get the best of both worlds! Save this modern cottage idea.
11. Reflect Light to Keep it Bright & Airy
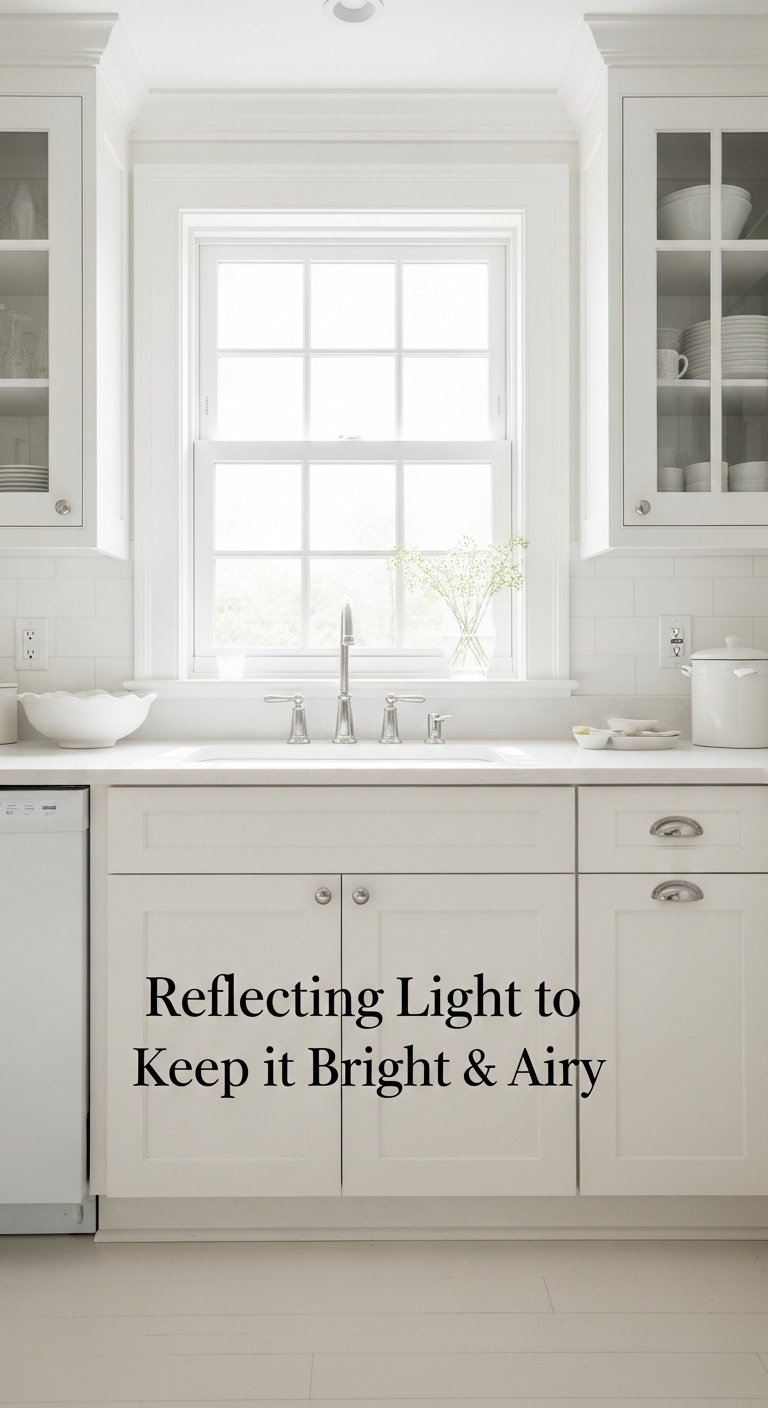
Especially in smaller kitchens, it’s crucial to maximize natural light by using reflective surfaces and light colors. This strategy makes any space feel larger, brighter, and more open, which is essential for achieving that airy cottage atmosphere.
- Materials Needed: High-quality white paint (e.g., SW Extra White), glossy or semi-gloss finish, mirror with a simple frame, sheer cafe curtains.
- Step-by-Step Directions:
- Paint it White: Use a clean, bright white on cabinets, walls, and the ceiling. This is the single most effective way to make a space feel bigger and brighter. Use a semi-gloss finish on cabinets for extra light reflection.
- Add a Mirror: Hang a simple mirror on a wall that is perpendicular to a window. It will bounce natural light around the room, creating the illusion of more space.
- Choose Reflective Finishes: Opt for a backsplash with a slight sheen, like glossy ceramic tiles, and polished chrome or nickel hardware to catch and reflect light.
- Minimal Window Treatments: Keep window treatments light and simple. A sheer cafe curtain or a simple roman shade that can be pulled up high during the day is ideal.
Lesson Learned: The type of white paint matters. In my experience, it’s best to look for a neutral or slightly warm white. Stark, cool whites can sometimes feel sterile in a cottage kitchen that aims for warmth.
Brighten up your space! Pin this idea for small kitchens.
12. Embrace Authentic Rustic Features
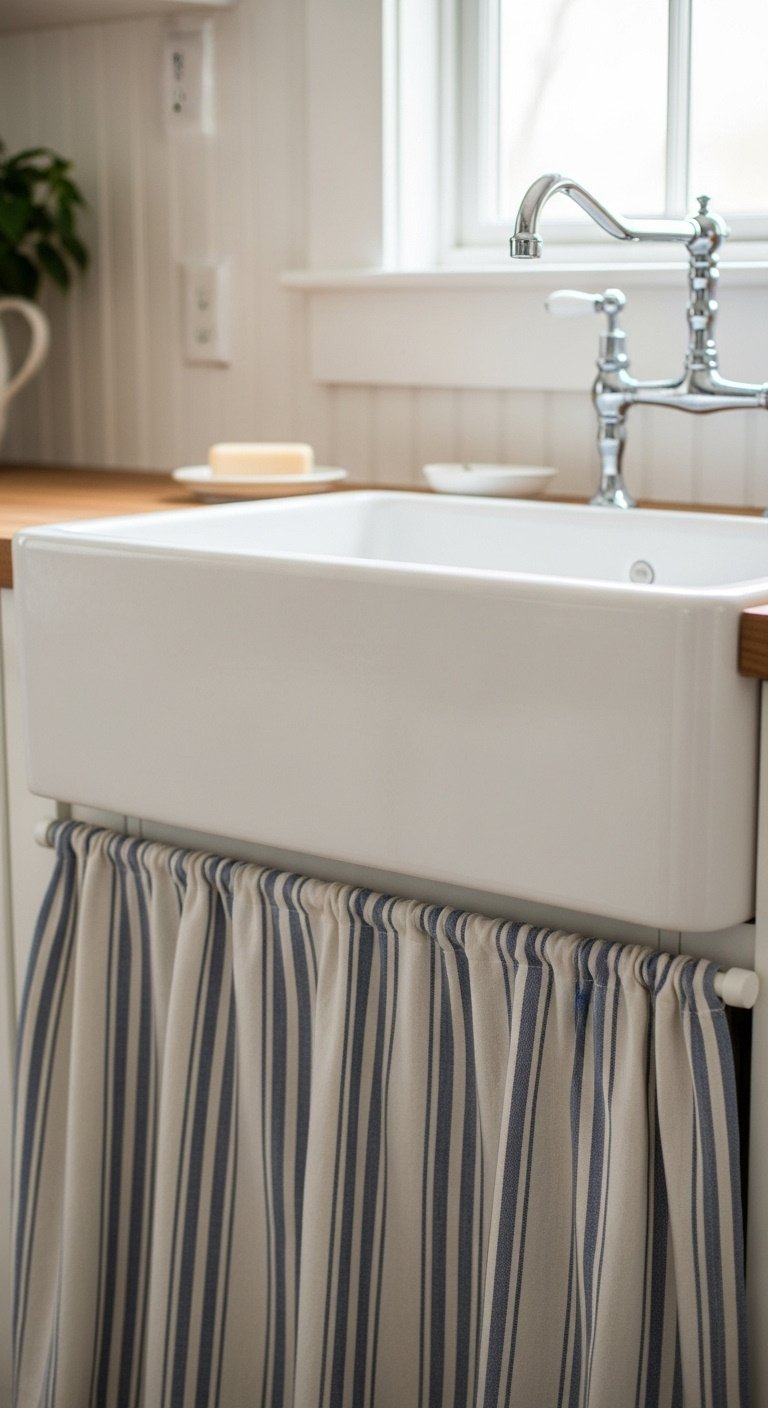
If your home has them, highlight original rustic features like exposed beams or knotty pine floors. If not, you can easily add architectural details like beadboard paneling or a fabric sink skirt to create an instant sense of history and authentic cottage character.
- Materials Needed: Beadboard paneling, construction adhesive, finishing nails, tension rod, fabric of choice.
- Step-by-Step Directions:
- Highlight Existing Features: If you have exposed beams or rafters, don’t hide them! Clean them up and let them be a focal point. Same for original knotty pine or wood floors—refinish them to bring out their natural character.
- Add Beadboard: Install beadboard paneling on the lower half of the walls or as a backsplash for instant cottage charm. It’s a relatively easy and inexpensive DIY project.
- Install a Sink Skirt: For an apron-front or farmhouse sink, install a small tension rod underneath and hang a simple fabric skirt. This hides plumbing and adds a soft, vintage touch. Choose a simple linen or a classic ticking stripe fabric.
Pro-Tip: When adding new rustic elements like beadboard, paint them the same color as the trim or walls to make them feel like they’ve always been part of the house, rather than a later addition.
Love authentic charm? Save this rustic feature idea!
13. Add a Touch of Farmhouse Charm
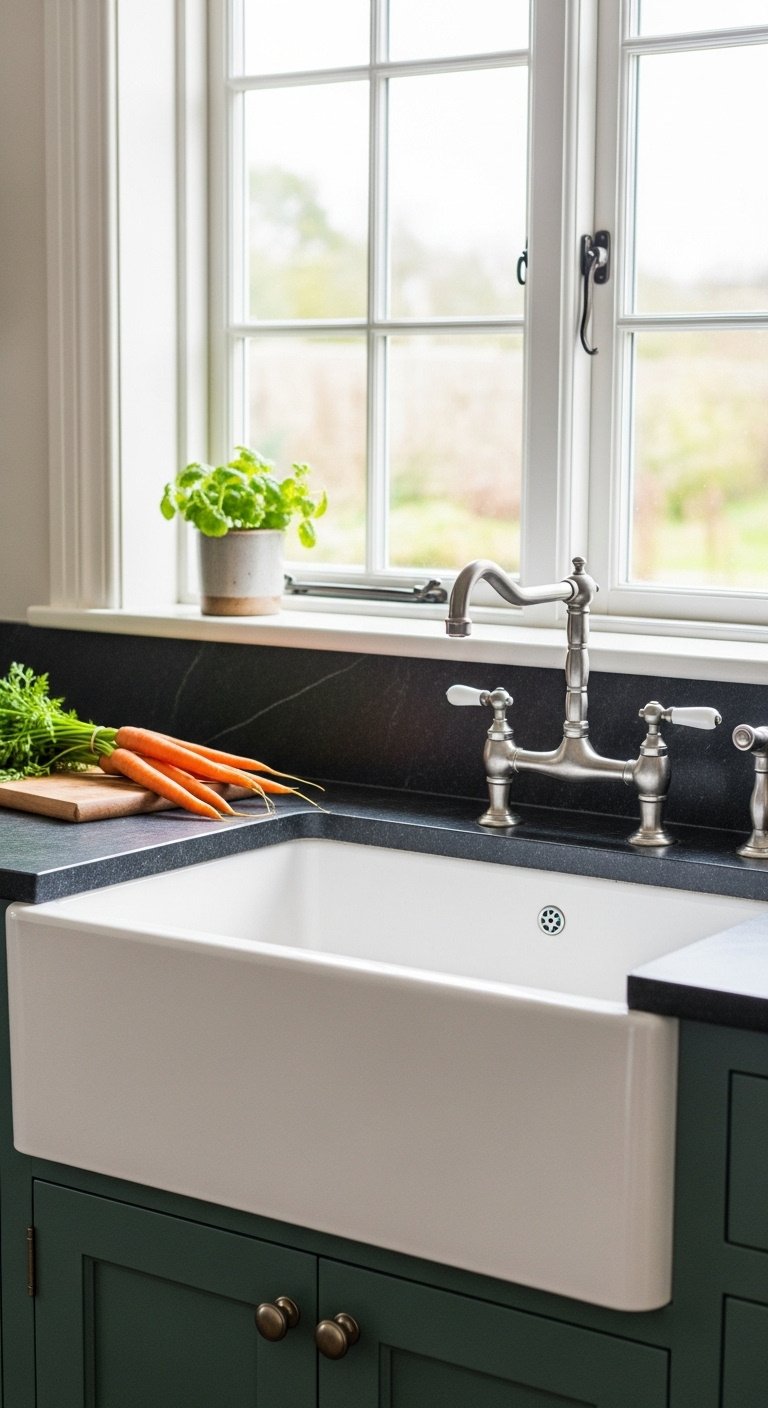
Cottage and farmhouse styles are close cousins. You can enhance your cottage kitchen by incorporating key farmhouse elements like a deep apron-front sink or a rustic butcher block table. These hardworking features add a layer of practicality and unmistakable rustic charm.
- Materials Needed: Apron-front sink, corrugated metal sheets, tin snips, construction adhesive, J-channel trim for edges.
- Step-by-Step Directions:
- The Quintessential Sink: If undertaking a larger renovation, installing an apron-front farmhouse sink is a signature move. Its deep basin is highly functional and visually defines the style.
- DIY Corrugated Backsplash: For a rustic, industrial-farmhouse touch, create a backsplash from corrugated metal. Cut sheets to size using tin snips.
- Install the Backsplash: Frame the area with metal J-channel trim for a clean edge. Apply construction adhesive to the back of the metal sheets and press them firmly onto the wall.
- Add a Butcher Block Table: As mentioned earlier, a freestanding butcher block table or island is a hallmark of farmhouse style that fits perfectly in a cottage kitchen.
Lesson Learned: Real corrugated metal can have sharp edges. Always wear protective gloves when handling and cutting it, and use edge trim for a safe, professional-looking installation.
Bring the farmhouse home! Pin this classic kitchen idea.
Key Takeaways: Your Quick Guide to a Dream Cottage Kitchen
Feeling inspired? Here’s a quick summary of the most important principles to remember as you start planning your project.
- Prioritize Natural Materials: The foundation of cottage style is warmth. Use wood, stone, and natural textiles wherever possible.
- Embrace a Soft Palette: Stick to creamy whites, soft pastels, and muted earth tones for a serene and inviting atmosphere.
- Focus on Finishes: Details matter. Vintage-inspired hardware, an apron-front sink, and simple finishes will elevate the look.
- Mix, Don’t Match: Combine freestanding furniture with built-ins and blend old with new to create a “collected over time” feel.
- Make it Personal: Display treasured items, hang simple curtains, and add layers of texture to make the space uniquely yours.
People Also Ask About Cottage Kitchens
What is a cottage style kitchen?
A cottage style kitchen is a design aesthetic focused on creating a cozy, charming, and nostalgic atmosphere. It is characterized by the use of natural materials like wood and stone, soft and muted color palettes, vintage or antique-inspired hardware and fixtures, and a general feeling of warmth and authenticity.
How do I make my kitchen look cottagey?
To make your kitchen look “cottagey,” focus on key elements like painting cabinets in a soft color, installing open shelving to display vintage dishes, using natural materials like a butcher block countertop, adding a fabric sink skirt, and swapping modern hardware for aged brass or matte black pulls.
What is the best color for a cottage kitchen?
The best colors for a cottage kitchen are typically soft, muted, and inspired by nature. Popular choices include creamy whites (like Sherwin-Williams Alabaster), warm beiges (like Benjamin Moore Grant Beige), soft sage greens, pale blues, and gentle taupes. These colors create a light, airy, and inviting feel.
What are cottage kitchen cabinets?
Cottage kitchen cabinets are typically a traditional 5-piece door style, such as a shaker or a door with beadboard detailing. They are often painted in soft, muted colors rather than being dark wood stains. Features like glass-front doors, simple hardware, and sometimes a distressed or aged finish add to their charm.
Final Thoughts
Creating the cottage kitchen of your dreams is less about following a rigid set of rules and more about building a space that feels personal, comfortable, and soulful. It’s a celebration of imperfection, a mix of old and new, and a reflection of your unique story. Use these ideas as a jumping-off point to create a warm and welcoming kitchen that will truly be the heart of your home for years to come.
Which of these cottage kitchen ideas was your favorite? Let me know in the comments below
