As an Amazon Associate KitchenwareSets.com earns from qualifying purchases.
Foolproof Peach Cobbler Recipe Delicious Every Time
Have you ever pulled a peach cobbler from the oven, heart full of hope, only to discover a soupy, runny mess or a topping that’s more like a dense, soggy cake? You followed the recipe, so what went wrong? It’s a classic dessert that feels like it should be simple, yet so many things can lead to disappointment.
The frustration is real. You dream of that perfect Southern-style dessert: bubbling, juicy peaches under a golden, biscuit-like topping that’s both tender and slightly crisp. Instead, you get a watery filling that makes the crust mushy or a heavy batter that sinks to the bottom, creating a uniform, uninspired texture. It’s enough to make you want to give up on making it from scratch.
But here’s the secret: the perfect peach cobbler isn’t about a complicated recipe, it’s about a foolproof technique. By following a specific, no-stir layering method and using the right ingredient ratios, you can guarantee a delicious, classic cobbler with a distinct, golden-brown topping and a perfectly juicy filling every single time. This guide will show you exactly how.
Tired of Soupy or Cakey Cobbler? Here’s the Secret to a Perfect Peach Cobbler Every Time
The secret to a perfect peach cobbler is a precise ingredient ratio and a specific “no-stir” assembly method. This ensures the buttery batter bakes up light and fluffy around the juicy peaches, creating a distinct, golden-brown topping rather than a soggy or cakey dessert. After years of testing and tweaking, I’ve found that this method completely removes the guesswork and delivers that comforting, homemade Southern peach cobbler you’ve been craving.
This isn’t just another recipe; it’s a battle-tested strategy for dessert success. We’re going to tackle the common pitfalls head-on. No more soupy fillings. No more dense, cakey tops. Just pure, delicious, and foolproof peach cobbler that will make you look like a baking pro.
Why This Foolproof Recipe Works (The Science of Perfect Cobbler)
The most important rule for foolproof peach cobbler is to not stir the layers. Pouring the batter over the peaches and melted butter allows it to bake up and around the fruit, creating the perfect light, biscuit-like topping and preventing a soggy, dense result. It feels wrong, but trust me, it’s the key to perfection.
Here’s the deal on why this method is scientifically sound:
- The Melted Butter Foundation: Melting the butter in the hot pan first does two things. It creates a non-stick surface and, more importantly, it fries the bottom of the batter as it bakes, forming an incredibly rich, caramelized, and slightly crispy crust that is pure magic.
- The Perfect Batter Ratio: The specific ratio of flour, sugar, baking powder, and milk creates a batter that is just the right consistency. It’s thin enough to pour but sturdy enough to rise with the help of the baking powder, creating that signature “cobbled” top instead of a heavy, dense cake.
- The “No-Stir” Layering: This is the non-negotiable secret. When you pour the batter over the fruit and butter without mixing, the heavier fruit and butter stay at the bottom while the lighter batter rises to the top during baking. This creates three distinct, delicious layers: a buttery bottom crust, a juicy fruit center, and a soft, golden biscuit topping.
The Foolproof Step-by-Step Peach Cobbler Recipe (Updated for 2025)
A classic peach cobbler recipe requires peaches, butter, flour, sugar, baking powder, milk, and cinnamon. The key is to melt the butter in the pan, layer the peaches, and pour the batter on top without stirring before baking at 350°F (175°C). This simple process yields a dessert that is consistently delicious.
Whether you have a bounty of fresh summer peaches, a can in the pantry, or a bag in the freezer, this recipe is designed to work beautifully. Let’s walk through it step-by-step.
1. Gather Your Foolproof Ingredients
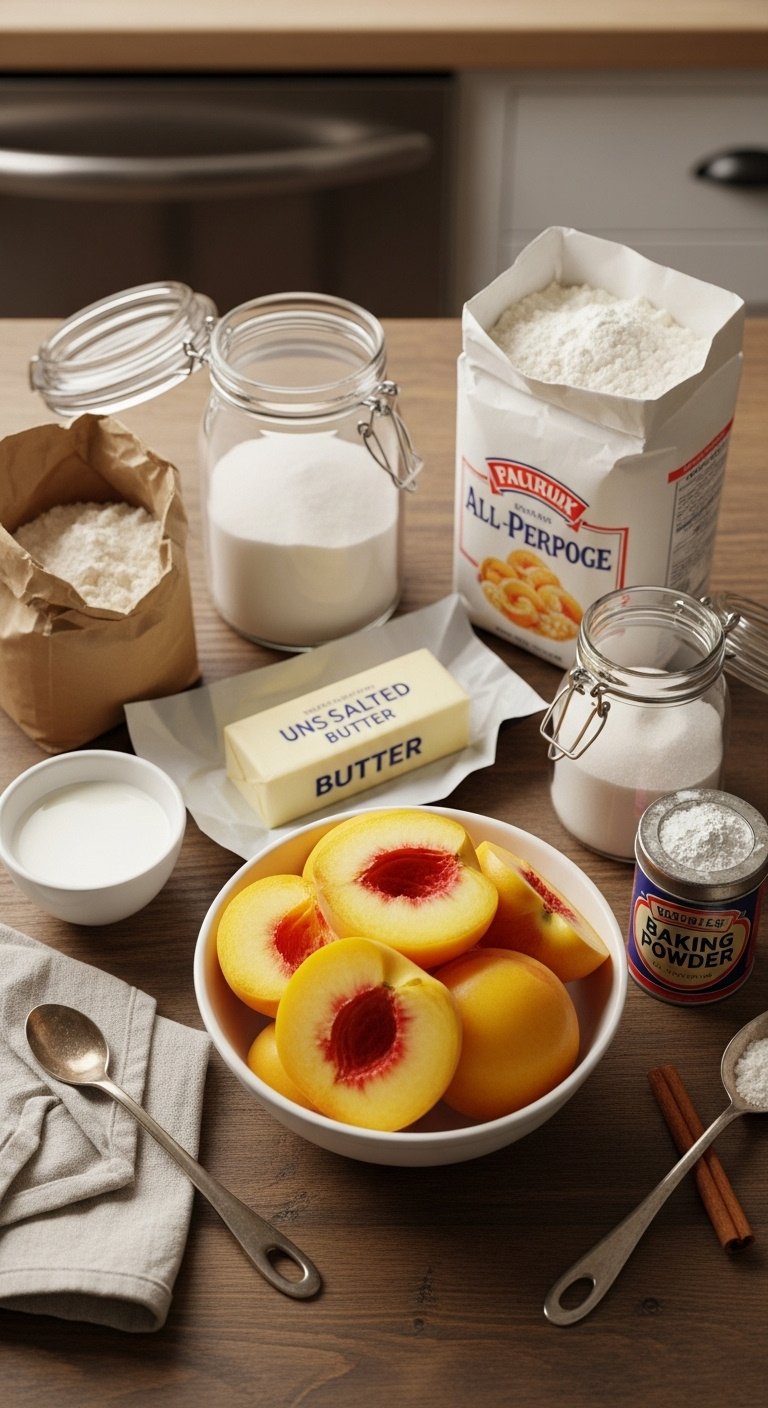
The first step to any great recipe is having the right components. Here’s exactly what you’ll need.
Ingredients:
* 1 stick (1/2 cup) unsalted butter
* 1 cup all-purpose flour
* 1 cup granulated sugar, divided
* 1 tbsp baking powder
* 1/4 tsp salt
* 1 cup milk (whole or 2%)
* 3 cups sliced peaches (fresh, or canned/frozen, well-drained)
* 1 tsp ground cinnamon
* 1/4 tsp vanilla extract (optional)
Pro Tip: For the best flavor, use real, unsalted butter. It creates a richer, more caramelized crust that margarine can’t replicate. If using canned peaches, choose ones packed in juice, not heavy syrup, to better control the sweetness.
Pin this ingredient list for your next shopping trip!
2. The First Secret: Melt Butter in the Pan
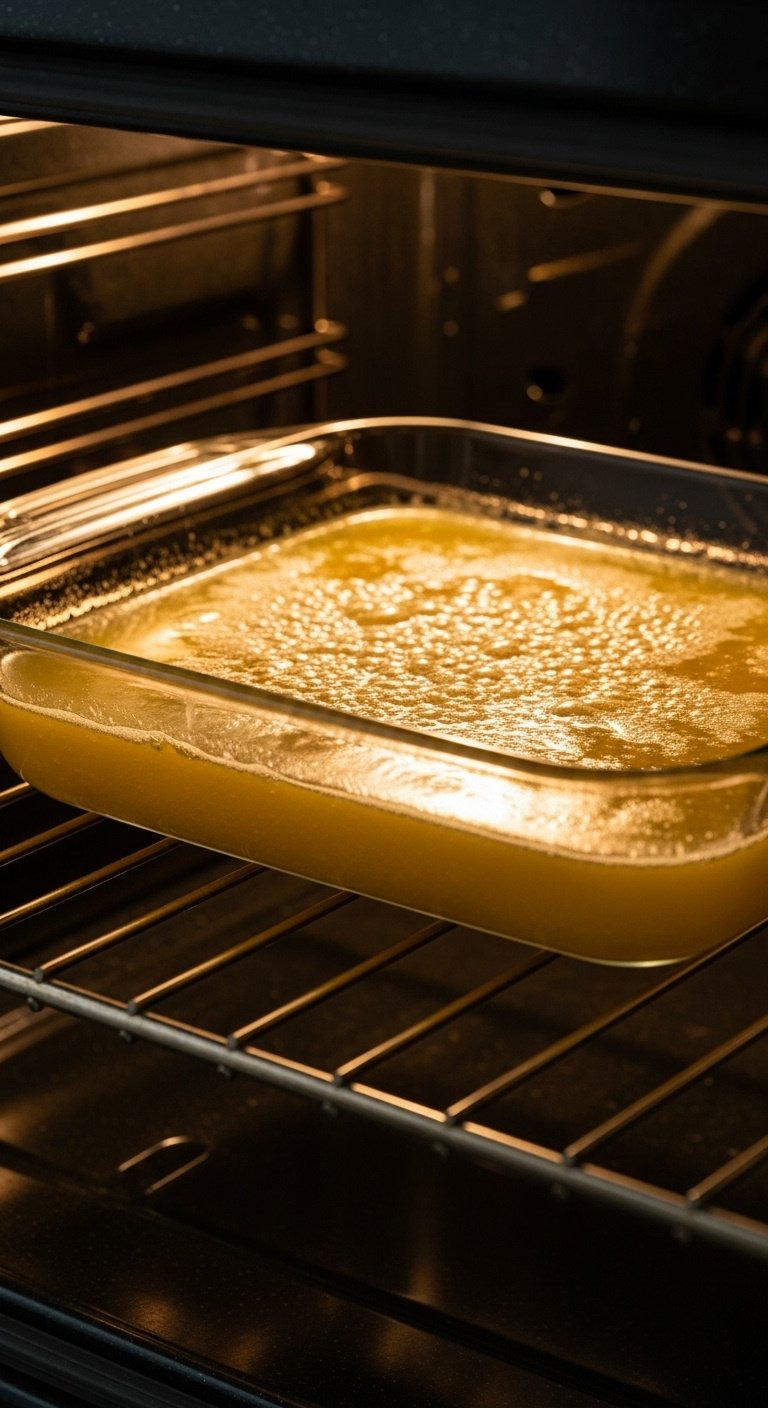
This simple step is the foundation for the entire dessert.
Step-by-Step Directions:
1. Preheat your oven to 350°F (175°C).
2. Place the entire stick of butter into a 9×13 inch glass or ceramic baking dish.
3. Place the baking dish inside the oven while it preheats. Allow the butter to melt completely until it’s sizzling slightly.
Pro Tip: Using a glass or ceramic dish is key. Metal pans can heat too quickly and burn the bottom crust. Melting the butter this way not only saves a dish but also starts building the foundation for a perfectly crisp, buttery base.
Save this essential first step to your ‘Baking Tips’ board!
3. Prepare the Juicy Peach Filling
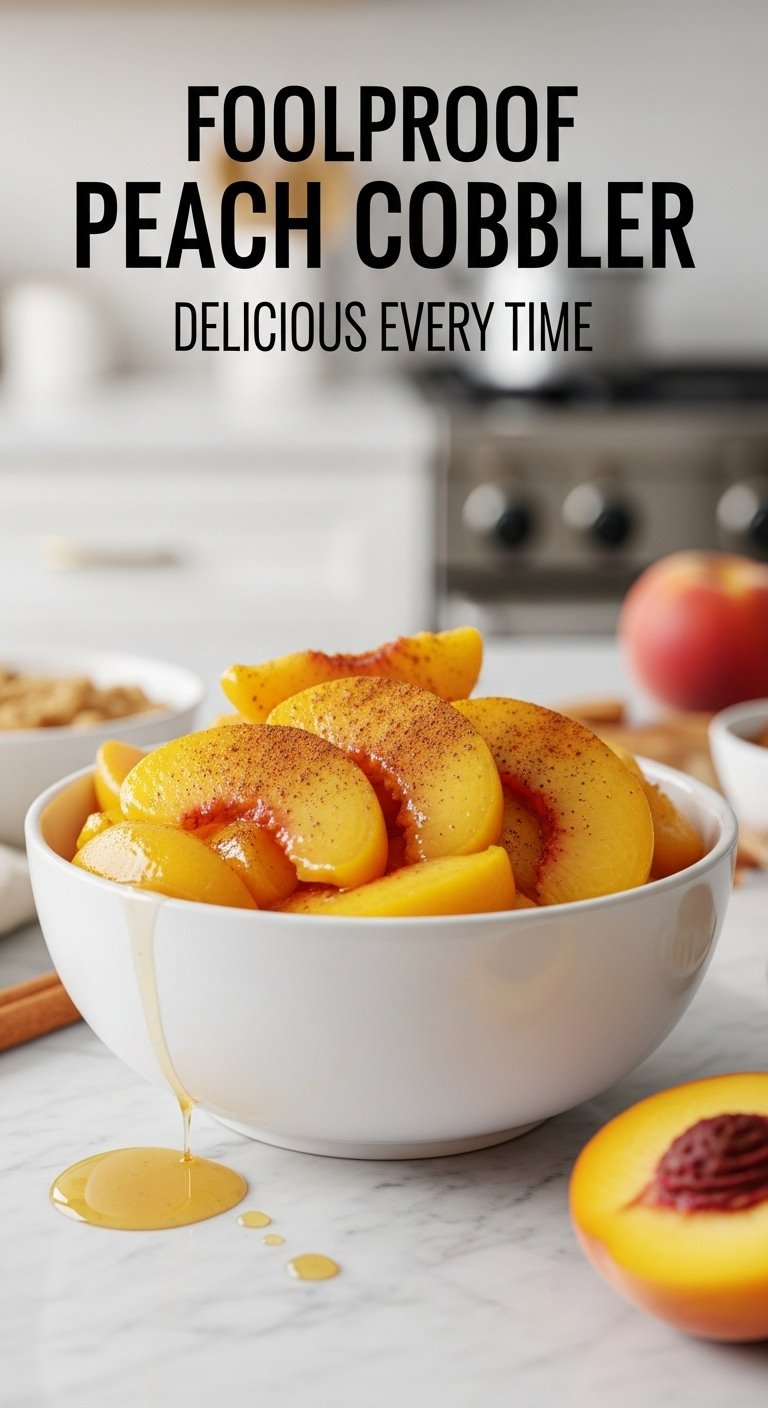
Properly preparing your peaches is crucial for a juicy, not watery, filling.
Step-by-Step Directions:
1. If using fresh peaches: In a saucepan, combine the 3 cups of sliced peaches with 1/2 cup of the sugar and the cinnamon. Cook over medium heat for 5-10 minutes until the sugar dissolves and the peaches release their juices.
2. If using canned peaches: Drain the peaches very well, reserving about 1/4 cup of the juice or syrup.
3. If using frozen peaches: Thaw the peaches completely and drain off any excess liquid.
Pro Tip: The biggest mistake is a watery cobbler. Draining canned or frozen peaches thoroughly is non-negotiable. For fresh peaches, simmering them briefly concentrates their flavor and creates a perfect syrup, ensuring your filling is juicy, not runny.
Love peaches? Pin this perfect filling technique!
4. Mix the No-Fail Cobbler Batter
![]()
The goal here is a light, tender topping, and the secret is a gentle hand.
Step-by-Step Directions:
1. In a medium mixing bowl, whisk together the flour, the remaining 1/2 cup of sugar, baking powder, and salt. Ensure the baking powder is evenly distributed.
2. In a separate small bowl or measuring cup, stir together the milk and vanilla extract.
3. Pour the wet ingredients into the dry ingredients. Stir with a spatula just until the flour is incorporated. A few small lumps are okay—do not overmix!
Pro Tip: Overmixing develops the gluten in the flour, which will make your cobbler topping tough and dense instead of light and tender. Stop stirring as soon as you no longer see dry streaks of flour.
Get the perfect topping every time. Save this tip!
5. The Secret Assembly Technique (Don’t Stir!)
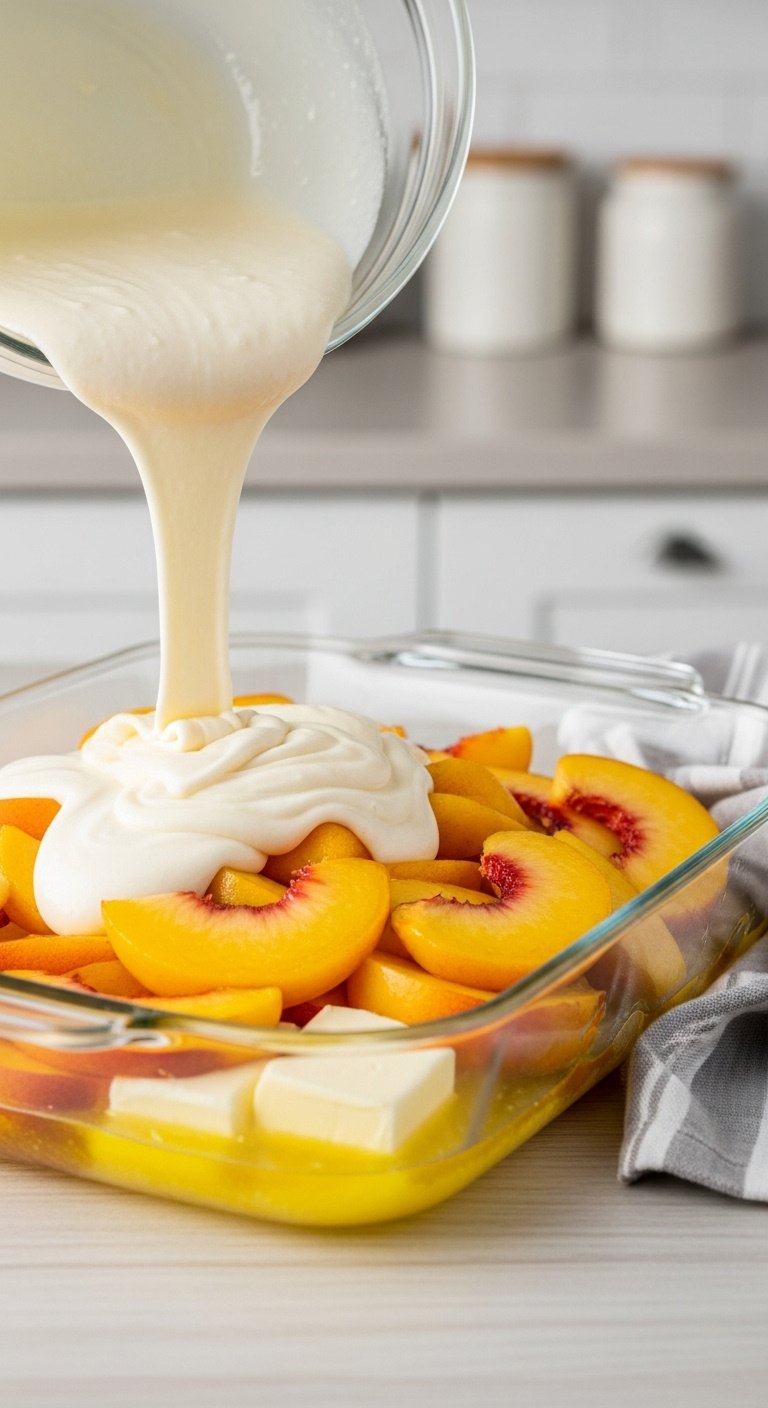
This is where the magic happens. Resist every instinct to stir!
Step-by-Step Directions:
1. Carefully remove the hot baking dish with the melted butter from the oven.
2. Spoon the prepared peach filling evenly over the melted butter. If using canned peaches, pour the reserved 1/4 cup of juice over them now.
3. Gently pour the prepared batter over the peaches, covering them as evenly as possible.
4. DO NOT STIR. The magic happens as the batter bakes up through the peaches.
Pro Tip: This is the most important step. It feels counterintuitive, but not stirring allows the butter to crisp the bottom, the peaches to stay juicy in the middle, and the batter to rise and form a perfect, golden, cobbled crust on top.
The secret to perfect cobbler is one click away. Pin it now!
6. Bake, Cool, and Serve
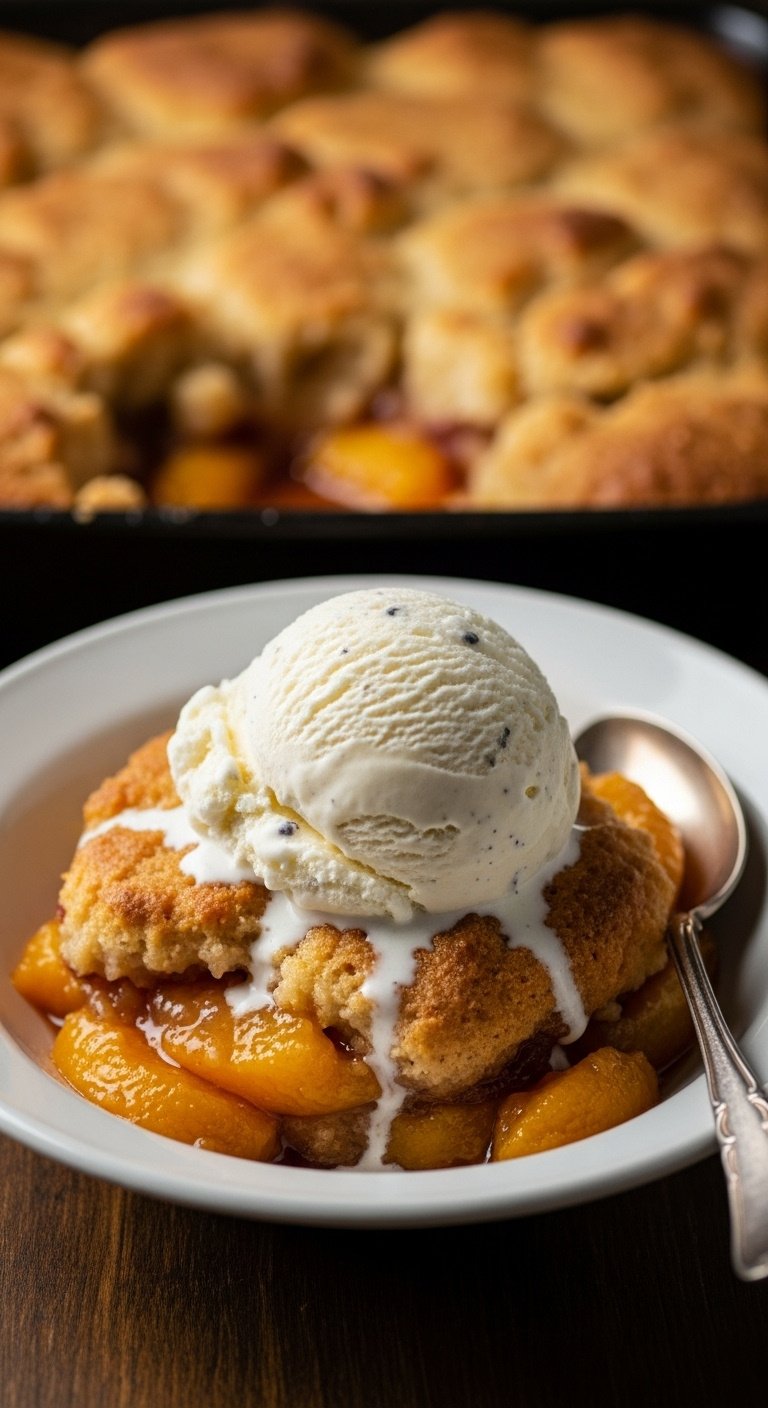
The final step is the most rewarding. Patience is key for the perfect texture.
Step-by-Step Directions:
1. Bake in the preheated 350°F (175°C) oven for 40-50 minutes.
2. The cobbler is done when the topping is a deep golden brown and the peach filling is bubbly around the edges.
3. Remove from the oven and let it cool on a wire rack for at least 15-20 minutes. This allows the filling to set.
4. Serve warm, topped with a generous scoop of vanilla ice cream.
Pro Tip: Resist the urge to dig in right away! Letting the cobbler rest is crucial for the juices to thicken. If you serve it too hot, it will be runny. This short wait makes all the difference for the perfect serving consistency.
Ready for dessert? Pin this perfect peach cobbler!
Key Takeaways: Your Quick Guide to Foolproof Peach Cobbler Recipe
In a hurry? Here are the five non-negotiable rules for perfect peach cobbler every single time.
- Melt Butter First: Always melt your butter in the baking dish in the preheating oven for a rich, crisp foundation.
- Control Your Liquid: Thoroughly drain canned or frozen peaches. Briefly simmer fresh peaches to create a syrup, not a watery mess.
- Don’t Overmix Batter: Stir just until combined to ensure a light, tender topping. Lumps are your friend!
- Never, Ever Stir: The most crucial step. Layer the ingredients (butter, then peaches, then batter) and let the oven do the magic.
- Rest Before Serving: Let the cobbler cool for at least 15 minutes to allow the juicy filling to set properly.
People Also Ask About peach cobbler recipe
Here are answers to some of the most common questions about making peach cobbler from scratch.
What is the secret to a juicy peach cobbler?
The secret to a juicy—but not watery—peach cobbler is to control the liquid. For fresh peaches, simmer them briefly with sugar to create a thicker, concentrated syrup. For canned or frozen peaches, drain them extremely well. This ensures the filling is rich and flavorful without making the crust soggy. A little lemon juice can also enhance the natural juiciness.
What are the most common mistakes when making peach cobbler?
The most common mistakes are using too much liquid, leading to a soupy filling; overmixing the batter, which creates a tough, dense topping instead of a light one; and stirring the layers after assembly. Stirring prevents the batter from rising properly, resulting in a soggy, cakey texture instead of a distinct, cobbled crust.
What makes a good peach cobbler?
A good peach cobbler has three key characteristics: a flavorful, juicy peach filling that isn’t runny; a distinct topping that is light and tender on the inside with a golden, slightly crisp exterior; and a rich, buttery flavor throughout. It should be a perfect balance of sweet fruit and a soft, biscuit-like crust, not a uniform, cake-like dessert.
Final Thoughts
Making a classic, Southern-style peach cobbler shouldn’t be a source of stress. With this foolproof method, you can confidently skip the common pitfalls and head straight for dessert perfection. This recipe removes the guesswork and guarantees a delicious result that will have everyone asking for seconds.
It’s the perfect comforting dessert for a family dinner, a summer barbecue, or just a quiet evening at home. Now that you have the secrets, you’re ready to create a truly memorable peach cobbler.
What’s your favorite way to enjoy peach cobbler? With ice cream, whipped cream, or all on its own? Let me know in the comments
