As an Amazon Associate KitchenwareSets.com earns from qualifying purchases.
The Ultimate Sweet And Salty Christmas Kitchen Sink Cookies
Are you stuck in a holiday baking rut, churning out the same sugar cookies and gingerbread men year after year? While the classics are comforting, sometimes you crave a treat that’s a little more exciting, a cookie that breaks all the rules and wakes up your taste buds. You want something that’s sweet, salty, chewy, and crunchy all in one unforgettable bite—a cookie that will have everyone at the holiday party asking, “What is in this?!”
This is our go-to, tried-and-true recipe that wins every holiday cookie exchange. We’ve perfected the balance of mix-ins for the ultimate festive treat. Forget the boring and predictable. The solution to your holiday cookie dilemma is the gloriously chaotic, incredibly delicious Christmas Kitchen Sink Cookie.
Christmas Kitchen Sink Cookies are festive treats packed with a variety of sweet and salty mix-ins like pretzels, potato chips, M&Ms, and chocolate chips. The name comes from the idea of throwing in “everything but the kitchen sink,” resulting in a uniquely delicious cookie with a delightful chewy and crunchy texture. This is the ultimate, easy-to-follow guide for baking the most talked-about cookie of the season.
Craving a Christmas Cookie That Truly Has It All?
If you’re searching for a unique holiday treat, the Christmas Kitchen Sink Cookie is your answer. It’s the perfect embodiment of its name, based on the playful phrase “everything but the kitchen sink.” This cookie isn’t about rigid rules; it’s a celebration of textures and flavors. We’ve taken the core concept and perfected it for the holidays, creating an irresistible combination of buttery, soft cookie dough loaded with sweet chocolate, salty pretzels, crunchy potato chips, and festive M&Ms. Get ready to bake a cookie that satisfies every craving in a single bite.
Why This Will Be Your New Favorite Holiday Cookie
This recipe is more than just a list of ingredients; it’s a ticket to becoming a holiday baking legend. If you’re wondering if it’s worth your time during the busy festive season, here’s exactly why this cookie stands out from the crowd:
- The Perfect Flavor Explosion: This isn’t just a sweet cookie. It’s a masterful blend of rich chocolate and candy, perfectly balanced by the sharp, savory crunch of pretzels and salted potato chips.
- Incredibly Addictive Texture: Say goodbye to one-note cookies. This one is satisfyingly chewy in the middle, soft around the edges, and packed with delightful crunchy bits that make every bite an adventure.
- Festive & Fun: Loaded with red and green M&M’s and colorful sprinkles, these cookies look as good as they taste. They are a vibrant, eye-catching addition to any holiday cookie platter.
- Endlessly Customizable: Consider this our perfect base recipe, but feel free to get creative! We’ll share some fun variations, but you can throw in your own favorite mix-ins to make them truly yours.
- Surprisingly Easy: Despite the impressive results, the recipe is straightforward and doesn’t require any complicated steps or chilling time. It’s the definition of maximum reward for minimal effort.
The Ultimate Christmas Kitchen Sink Cookie Recipe (Updated for 2025)
Welcome to the main event! This section contains everything you need to create the most delicious and festive Christmas Kitchen Sink Cookies. We have tested this recipe multiple times to ensure the perfect balance of sweet and salty, chewy and crunchy. From the precise ingredient list to the simple, step-by-step instructions and our best pro-tips, we’ve got you covered.
@brooklynsbites Christmas Kitchen Sink Cookies 🎄🍪 My take on a festive chocolate chip Christmas cookie that is elevated with a bunch of added mix in’s, brown butter and 2 of my favorite Simply Organic products – Madagascar Vanilla Bean Paste & Ground Cinnamon! Be sure to shop @Simply Organic for all of your holiday baking this season 🎅🏼✨ #simplyorganic #savortheseason #ad INGREDIENTS (makes 18-20): – 1 cup butter – 1/3 cup brown sugar – 1/3 cup granulated sugar – 1/2 cup honey – 1 egg – 1 tbsp Simply Organic Madagascar Vanilla Bean Paste – 1 tsp Simply Organic Cinnamon – 1 tsp salt – 1 tsp baking soda – 2.5 cups all purpose flour – 1/2 cup dark chocolate chips – 1/2 cup white chocolate chips – 1/2 cup holiday M&M’s – 1/4 cup toffee pieces – 1/4 cup pretzels – Flakey sea salt DIRECTIONS 1. Cut butter into even tbsp pieces, then add to a saucepan over medium heat. Melt the butter and bring to a boil. Using a rubber spatula, stir butter consistently as it begins to brown (about 5 minutes). The liquid will start to foam, the milk solids will turn golden brown & have a nutty smell. Remove from the heat and allow the butter to cool for at least 30 minutes 2. Preheat oven to 350°F. Line a baking sheet with parchment paper, grease with cooking spray and set aside 3. In a large bowl, add cooled browned butter, brown sugar, granulated sugar, honey, egg and vanilla and mix until well combined 4. Add flour, cinnamon, salt and baking soda and mix until smooth. Add dark chocolate chips, white chocolate chips, holiday M&M’s, pretzels and toffee pieces and mix until evenly combined 5. Evenly scoop cookie dough onto the baking sheet – I like to top with a few extra chocolate chips! Bake for 10-12 minutes until the edges are golden brown 6. As soon as the cookies are removed from the oven, top with flakey sea salt & enjoy!
1. Gather Your Ingredients
The first step to amazing cookies is gathering high-quality ingredients. Here is the exact list of what you’ll need to create the perfect sweet and salty balance.
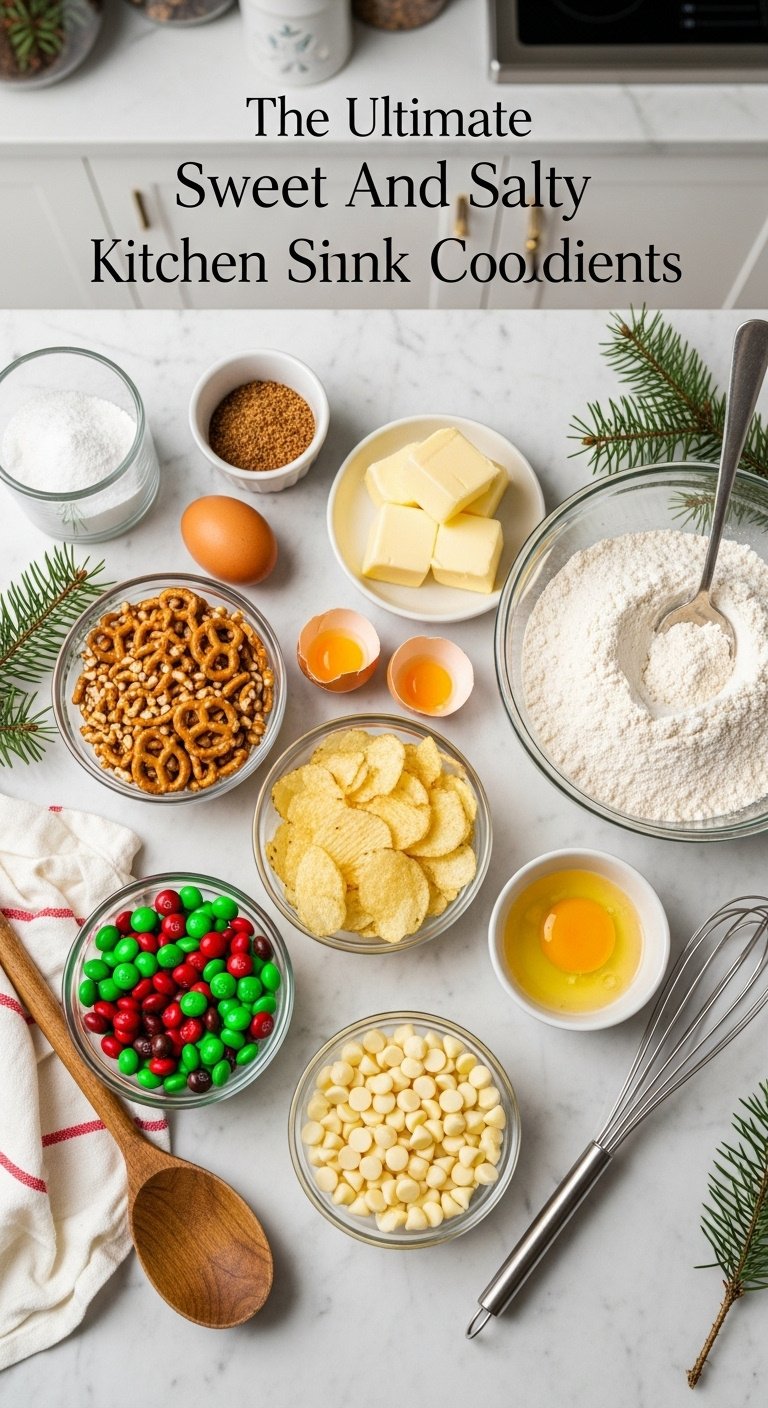
Ingredients:
- For the Cookie Dough:
- 1 cup (226g) unsalted butter, softened
- 1 cup (200g) packed light brown sugar
- 1/2 cup (100g) granulated sugar
- 2 large eggs
- 2 teaspoons vanilla extract
- 2 1/2 cups (300g) all-purpose flour
- 1 teaspoon baking soda
- 1/2 teaspoon salt
- For the Mix-Ins:
- 1 cup Christmas M&M’s (red and green)
- 1 cup semi-sweet or white chocolate chips
- 1 cup mini pretzels, roughly crushed
- 1 cup salted potato chips, roughly crushed
- 1/4 cup Christmas sprinkles (jimmies)
- Flaky sea salt, for sprinkling on top (optional)
Pin this ingredients list for your next baking day!
2. Step-by-Step Baking Instructions
Ready to bake? Follow these simple steps for perfect cookies every time. We’ve broken down the process to make it as easy as possible.

Instructions:
- Prep Your Station: Preheat your oven to 350°F (175°C). Line two large baking sheets with parchment paper.
- Cream Wet Ingredients: In a large bowl with an electric mixer, beat the softened butter, brown sugar, and granulated sugar on medium-high speed until light and fluffy, about 2-3 minutes.
- Add Eggs & Vanilla: Beat in the eggs one at a time, mixing well after each addition. Mix in the vanilla extract.
- Combine Dry Ingredients: In a separate medium bowl, whisk together the all-purpose flour, baking soda, and salt.
- Mix Dough: Gradually add the dry flour mixture to the wet ingredients, mixing on low speed until just combined. Do not overmix.
- Fold in the Fun: Switch to a rubber spatula and gently fold in the M&M’s, chocolate chips, crushed pretzels, crushed potato chips, and sprinkles. Be careful not to crush the mix-ins completely.
- Scoop & Shape: Scoop cookie dough using a 2-tablespoon cookie scoop and place mounds 2 inches apart on the prepared baking sheets.
- Bake to Perfection: Bake for 9-12 minutes, or until the edges are lightly golden brown but the centers still look slightly soft.
- Garnish & Cool: Remove from the oven. For a bakery-style look, gently press a few extra M&M’s and pretzel pieces onto the tops of the warm cookies. Sprinkle with flaky sea salt, if desired. Let the cookies cool on the baking sheet for 5 minutes before transferring them to a wire rack to cool completely.
Pro-Tip: For that perfect bakery look, pressing extra mix-ins on top right after baking is the key. It makes the flavors pop visually and ensures every cookie is picture-perfect.
Save these instructions to your favorite Christmas Baking Pinterest board!
5 Pro-Tips & Fun Variations for the Best Kitchen Sink Cookies
You have the recipe, now let’s unlock its full potential. These expert tips and creative variations will take your Christmas Kitchen Sink Cookies from great to absolutely unforgettable. Here’s how to solve common cookie problems and make this recipe entirely your own.
1. The Secret to Perfectly Round Cookies
The secret to perfectly round, uniform cookies is a simple trick called the “cookie scoot.” This is done immediately after the cookies come out of the oven.
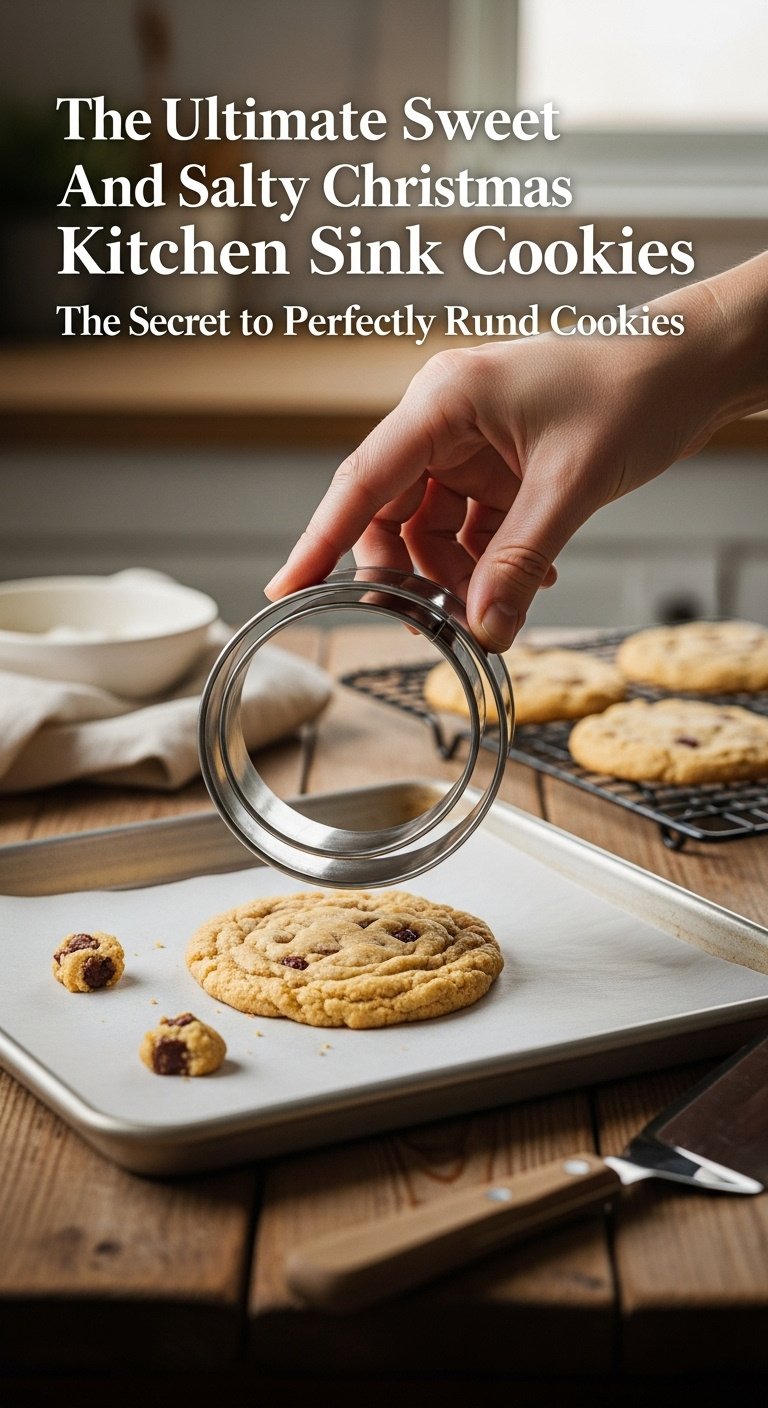
Materials Needed:
- One baked, still-warm cookie
- A large circular cookie cutter or the rim of a drinking glass (must be wider than the cookie)
Step-by-Step Directions:
- Immediately after removing the baking sheet from the oven, take your cookie cutter or glass.
- Place it over one of the warm, pliable cookies.
- Gently swirl the cutter/glass in a circular motion around the cookie. The edges will nudge into a perfect circle.
- Repeat for the remaining cookies while they are still hot.
Pro-Tip: Work quickly! This trick only works in the first minute or two after the cookies come out of the oven while they are still soft and pliable.
Love this tip? Share it with a friend!
2. Stop the Spread: To Chill or Not to Chill?
To prevent cookies from spreading too much, the most effective method is to chill the dough. While our recipe is designed to work without chilling, factors like a warm kitchen or overly soft butter can lead to flatter cookies.
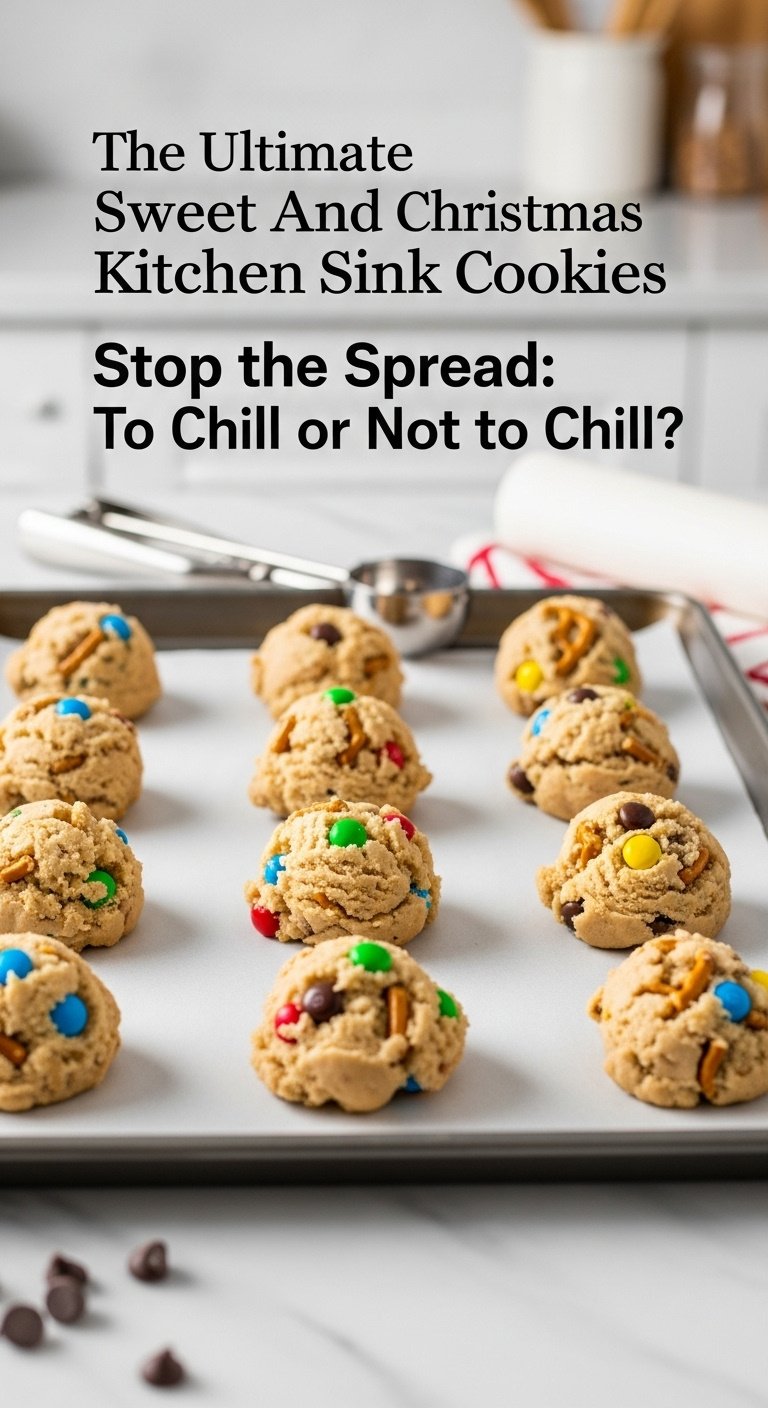
Materials Needed:
- Prepared cookie dough
- Plastic wrap or airtight container
- Refrigerator
Step-by-Step Directions:
- Assess Your Dough: If your kitchen is warm or your butter was very soft, your dough may be prone to spreading.
- The Quick Chill: For thicker cookies, cover the bowl of dough with plastic wrap and chill in the refrigerator for at least 30-60 minutes before scooping.
- Overnight for More Flavor: For an even deeper, more developed flavor and minimal spread, chill the dough overnight.
- Bake from Chilled: Scoop the chilled dough directly onto the baking sheet. You may need to add 1-2 minutes to the bake time.
Lesson Learned: While our base recipe is designed to work without chilling, if your cookies consistently spread too much, the temperature of your butter is the likely culprit. A 30-minute chill is the fastest way to fix it.
Pin this baking tip for perfect cookies every time!
3. Next-Level Flavor: Brown Butter & Other Variations
To elevate the flavor, you can customize the base recipe with creative additions like brown butter or different mix-ins. These simple swaps can create an entirely new cookie experience.
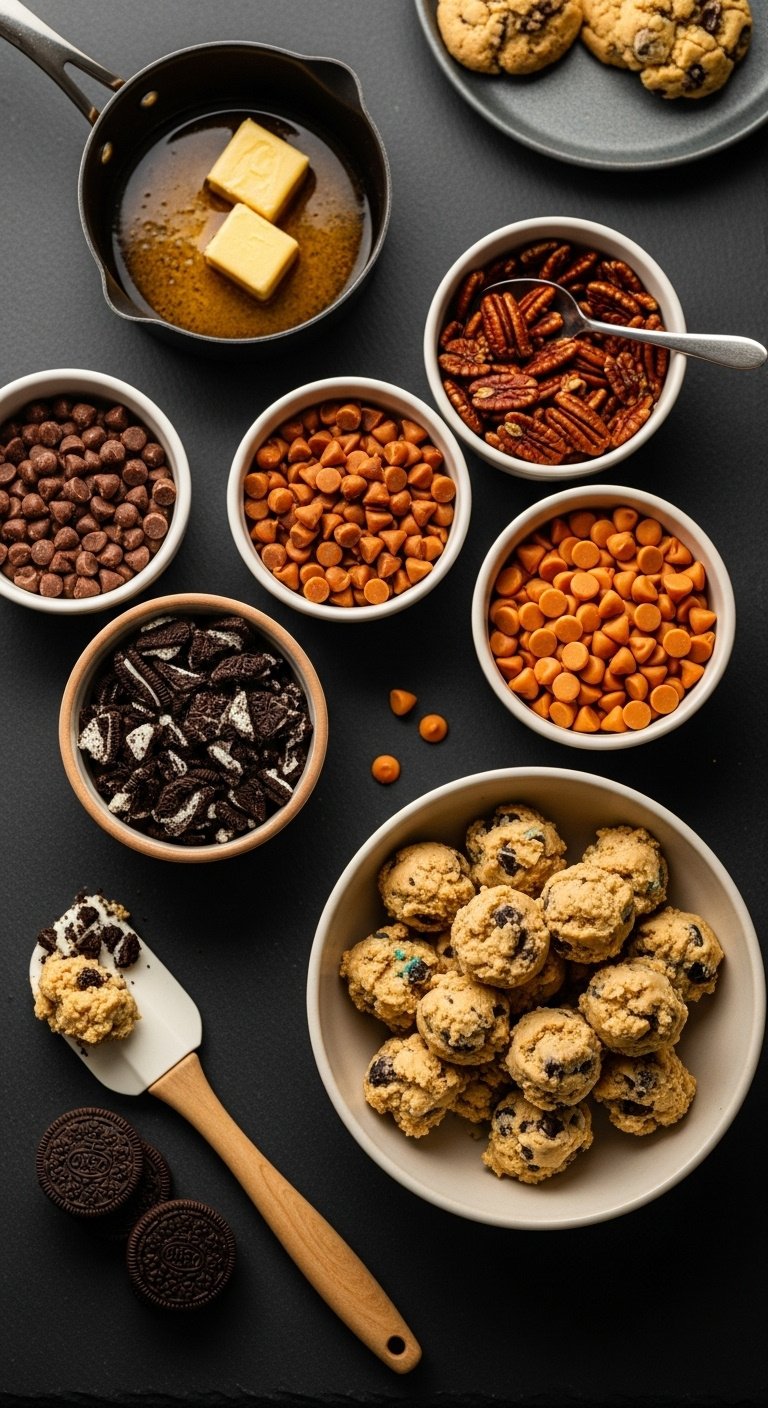
Materials Needed:
- Base cookie dough recipe
- Your choice of variations below
Step-by-Step Directions:
- For Brown Butter Cookies: Before starting, melt the 1 cup of butter in a light-colored saucepan over medium heat. Swirl constantly until it foams, turns golden brown, and smells nutty. Let it cool completely before using it in the recipe.
- For Oreo Cookies: Replace 1 cup of the chocolate chips with 1 cup of roughly chopped Oreo cookies.
- For Oatmeal Cookies: Reduce the flour to 2 cups and add 1 cup of old-fashioned rolled oats with the dry ingredients.
- Other Fun Ideas: Try swapping some of the M&M’s or chocolate chips for butterscotch chips, peanut butter chips, toffee bits, chopped candy bars, or toasted pecans.
Pro-Tip: When making brown butter, be sure to scrape all the little brown bits from the bottom of the pan into your mixture—that’s where all the flavor is!
Which variation will you try first? Let me know!
4. Make-Ahead and Storage Guide
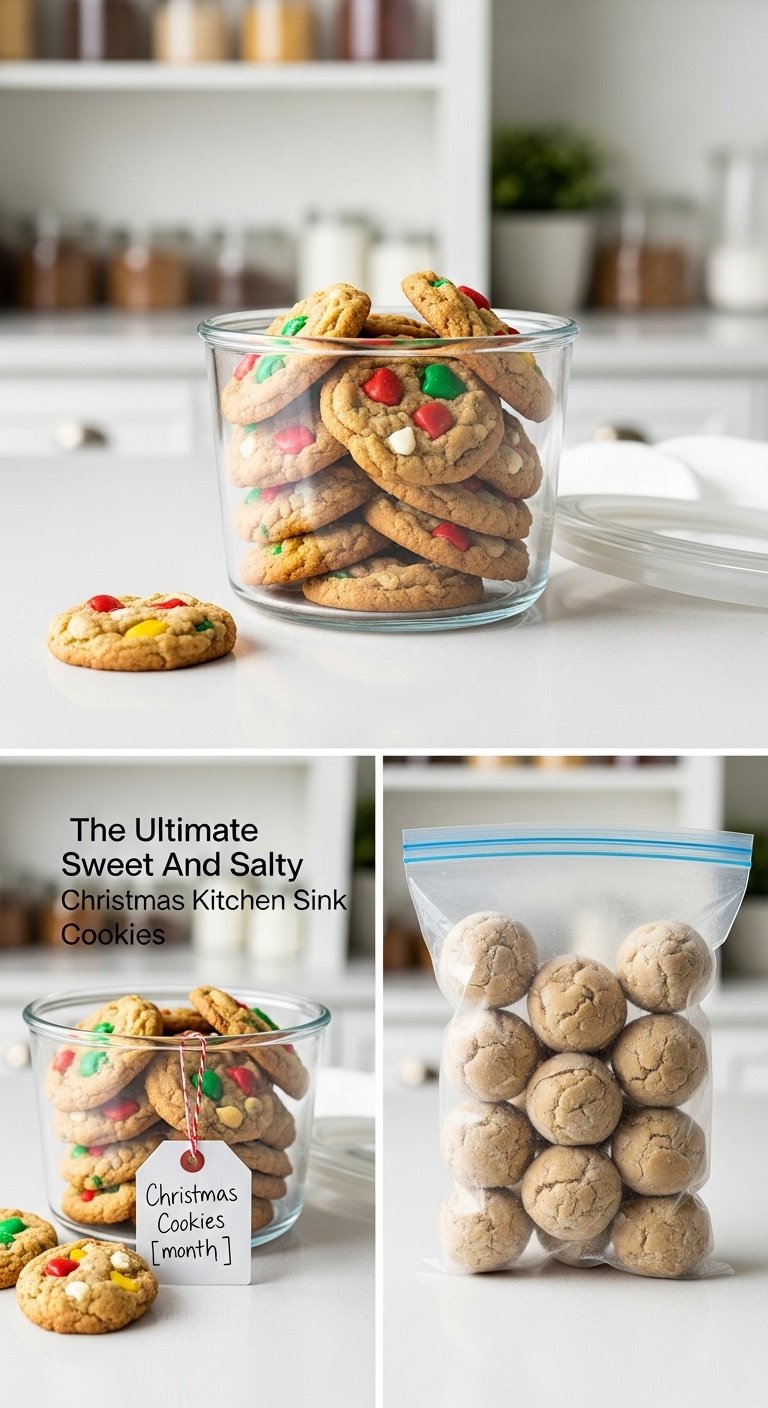
To properly store your cookies, use an airtight container for baked cookies and freezer-safe bags for dough. This ensures they stay fresh for days or can be prepared months in advance.
Materials Needed:
- Airtight container or resealable freezer bags
- Parchment paper
Step-by-Step Directions:
- Storing Baked Cookies: Once cooled completely, store cookies in an airtight container at room temperature. They will stay fresh for up to 5 days.
- Freezing Baked Cookies: Place cookies in a single layer in a freezer-safe bag or container, separating layers with parchment paper. They can be frozen for up to 3 months.
- Freezing Dough Balls: Scoop the dough onto a parchment-lined baking sheet and freeze until solid. Transfer the frozen dough balls to a freezer bag. They can be frozen for up to 3 months. Bake directly from frozen, adding 2-3 minutes to the baking time.
Lesson Learned: To keep your cookies extra soft, add a slice of sandwich bread to the airtight container. The cookies will absorb moisture from the bread, keeping them chewier for longer.
Get a head start on holiday baking! Pin this guide for later.
5. Achieving the Perfect Sweet & Salty Balance
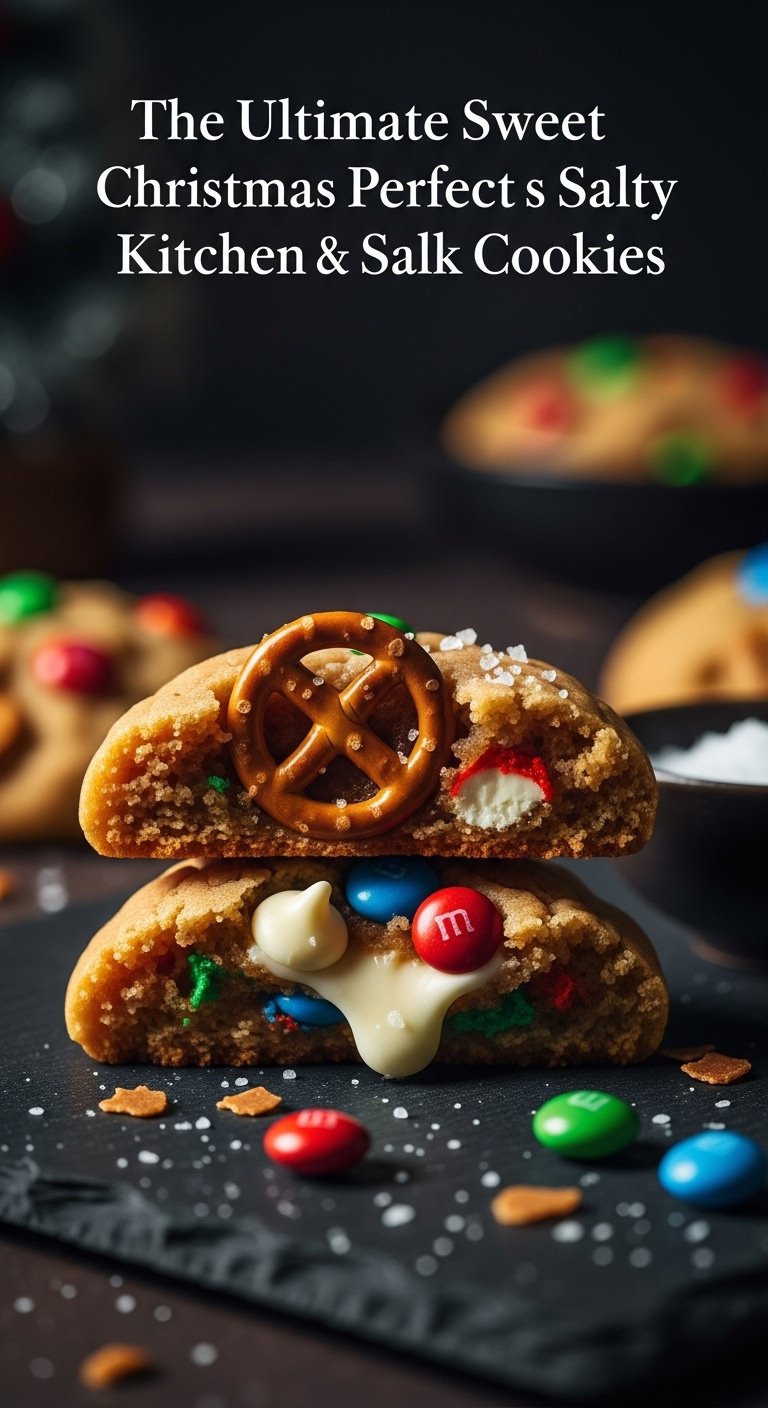
The key to the perfect flavor is maintaining a roughly 1:1 ratio of sweet-to-salty mix-ins. This ensures that neither flavor overpowers the other, creating a harmonious and addictive taste.
Materials Needed:
- Your sweet and salty mix-in ingredients
- Measuring cups
- Flaky sea salt
Step-by-Step Directions:
- Follow the 1:1 Ratio: As a general rule, aim for an equal volume of sweet mix-ins to salty mix-ins. Our recipe uses about 2 cups of sweet (M&Ms, chocolate chips) and 2 cups of salty (pretzels, chips).
- Choose the Right Chip: Use a classic, salted potato chip. Ridged or wavy chips provide a sturdier crunch that holds up well in the dough.
- Don’t Skip the Dough Salt: The 1/2 tsp of salt in the dough itself is crucial. It enhances all the other flavors and balances the sweetness of the sugars.
- Finish with Flaky Salt: Sprinkling a tiny bit of flaky sea salt on top of the warm cookies provides a final, bright pop of saltiness that makes the flavors sing.
Pro-Tip: Taste your pretzels and chips beforehand. If they are extra salty, you might slightly reduce the amount. The key is to complement, not overpower.
Ready to bake? Jump back to the full recipe!
Here’s a quick summary of the most important points to remember for baking success.
- Balance is Key: Aim for a 1:1 ratio of sweet mix-ins (like M&Ms and chocolate chips) to salty mix-ins (like pretzels and potato chips).
- Don’t Overmix: Mix the flour until just combined, and fold in the chunky ingredients gently by hand to maintain their texture.
- Chill if Needed: If your dough feels too soft or you want thicker cookies, a 30-minute chill in the fridge works wonders.
- Garnish After Baking: For a professional look, press extra M&M’s and pretzel pieces onto the cookies right after they come out of the oven.
- Get Creative! The “Kitchen Sink” concept is all about customization. Don’t be afraid to try different chips, candies, or nuts.
They’re called “Kitchen Sink Cookies” because they include a wide variety of mix-ins, based on the old saying of throwing in “everything but the kitchen sink.” This name highlights the cookie’s highly customizable nature, allowing bakers to use whatever sweet and salty treats they have on hand to create a unique and delicious final product.
A classic kitchen sink cookie has a sweet and salty theme. Common ingredients include salty items like crushed pretzels and potato chips, and sweet items like M&M’s, chocolate chips, butterscotch chips, or toffee bits. The base is a standard cookie dough, but the mix-in possibilities are nearly endless, encouraging creativity.
The Panera Kitchen Sink Cookie is slightly different and typically includes semi-sweet chocolate, milk chocolate, caramel pieces, and pretzels, all topped with a sprinkle of sea salt. While it follows the same sweet and salty principle, our Christmas version adds festive M&M’s and potato chips for extra color and crunch.
Absolutely! The cookie dough can be made and stored in an airtight container in the refrigerator for up to 3 days. For longer storage, scoop the dough into balls, freeze them solid on a baking sheet, and then transfer them to a freezer bag. You can bake them directly from frozen for up to 3 months.
Final Thoughts
Now you have the ultimate recipe for a Christmas cookie that is guaranteed to be a showstopper. Christmas Kitchen Sink Cookies are more than just a treat; they’re a fun baking adventure waiting to happen. Embrace the ‘everything but the kitchen sink’ spirit and make this recipe your own!
What’s the one wild-card ingredient you’re thinking of adding to your batch? Share your creative ideas in the comments below
