As an Amazon Associate KitchenwareSets.com earns from qualifying purchases.
13 Simple Halloween Kitchen Garland Ideas You Need To Try
Want to Make Your Kitchen the Spooky Heart of Your Home This 2025?
When the leaves start to turn and the air gets crisp, we deck out our living rooms, porches, and entryways for Halloween. But what about the one room that’s truly the heart of the home? The kitchen often gets overlooked, left out of the spooky festivities. You want to bring that fun, festive Halloween spirit into your kitchen, but you don’t want to clutter your precious counter space or spend a fortune on decorations you’ll only use for a few weeks.
Finding decorations that are simple, impactful, and kitchen-appropriate can feel like a challenge. You need something that adds a pop of Halloween fun without getting in the way of cooking and daily life. It’s a struggle to find that perfect balance between festive and functional, leaving you wondering if it’s even worth the effort to decorate your kitchen at all.
Halloween kitchen garlands are a simple, versatile, and budget-friendly way to add festive flair. They can be draped over cabinets, hung in windows, or strung across doorways to create a cohesive and spooky theme without cluttering valuable counter space. Garlands are the ultimate secret weapon for maximum impact with minimal effort. As a home decor enthusiast who’s transformed my own kitchen from bland to boo-tiful year after year, I’ve learned they are the perfect solution.
13 Simple Halloween Kitchen Garland Ideas You Need To Try This Weekend
Ready to transform your kitchen into a spooky-chic masterpiece? This curated list of 13 Halloween garland ideas offers something for every style, from rustic farmhouse to modern minimalist. These ideas, inspired by the latest Pinterest trends and designed for real-world kitchens, are simple enough for anyone to tackle this weekend. Whether you love a good DIY project or prefer the convenience of pre-made decor, you’ll find the perfect inspiration to make your kitchen hauntingly beautiful.
1. Spooky Brown Leaf Garland
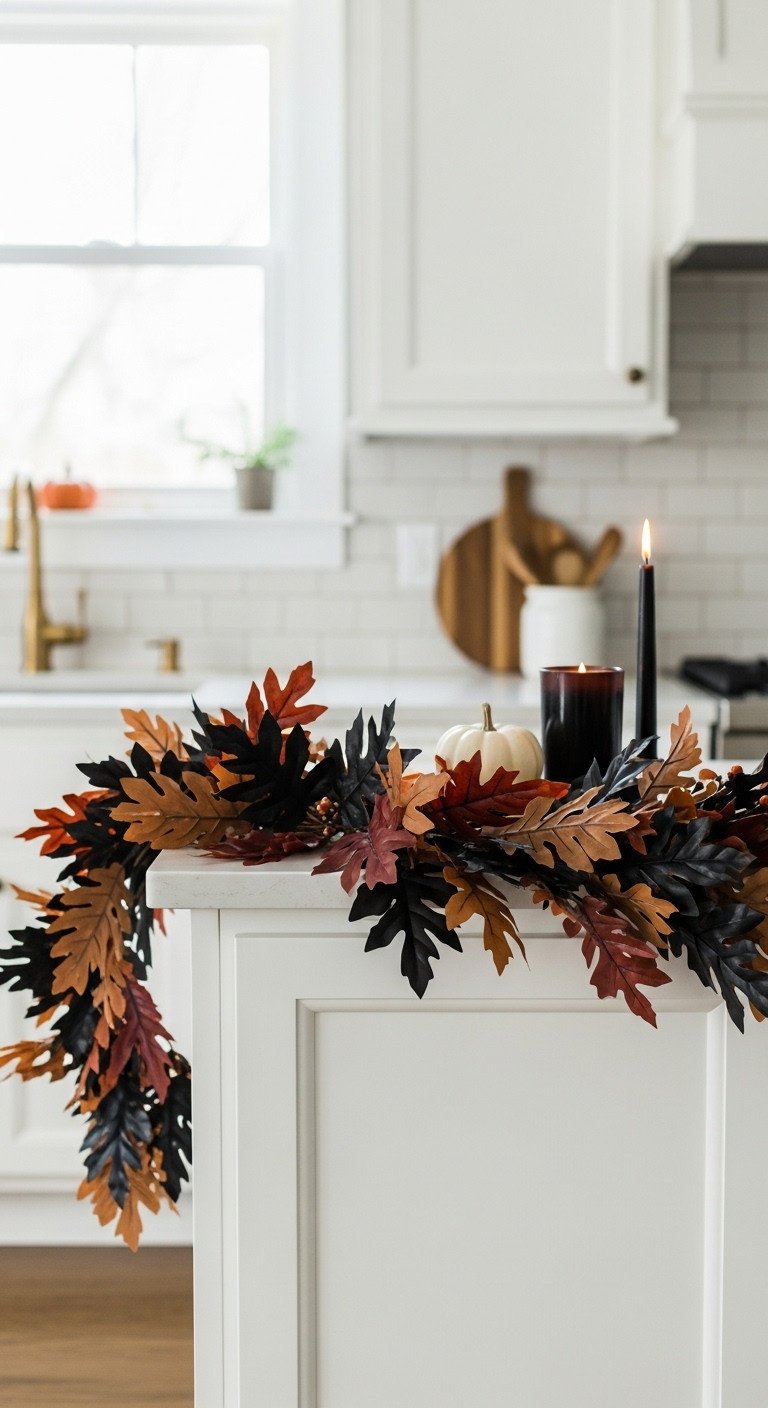
Pin this moody autumn look for your kitchen!
To achieve a subtle, spooky autumn vibe, a faux leaf garland with dark, moody tones is the perfect choice. This look beautifully bridges the gap between seasonal fall decor and specific Halloween flair, giving your kitchen an eerie, rustic charm.
- Materials Needed: A long strand of faux brown leaf garland, black spray paint (optional), small clips or hooks.
- Step-by-Step Directions:
- Start with a base garland. For a spookier feel, look for a high-quality faux fall leaf garland that includes darker tones of brown, black, and deep red.
- (Optional) For an extra touch of decay, lightly mist some of the leaves with black spray paint. This creates a haunting, withered effect. Allow it to dry completely before hanging.
- Drape your finished garland across the top of your kitchen cabinets, frame a window, or run it along an open shelf.
- Use small, clear adhesive hooks to secure the garland in place. This ensures it stays put without causing any damage to your surfaces.
Pro-Tip: For added ambiance, intertwine a strand of warm, orange-colored micro-LED fairy lights with the leaves. It creates a magical, enchanting glow in the evening that highlights the spooky textures.
2. Hanging Bats Garland
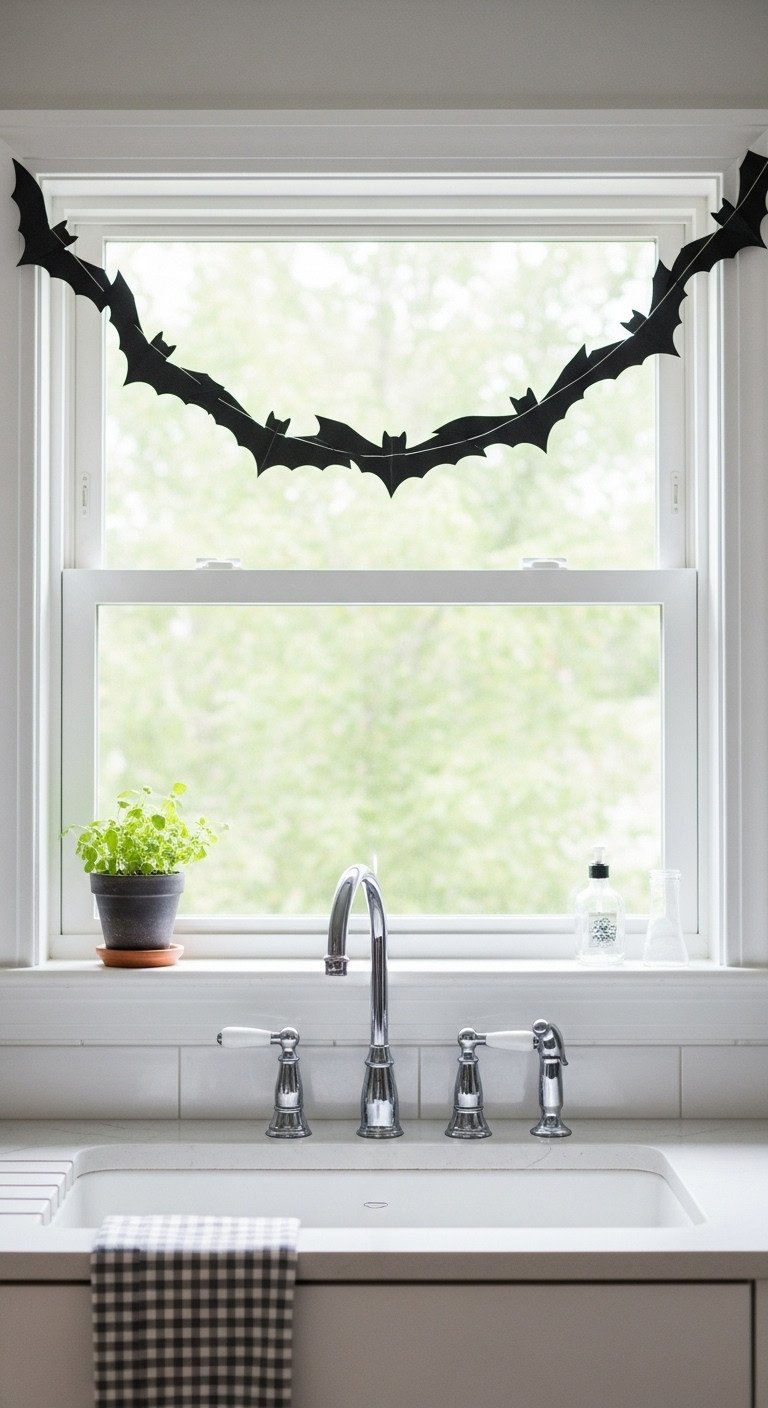
Save this easy bat garland idea to your Halloween board!
For a classic and dynamic Halloween look, a simple garland of hanging bats is a can’t-miss choice. It’s an easy DIY project that adds a dramatic, spooky effect, especially when silhouetted against a window.
- Materials Needed: Black cardstock or felt, bat template, scissors, small hole punch, black string or twine.
- Step-by-Step Directions:
- Trace and cut out several bat shapes from your black cardstock. To make this project even faster, consider using a pack of pre-cut black paper bat cutouts, which come in various sizes.
- Use a small hole punch to make two holes in the center of each bat, one near the top of each wing.
- Thread your string through the holes. For a more dynamic “flying” effect, alternate the threading direction to make some bats appear to swoop up and others down.
- Space the bats out along the string and hang your finished garland across a window, in a doorway, or from one cabinet to another.
Lesson Learned: Using different sizes of bats adds more visual interest and a sense of depth, making the garland look more dynamic and realistic, as if a whole colony is taking flight in your kitchen.
3. DIY Ghosts Garland
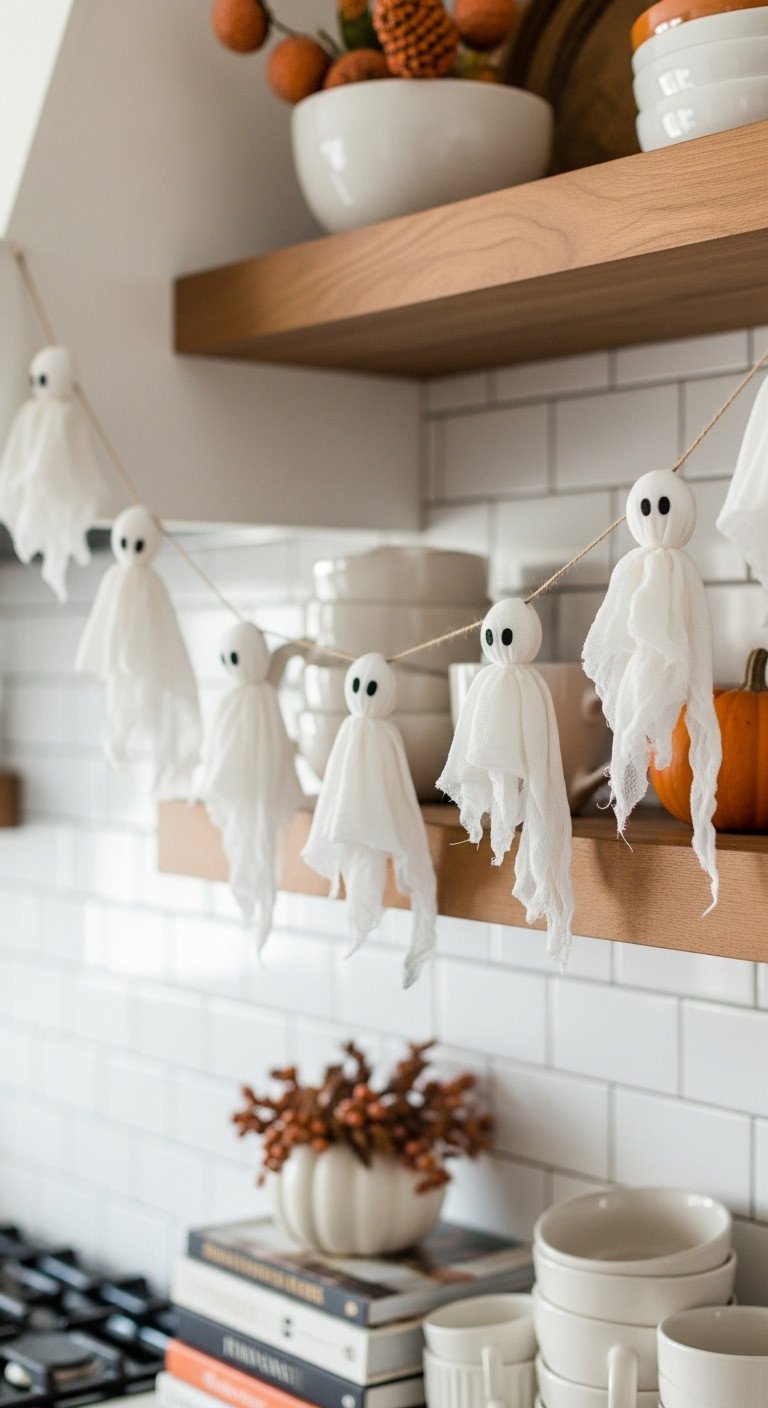
Love this cute ghost garland? Pin it now!
To create a charming, classic, and slightly spooky decoration, a DIY ghost garland made from simple materials like cheesecloth is a fantastic project. It’s an affordable and fun craft that adds a touch of handmade warmth to your spooky decor.
- Materials Needed: Cotton balls, squares of white fabric or cheesecloth (about 5×5 inches), black permanent marker, twine or string.
- Step-by-Step Directions:
- Place a single cotton ball in the center of a square of fabric. For an ethereal, layered, and more professional-looking ghost, use a high-quality, food-grade cheesecloth.
- Drape the fabric neatly over the cotton ball to form the ghost’s head.
- Tie a small piece of string tightly under the cotton ball to secure the head and create the flowy ghost body.
- Use a black permanent marker to draw two small ovals for eyes on the head.
- Tie the tops of the ghosts onto a long piece of rustic twine to create your adorable, spooky garland.
Pro-Tip: For a “floating” effect that looks incredible, dip the bottom edges of the cheesecloth in a 50/50 mixture of water and white school glue. Let them dry in a crumpled, wavy shape to give them permanent, ghostly movement.
4. Strips & Shreds Fabric Garland
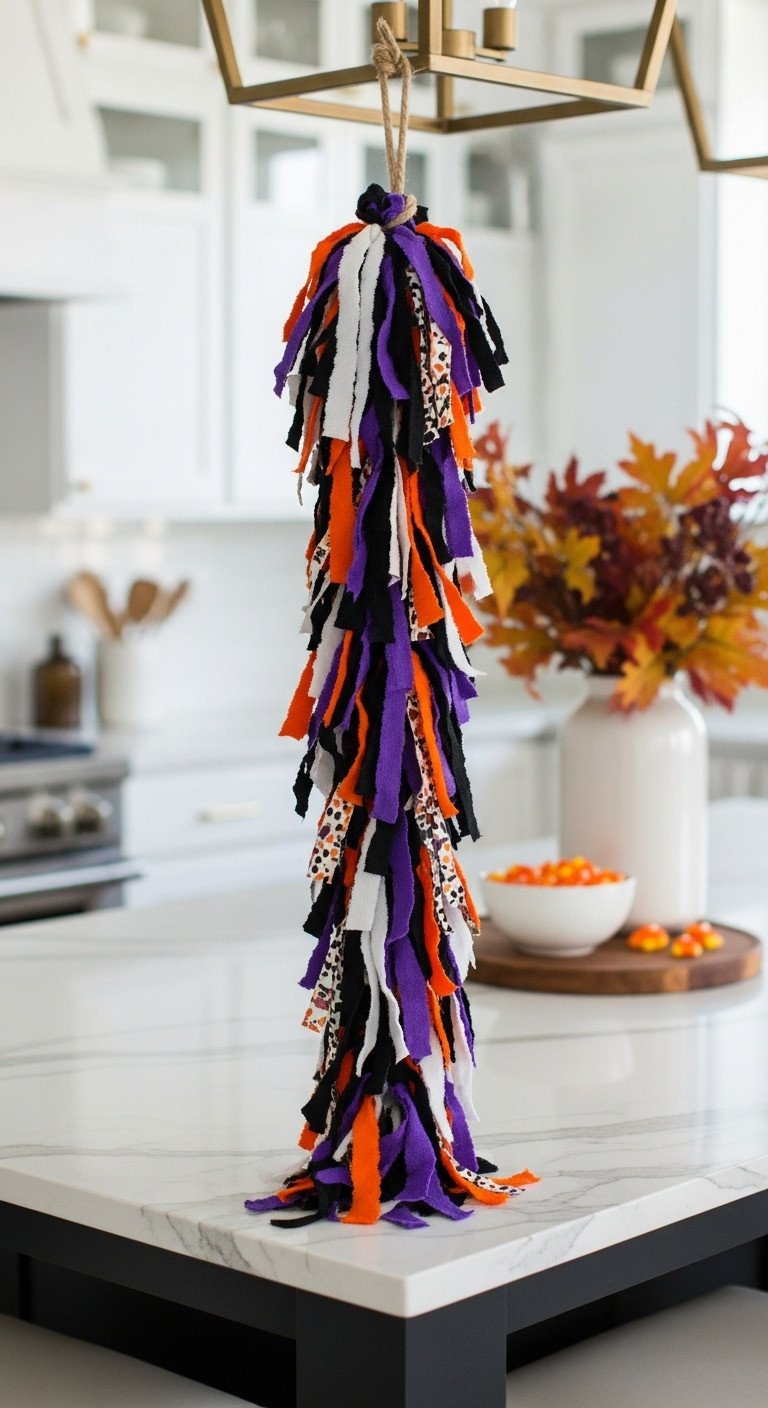
Add a pop of color with this idea! Save it for later.
For a colorful, textured, and playfully chaotic accent, a no-sew fabric garland is an excellent choice. This is a perfect project for using up fabric scraps and adds a whimsical, high-impact decoration to places like your kitchen island or doorways.
- Materials Needed: Fabric in Halloween colors (orange, black, purple, white), twine or rope, rotary cutter or scissors.
- Step-by-Step Directions:
- Cut your fabric into strips of varying lengths and widths (for example, 1-2 inches wide and 10-12 inches long). Using a pre-cut fabric scrap bundle in Halloween colors is a fantastic shortcut that gives you a variety of patterns and textures.
- Take a single strip of fabric and tie it onto your long piece of twine using a simple knot.
- Continue tying on strips, making sure to alternate colors and patterns to create a random, festive look. Bunch them closely together for a full, fluffy appearance.
- Once your twine is full and looks lush, trim any excessively long pieces and hang it up for an instant party vibe.
Pro-Tip: Mix in different textures like lace, burlap, or ribbon along with the cotton fabric. This simple addition gives the garland more dimension and a high-end, crafty feel that looks professionally made.
5. Halloween Candy Garland
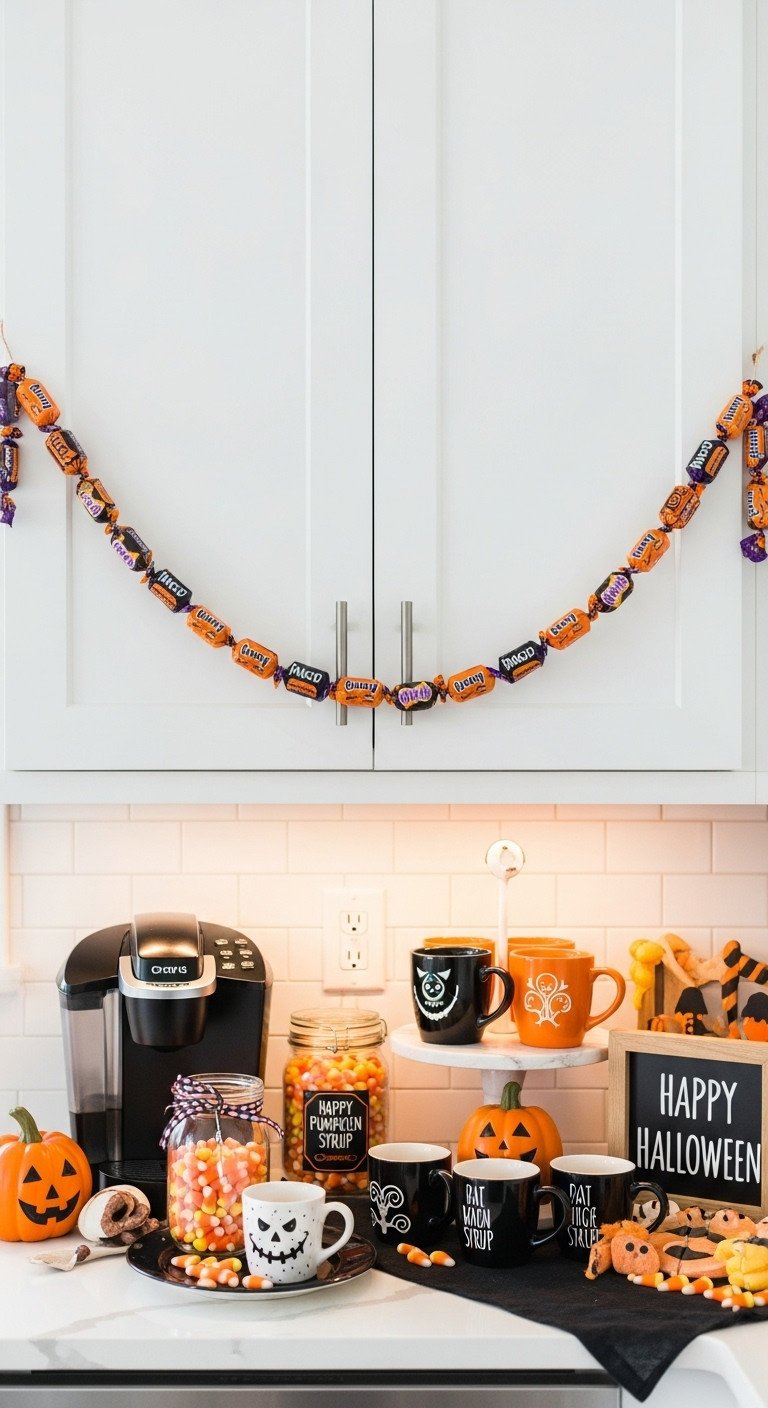
The sweetest decoration idea! Pin it for your Halloween party.
To create a fun, unique, and edible decoration, a garland made from real Halloween candy is a guaranteed hit. It serves as both a festive decoration and a sweet treat station, making it perfect for a Halloween party or a home with kids.
- Materials Needed: A large bag of assorted, individually wrapped Halloween candies (like taffy, small chocolate bars, or lollipops), a sturdy needle, and strong thread or fishing line.
- Step-by-Step Directions:
- Choose candies with wrappers that are easy to pierce without tearing. A bulk assortment of Halloween candy will give you the best variety of bright colors and fun shapes.
- Thread your needle with a long piece of thread, doubling it up for extra strength to hold the weight of the candy.
- Carefully push the needle through the sealed wrapper ends of each piece of candy. Be sure to go through the wrapper only, avoiding the candy itself to keep it fresh.
- Continue stringing candies, mixing up the types and colors, until your garland reaches the desired length.
- Hang it above a coffee bar or in a doorway and let your family or guests enjoy a treat!
Lesson Learned: Use lighter-weight candies for the best results. Heavier candies can cause the thread to sag or even break over time. Individually wrapped saltwater taffy and small Tootsie Rolls work perfectly for this project.
6. Ominous Ivy Garland
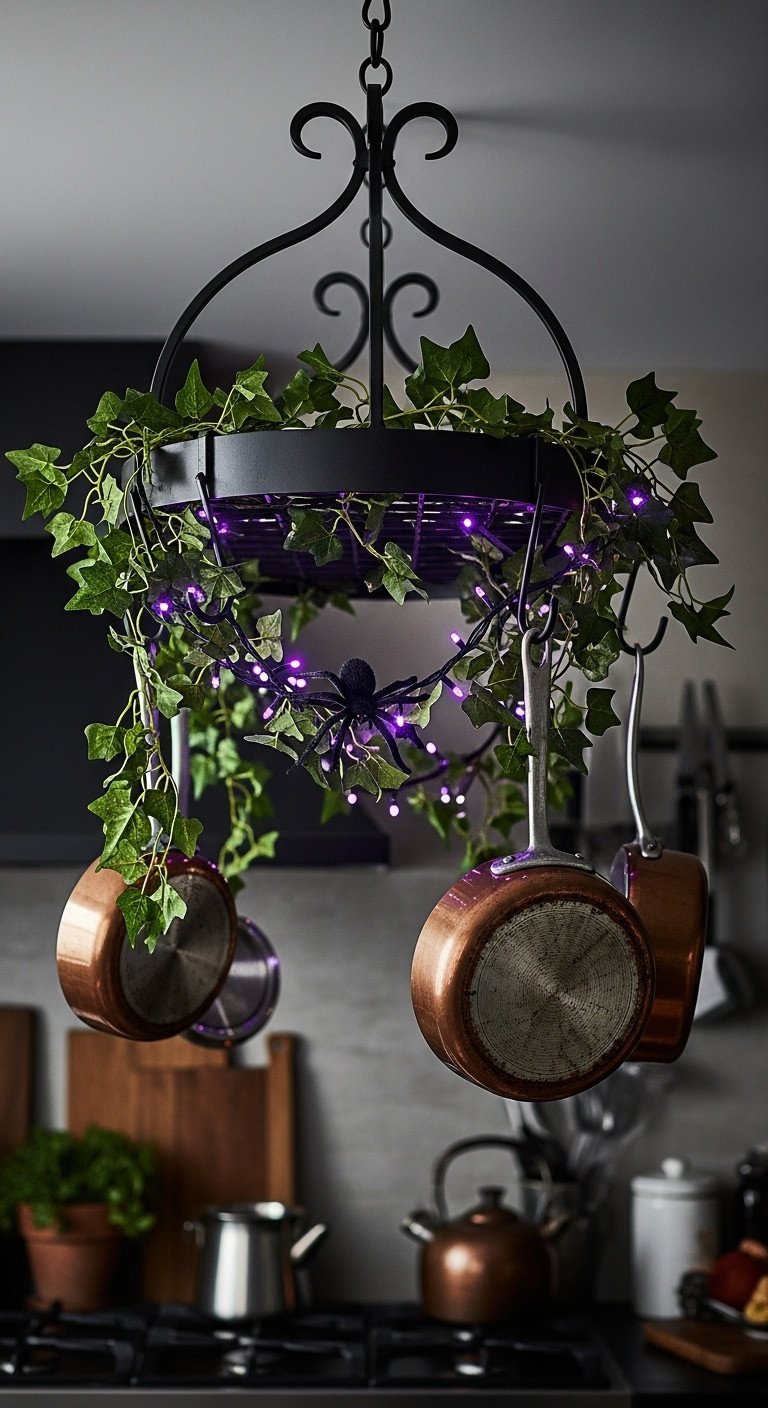
Save this elegant and eerie idea for a sophisticated Halloween look!
For a more subtle, gothic, and sophisticated Halloween aesthetic, a dark ivy garland creates a haunted garden vibe. This is a perfect way to add a spooky touch that feels elegant and less cartoonish, blending beautifully with modern or traditional decor.
- Materials Needed: Several strands of dark green or black faux ivy garland, small black zip ties or floral wire.
- Step-by-Step Directions:
- Start with a few strands of realistic-looking dark artificial ivy. The key to this look is finding ivy that isn’t too bright or plasticky to maintain that ominous feel.
- Twist two or three strands together to create one fuller, more substantial vine. This makes the garland look more lush and realistic.
- Drape and weave the ivy garland along the top of your cabinets, around a pot rack, or up a support beam in your kitchen for a creepy, overgrown look.
- Use small black zip ties or green floral wire to discreetly secure the vines in place, ensuring they stay exactly where you want them.
Pro-Tip: For a truly haunted feel, add a few small, plastic black spiders nestled within the ivy leaves. It’s a subtle detail that adds a big spooky impact when guests finally notice them.
7. Felt Friends Garland
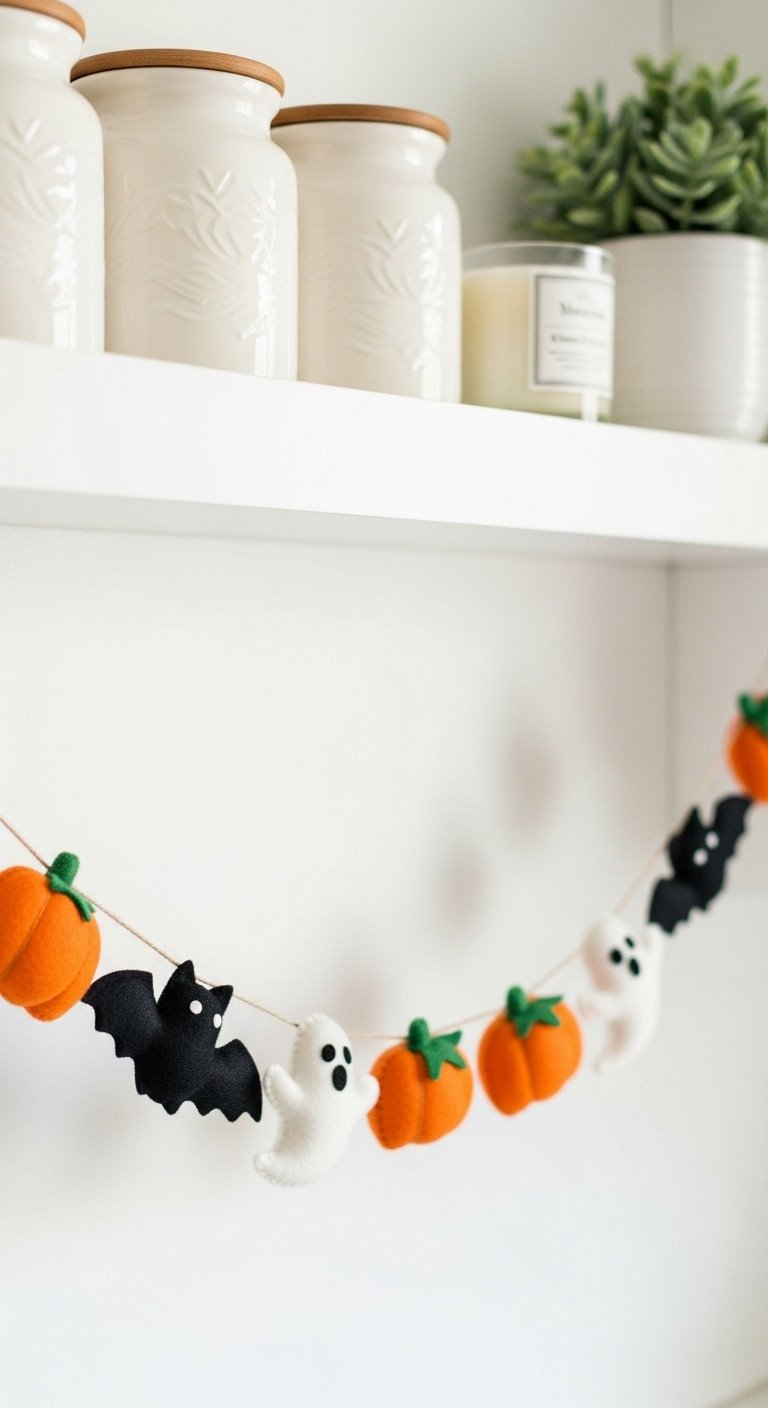
How cute is this? Pin this felt garland idea!
To achieve a cute, non-scary, and crafty Halloween look, a felt garland is the ideal choice. The soft texture and handmade feel add a cozy and heartwarming touch to your decor, perfect for homes with young children or anyone who prefers friendly over frightening.
- Materials Needed: A pre-made Halloween icons felt garland or a DIY kit with felt sheets (white, black, orange), embroidery floss, and stuffing.
- Step-by-Step Directions:
- Making detailed felt figures from scratch can be time-consuming. To get this adorable look easily, start with a high-quality pre-made felt Halloween garland.
- These garlands often come with beautifully crafted felt shapes like ghosts, pumpkins, and bats already strung on a piece of twine.
- Simply unpack and hang! Drape it along open shelves, across your stove’s range hood, or in a doorway for an instant dose of cute.
- The soft, plush texture adds a cozy touch that contrasts nicely with the hard surfaces of a kitchen, making the space feel more inviting.
Pro-Tip: If you buy a pre-strung garland, you can easily customize it. Add your own felt balls or natural wooden beads in between the Halloween shapes for a more unique, personalized look that perfectly matches your style.
8. Wooden Cutout Garland
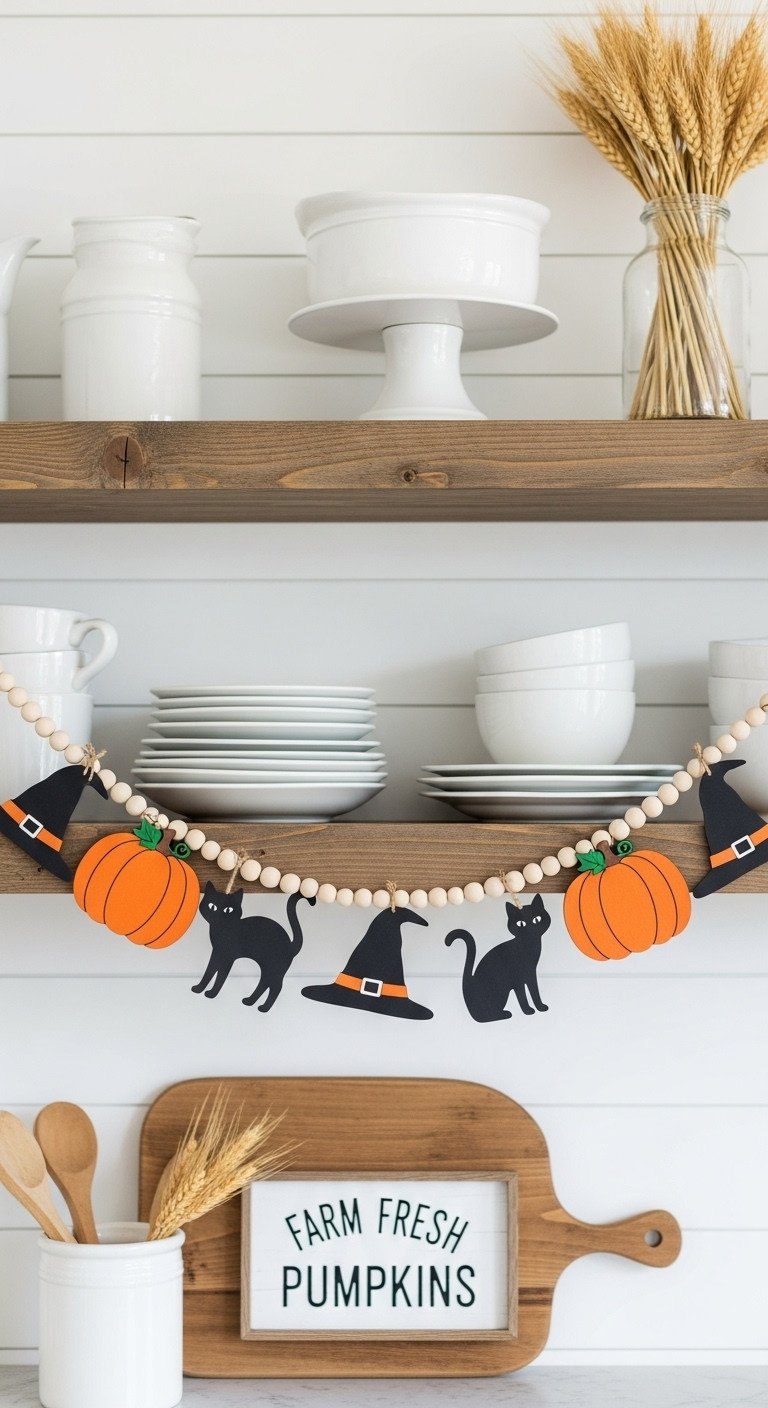
Perfect for a farmhouse kitchen! Save this rustic idea.
If your home has a rustic, farmhouse, or natural aesthetic, a wooden cutout garland is the perfect way to integrate Halloween decor seamlessly. The combination of painted wood, natural beads, and rustic twine adds warmth and texture.
- Materials Needed: Unfinished wooden Halloween cutouts, craft paint (orange, black, white), rustic twine, wooden beads.
- Step-by-Step Directions:
- Paint your wooden cutouts. You can find packs of assorted unfinished wood Halloween shapes like pumpkins, ghosts, and cats at most craft stores, which are perfect for this project.
- Once the paint is completely dry, plan your pattern. A popular and visually pleasing choice is alternating a wooden shape with a few wooden beads.
- Cut a long piece of twine and tie a loop at one end for easy hanging.
- String on your beads and cutouts according to your chosen pattern. Tie another loop at the other end when you’re finished.
- Hang your creation across a mantel, an open shelf, or a window for a touch of rustic Halloween charm.
Pro-Tip: Before painting, you can lightly sand the edges of the wooden cutouts with a fine-grit sandpaper. This gives them a more distressed, weathered look that enhances the cozy farmhouse aesthetic.
9. Vintage Paper Garland
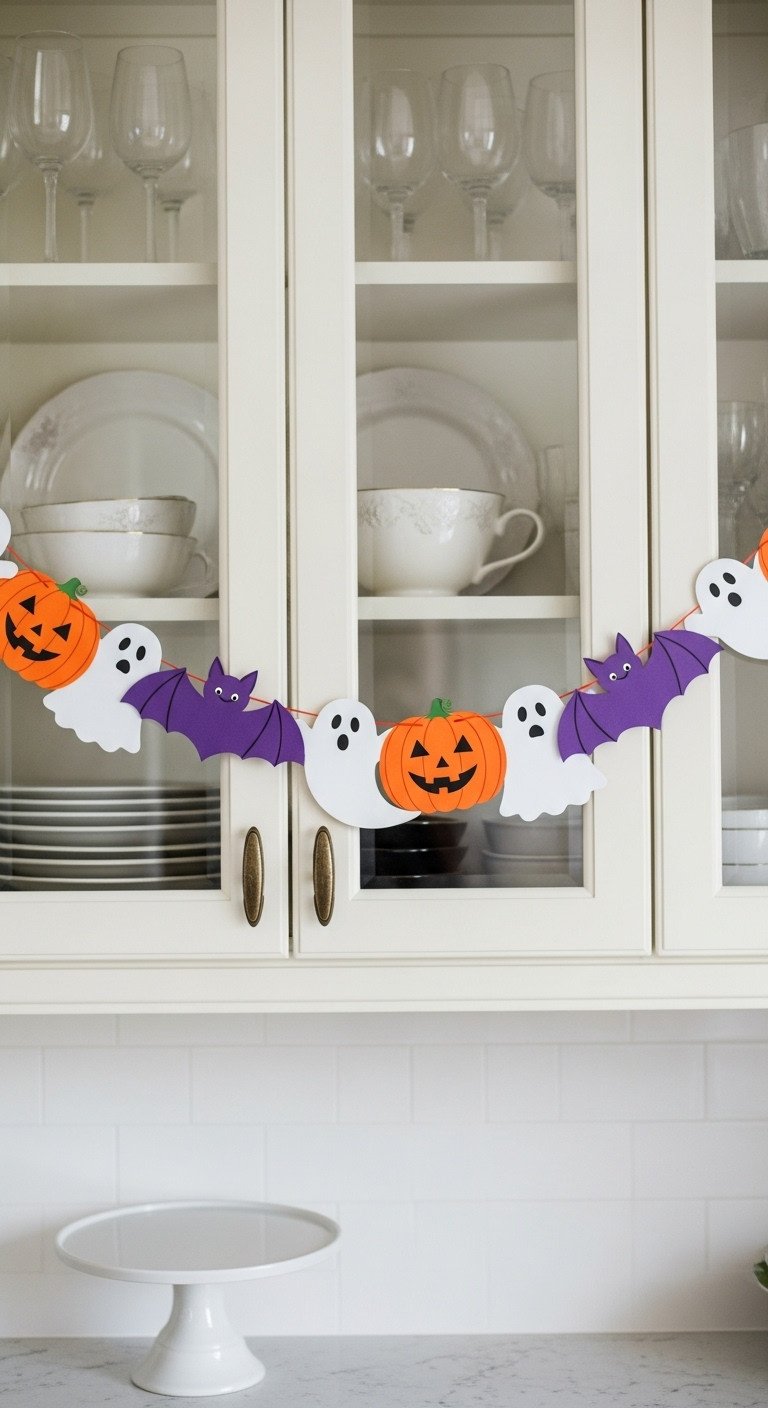
Get that retro Halloween vibe! Pin this vintage idea.
To recreate a nostalgic, old-school Halloween vibe, a vintage-inspired paper garland is an absolute must. The unique illustrations and faded color palettes of these decorations bring a charming, mid-century feel to your kitchen.
- Materials Needed: A pre-made vintage-style paper Halloween garland.
- Step-by-Step Directions:
- The charm of this look is all in the specific artwork. Search for a replica vintage Halloween paper garland that features classic, non-scary illustrations of jack-o’-lanterns, cats, and ghosts.
- These garlands are typically very lightweight, making them incredibly easy to hang anywhere.
- Drape one across the front of glass-front cabinets. It adds a perfect pop of color and nostalgia without blocking the view of your pretty dishes inside.
- You can also hang it along a plate rail or in a doorway to bring that charming, retro feeling to your entire kitchen space.
Pro-Tip: Pair this garland with other retro decor, like a ceramic Halloween tree or vintage-inspired kitchen towels, to create a cohesive, throwback theme that feels thoughtfully curated.
10. Pumpkin Patch Garland
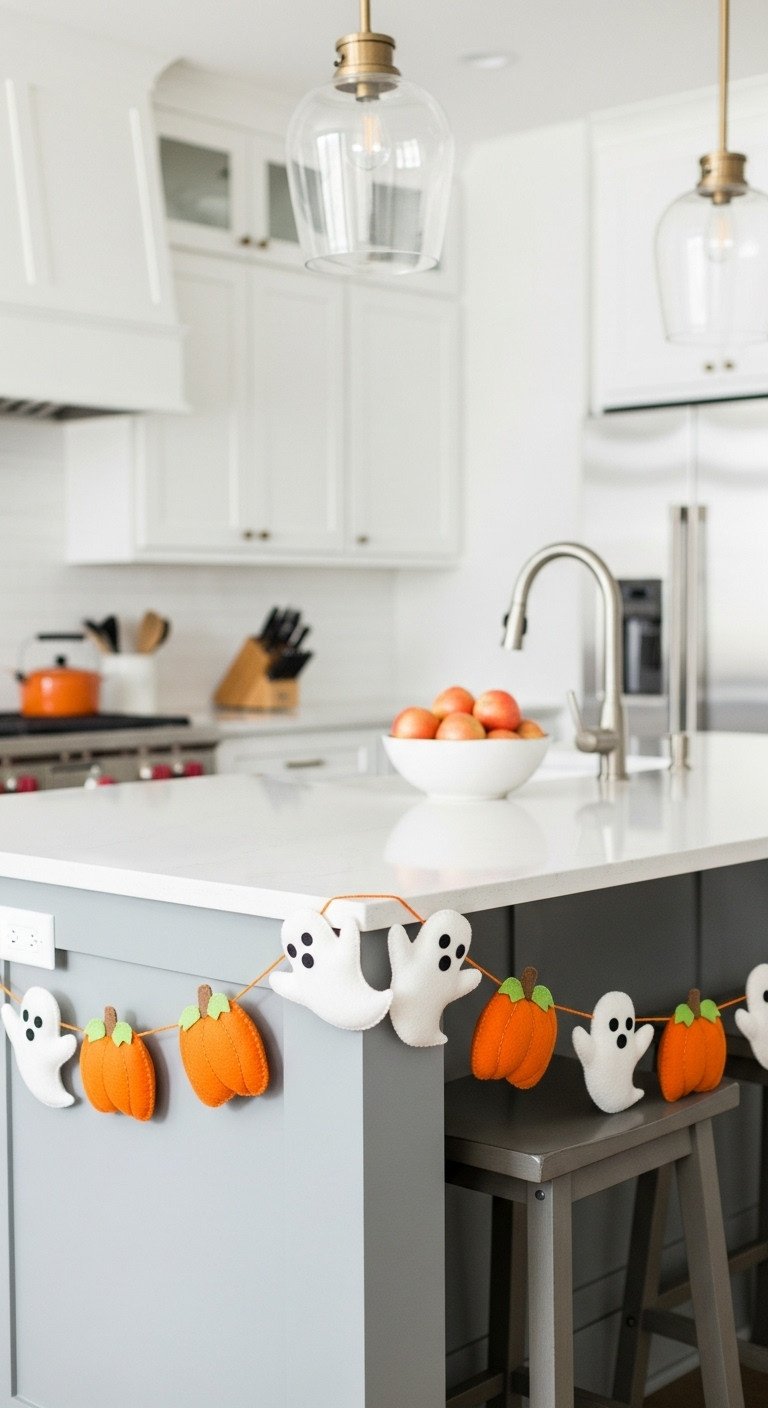
So sweet and not-so-spooky! Pin this idea now.
For a charming and friendly Halloween garland that is approachable and sweet, choose a felt design featuring cute pumpkins and ghosts. This is a wonderful option for anyone who prefers a more whimsical, “not-so-scary” approach to their holiday decorating.
- Materials Needed: A pre-made felt pumpkin and ghost garland.
- Step-by-Step Directions:
- Look for a high-quality felt garland that features detailed stitching and soft, puffy shapes. The handmade details are what make this style feel so special and cozy.
- A garland featuring friendly felt pumpkins with stitched faces and cute, simple ghosts is perfect for this approachable look.
- Drape it along the front of your kitchen island, securing it with small, clear hooks at each end.
- This is a great way to add a festive touch at a lower height where it can be easily seen and appreciated by everyone, especially little ones.
Lesson Learned: Garlands made of soft materials like felt are perfect for high-traffic areas like kitchen islands. They won’t scratch surfaces or make a clanking noise if they get bumped during the daily kitchen hustle.
11. Minimalist Pumpkin Shelf Garland
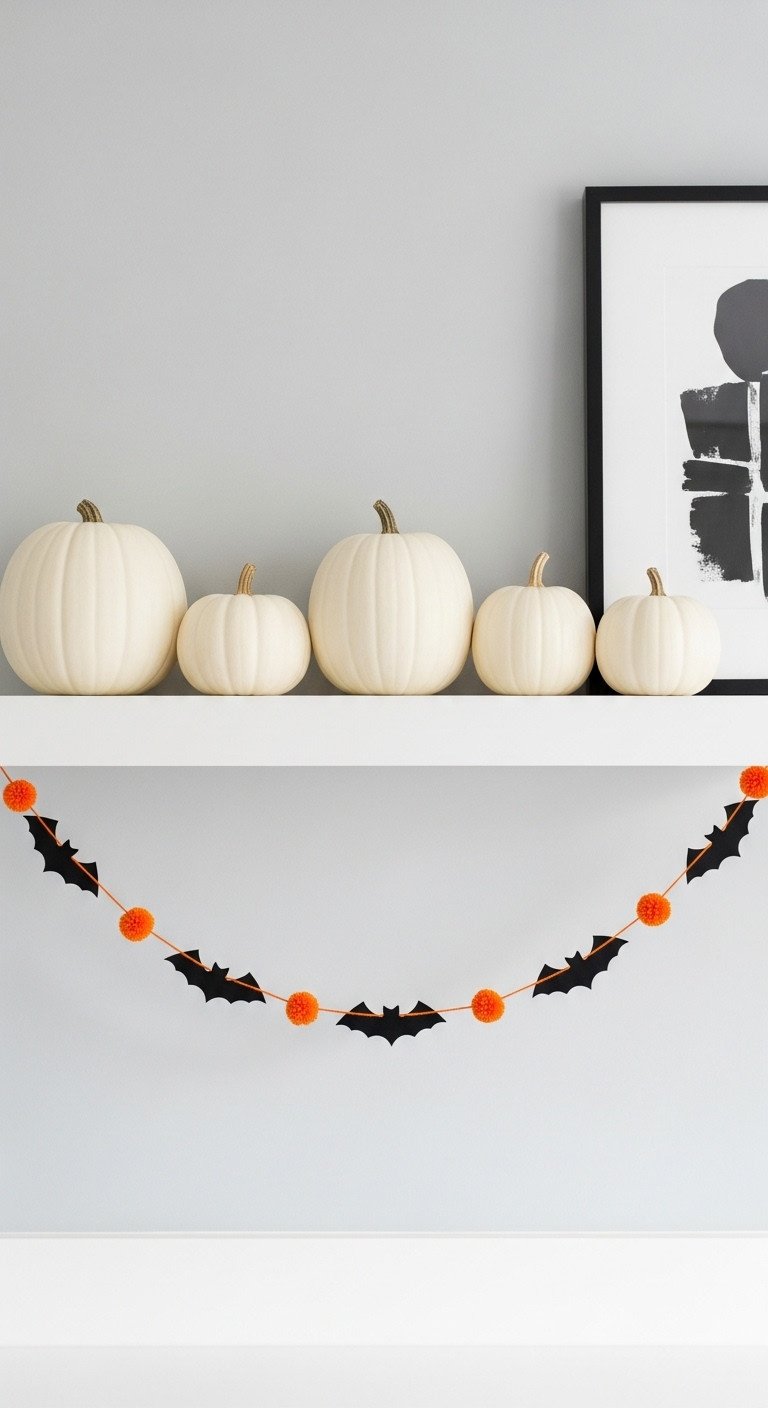
Love a modern Halloween look? Save this chic idea!
To achieve a modern, minimalist, and chic Halloween look, combine clean lines and a simple color palette with a playful garland. This sophisticated approach proves that Halloween decor can be festive without being cluttered or overwhelming.
- Materials Needed: Several small white pumpkins (real or faux), a bat and pom-pom garland.
- Step-by-Step Directions:
- Start with a clean, open shelf in your kitchen. A floating shelf works perfectly for this display.
- Line up a row of small, stark white pumpkins along the top of the shelf. This creates a clean, uniform, and modern look.
- Underneath the shelf, hang a playful but simple garland. Look for one that combines black felt bats with colorful accents, like a bright orange pom pom garland, for a fun pop of color.
- Secure the garland with small tacks or clear adhesive hooks placed discreetly on the underside of the shelf.
Pro-Tip: The key to this stunning look is contrast. The bright, playful garland pops against the stark, monochromatic pumpkins, creating a display that is both festive and incredibly sophisticated.
12. Multi-Color Leaf Garland
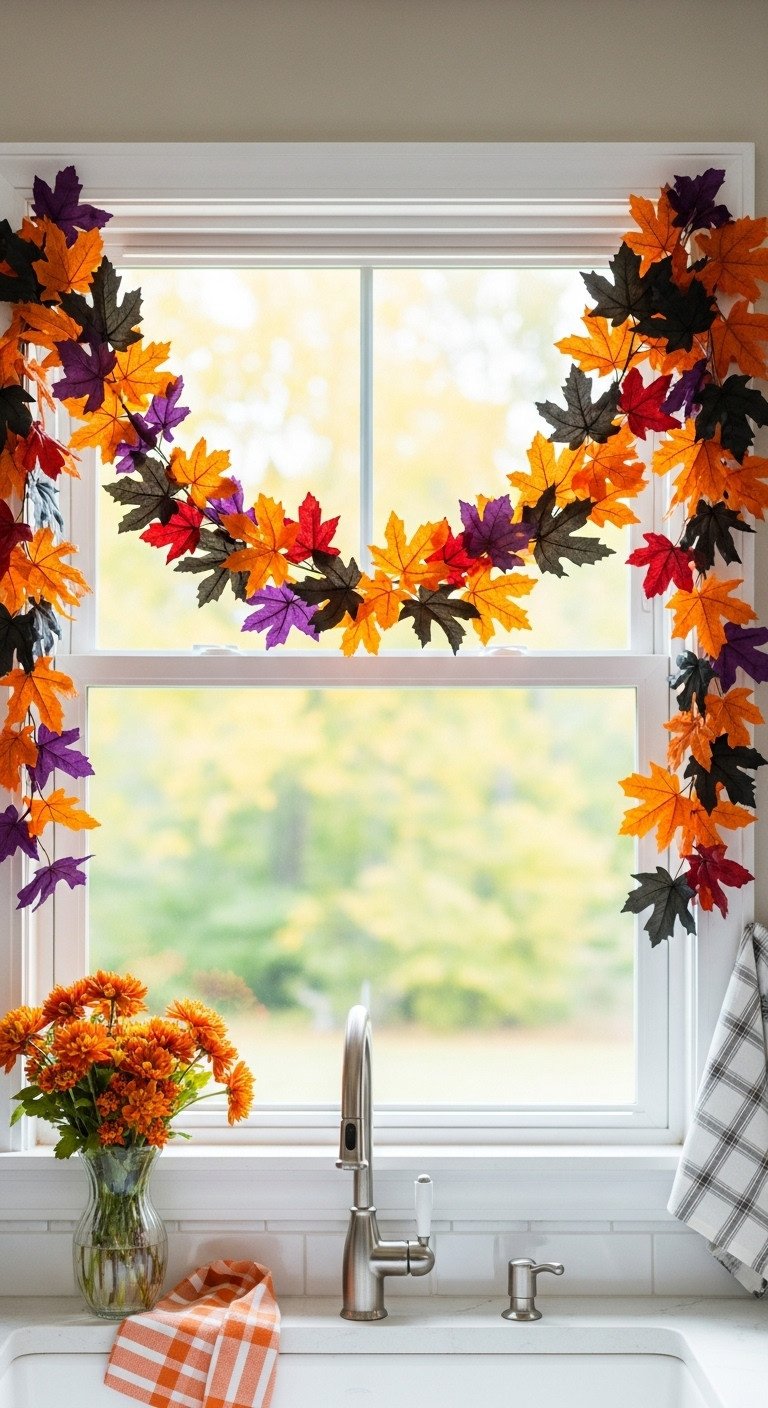
Pin this vibrant fall-meets-Halloween look!
For a vibrant garland that celebrates both fall and Halloween, choose a design that mixes traditional autumn colors with spooky shades. This is an efficient and beautiful way to decorate for the entire season without having to swap out your decor on October 1st.
- Materials Needed: A long strand of multi-colored faux leaf garland, small adhesive hooks.
- Step-by-Step Directions:
- Find a high-quality faux maple leaf garland that incorporates traditional autumn colors (like red and orange) with classic Halloween shades (like black and deep purple).
- This type of garland is perfect for draping over the top of a kitchen window frame, adding a beautiful frame to your outdoor view.
- Use three clear adhesive hooks for a perfect drape: place one at the top center of the window frame and one on each side, a few inches down from the top corner.
- Hook the center of the garland on the middle hook and let the sides drape down naturally, securing them with the side hooks to create an elegant swag.
Pro-Tip: This is a great “transitional” piece. You can put it up in late September for a cozy fall feel, and the darker colors will ensure it carries you right through Halloween night seamlessly.
13. Classic Paper Ghosts Garland
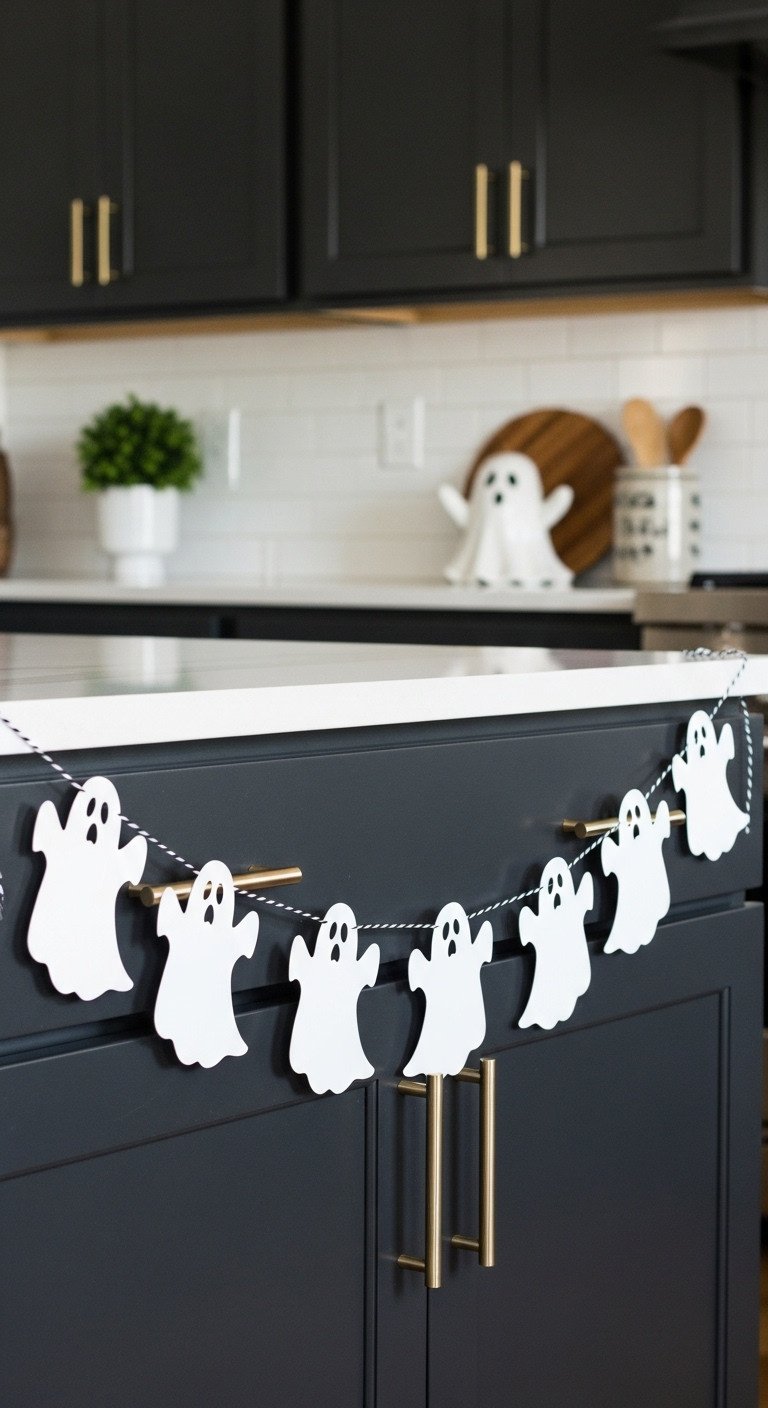
You can’t beat a classic! Pin this simple DIY idea.
For a super simple, budget-friendly, and classic DIY project, a paper ghost garland is the perfect activity. It’s a fun craft to do with kids and the black-and-white color scheme provides a clean, graphic pop against any kitchen cabinet color.
- Materials Needed: White cardstock, pencil, scissors, black marker, hole punch, black and white baker’s twine.
- Step-by-Step Directions:
- Draw a simple, wavy ghost silhouette on a piece of white cardstock and cut it out. This will be your master template.
- Trace the template onto the cardstock multiple times and cut out all the ghosts.
- Use a black marker to draw simple circle or oval eyes on each ghost. You can give them all the same expression or mix it up!
- Punch a small hole at the top center of each ghost.
- String the ghosts onto a length of festive black and white baker’s twine to complete the classic, charming look.
Lesson Learned: Using cardstock instead of regular printer paper is a crucial step. It helps the ghosts hang flat and prevents them from curling up over time, especially in a kitchen environment that can have some humidity from cooking.
https://www.facebook.com/groups/263708377579152/posts/1789030891713552/
Key Takeaways: Your Quick Guide to halloween kitchen garland
Feeling inspired? Here’s a quick summary of the most important takeaways to help you get started on your festive kitchen transformation. Remember, decorating your kitchen for Halloween can be incredibly simple and impactful.
- Versatility is Key: Garlands can be hung almost anywhere in a kitchen—from cabinet tops and windows to open shelves and kitchen islands. Don’t be afraid to experiment with different placements.
- Match Your Style: Choose materials that fit your existing decor, whether it’s rustic wood beads for a farmhouse look, sleek paper bats for a modern vibe, or cozy felt for a family-friendly feel.
- DIY or Buy: You can create stunning garlands with simple materials like paper, fabric, and felt, or find beautiful pre-made options online to save time and effort.
- Think Beyond Orange and Black: Incorporate browns, purples, deep reds, and even stark white to create a more sophisticated or unique Halloween color palette that elevates your kitchen decor.
People Also Ask About halloween kitchen garland
You’ve got questions, and I’ve got answers. Here are some of the most common queries about decorating a kitchen with Halloween garlands.
Can you hang Halloween garland on kitchen cabinets?
Absolutely! Hanging garlands on kitchen cabinets is one of the best and most impactful ways to add festive decor. You can drape them along the very top of the upper cabinets or hang them across the cabinet doors themselves. Just be sure to use lightweight garlands and damage-free adhesive hooks that can be removed easily after the holiday.
How can I hang a garland without damaging my kitchen?
The best method for damage-free hanging is using small, clear, removable adhesive hooks. These handy hooks stick securely to most surfaces like wood, tile, and painted walls, and they peel off cleanly without leaving any sticky residue behind. For very lightweight paper garlands, a small piece of festive washi tape can also work in a pinch.
What’s the best type of garland for a kitchen?
The best garlands for kitchens are lightweight and made from durable materials like felt, paper/cardstock, or faux foliage. It’s wise to avoid very heavy or delicate glass garlands that could break. Fabric and felt are great choices as they are unbreakable and add a soft texture, while faux leaves are easy to wipe down if they get a little dusty.
Final Thoughts
Your kitchen deserves to join in the spooky fun too! It’s the bustling center of your home, and adding a festive touch can bring so much joy to your daily routines throughout the Halloween season. With these simple ideas, you can easily transform your space and make it festive for the entire season without a lot of time, money, or stress.
Which of these garland ideas are you excited to try in your kitchen this 2025? Let me know in the comments below
Last update on 2025-11-19 at 19:14 / Affiliate links / Images from Amazon Product Advertising API
