As an Amazon Associate KitchenwareSets.com earns from qualifying purchases.
11 Brilliant Apartment Kitchen Ideas on a Budget for Renters
Are you tired of staring at that outdated, boring rental kitchen every single day?
A renter-friendly kitchen makeover is a temporary, budget-conscious DIY project to improve your kitchen’s look. You feel stuck because you can’t make permanent changes, and that’s a frustrating place to be.
The best renter-friendly kitchen upgrades focus on temporary, high-impact changes. This guide will show you 11 brilliant ideas to create a kitchen you love without risking your security deposit.
Is Your Rental Kitchen Making You Miserable? Here’s How to Fix It
I get it, I’ve been there. That feeling of walking into a kitchen with ugly countertops, dated cabinets, and terrible lighting can be genuinely draining. You want a space that feels like you, but your lease agreement feels like a creative straitjacket. The frustration is real when you feel stuck with a space you hate but can’t permanently change.
But here’s the good news: you have more power than you think. You don’t need a sledgehammer or a massive budget to make a huge difference. A renter-friendly kitchen makeover is all about smart, temporary solutions that are big on style but low on cost and commitment. This guide is your roadmap to transforming your kitchen from a source of misery to a place of joy, all while keeping your landlord happy and your security deposit safe.
11 Brilliant Apartment Kitchen Ideas on a Budget for Renters
Get ready to say goodbye to your boring kitchen. Each of the following ideas is curated based on real-world testing and a deep understanding of what truly works in a rental. We’ve focused on projects that are not only beautiful and affordable but are also 100% reversible. Think of this as your ultimate guide to creating a dream apartment kitchen on a budget, one brilliant DIY project at a time.
1. Faux-Luxe Countertops with Removable Contact Paper
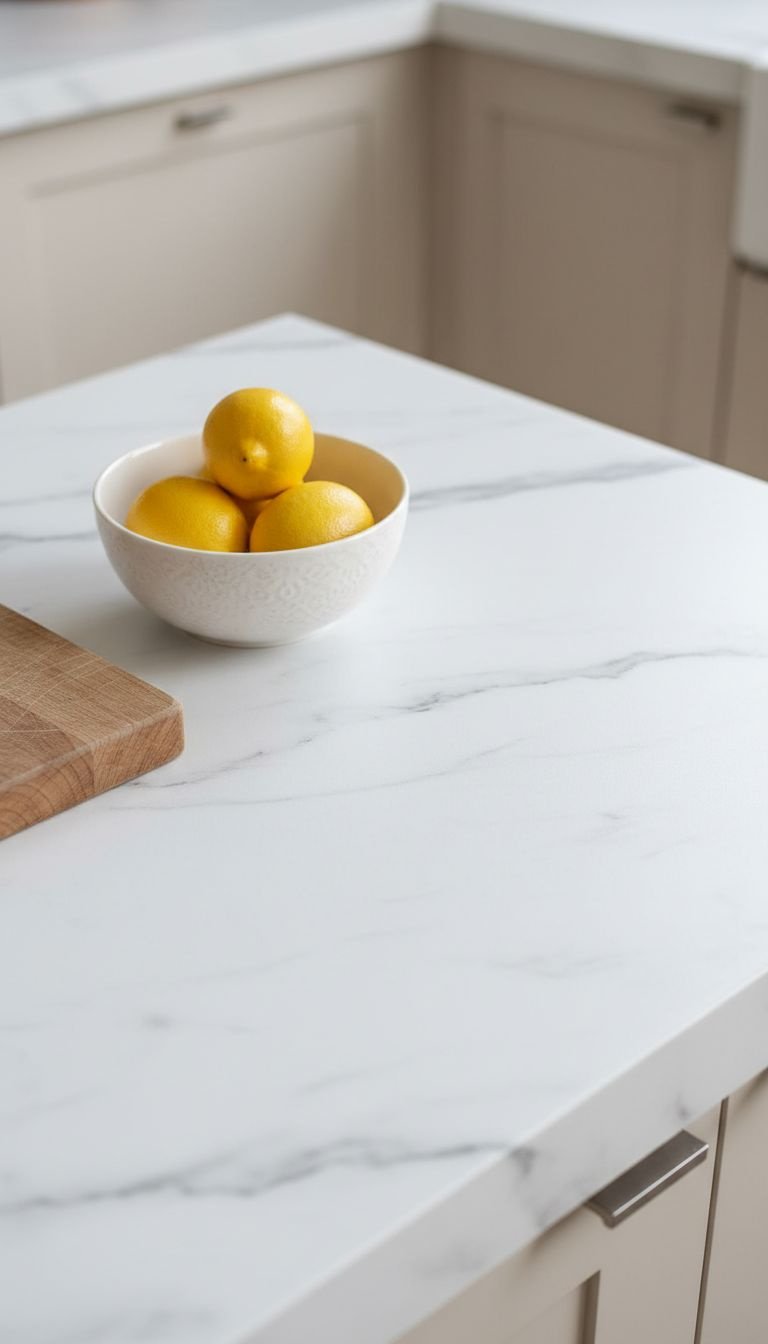
Pin this incredible transformation to your ‘Kitchen Goals’ board!
Dated laminate countertops can make an entire kitchen feel old. But with high-quality, removable contact paper, you can get the look of marble, butcher block, or even terrazzo for a fraction of the cost. This is one of the most impactful temporary kitchen updates you can make.
Materials Needed:
- High-quality, thick vinyl contact paper (look for brands marketed as waterproof and heat-resistant)
- Measuring tape
- Squeegee or credit card for smoothing
- Sharp utility knife or X-Acto knife with fresh blades
- Isopropyl alcohol and a clean cloth
Step-by-Step Directions:
- Thoroughly clean your countertops with isopropyl alcohol to remove any grease or grime. Let it dry completely.
- Measure your countertop sections and cut a piece of contact paper that is a few inches larger on all sides.
- Peel back just a few inches of the backing and align the edge with your countertop.
- Slowly pull off the backing with one hand while using the squeegee to smooth the paper with the other, pushing out air bubbles as you go.
- For corners, use a hairdryer on a low setting to make the vinyl slightly more pliable to wrap around the edge.
- Once covered, use the sharp utility knife to carefully trim the excess paper for a clean, professional finish.
Don’t buy the cheapest contact paper. Investing a few extra dollars in a thicker, higher-quality vinyl makes application easier and ensures it removes cleanly without leaving sticky residue.
2. Install a Chic Peel-and-Stick Backsplash
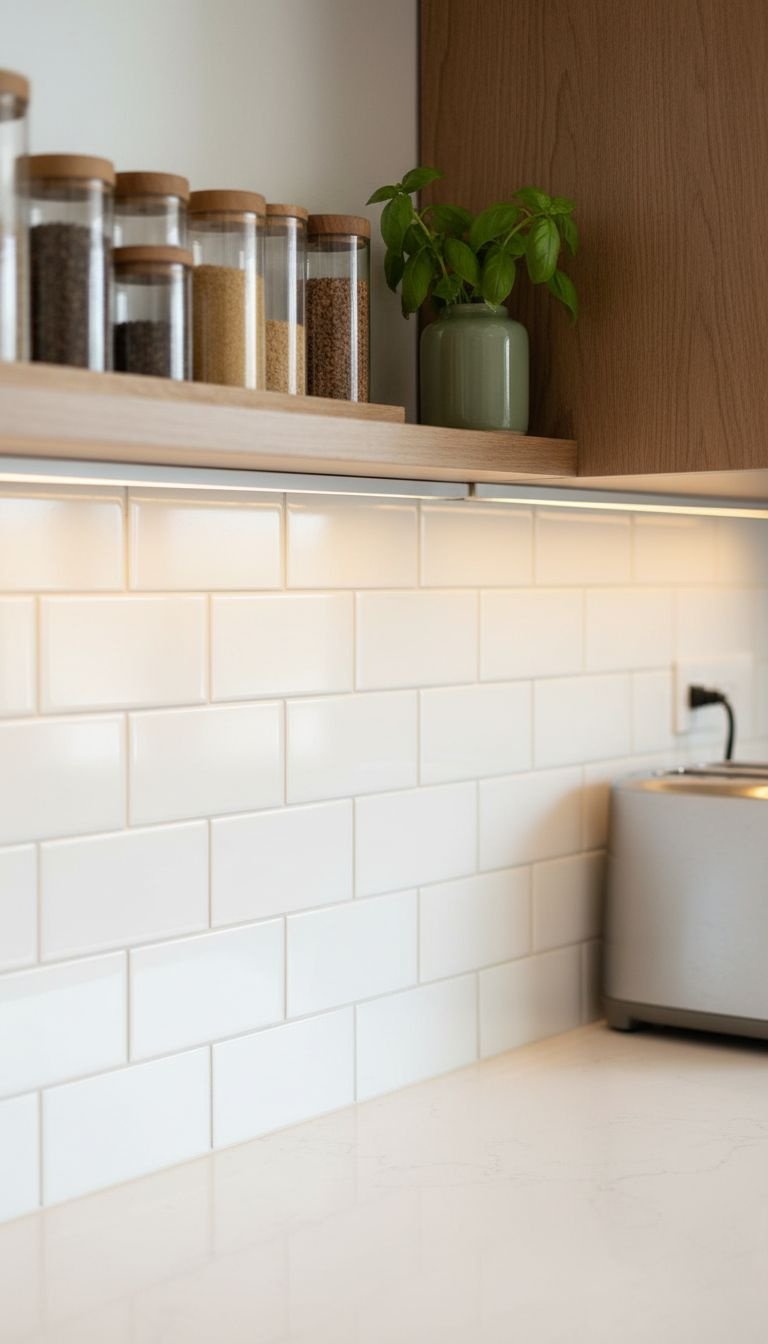
Save this easy backsplash hack for your apartment!
Nothing says “custom kitchen” like a beautiful backsplash. Thankfully, you can get the look without any grout or demolition. Modern peel-and-stick tiles have a realistic 3D texture and are designed to be water-resistant, making them a perfect, easy DIY kitchen backsplash for apartments.
Materials Needed:
- High-quality peel-and-stick tile sheets (measure your backsplash area to buy enough)
- Level
- Measuring tape
- Sharp utility knife or heavy-duty scissors
- Degreasing cleaner (like TSP substitute)
Step-by-Step Directions:
- Clean the wall where the backsplash will go with a degreaser to ensure a clean surface for adhesion.
- Use a level to draw a faint pencil line to guide your first row of tiles.
- Peel the backing off your first tile sheet and carefully press it into place, aligning it with your guideline.
- For the next sheet, overlap the “grout lines” of the previous tile as indicated by the manufacturer. This is key for a seamless look.
- Press firmly over the entire surface of each sheet to ensure it’s well-adhered.
- Use your utility knife to easily cut tiles to fit around outlets or at the end of a wall.
Before you start, lay out your tile sheets on the floor to plan your design and minimize weird cuts. For outlets, remove the faceplate, apply the tile, cut an X over the outlet box, and trim to fit before replacing the plate.
3. Swap Cabinet Hardware for an Instant Upgrade
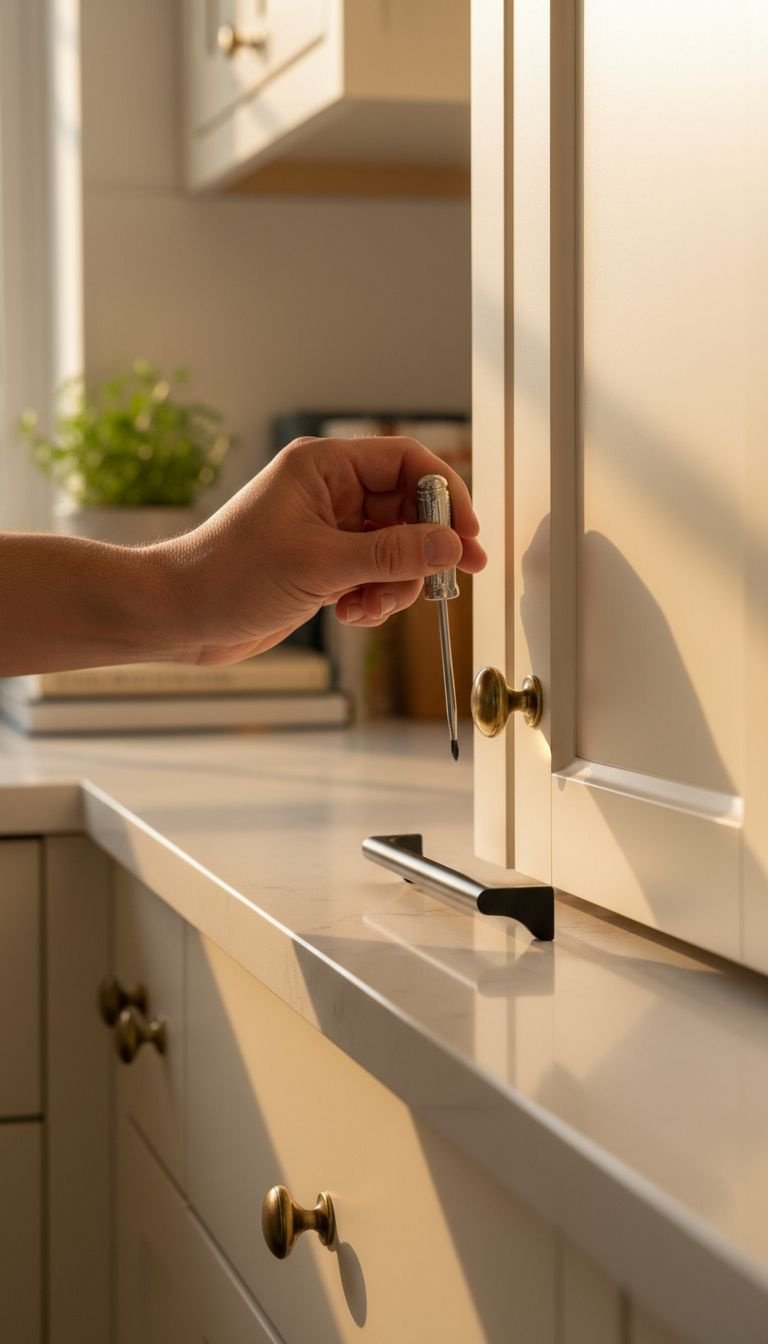
Pin this 30-minute kitchen upgrade!
If you only have an hour and a small budget, changing cabinet hardware is the single most high-impact project you can do. It’s a quick, completely reversible upgrade that can instantly take your kitchen cabinets from dated to modern and intentional.
Materials Needed:
- New cabinet knobs or pulls (ensure they match the existing screw hole spacing)
- A screwdriver (usually a Phillips head)
- A small labeled bag or box (this is critical!)
Step-by-Step Directions:
- CRITICAL FIRST STEP: Create an “Originals Box.” Label a box or bag and immediately place all the original hardware and screws inside it as you remove them. Store it somewhere safe.
- Use your screwdriver to remove the screws from the inside of the cabinet door, holding the old knob or pull so it doesn’t fall.
- Align the new hardware with the existing holes.
- Screw the new hardware in place. Don’t over-tighten.
- Repeat for all doors and drawers.
Before you buy new hardware, measure the distance between the center of the screw holes on your existing pulls. This is called the “center-to-center” measurement. Buying new pulls with the same measurement means you won’t have to drill new holes.
4. Brighten Up with Stick-On Under-Cabinet Lighting
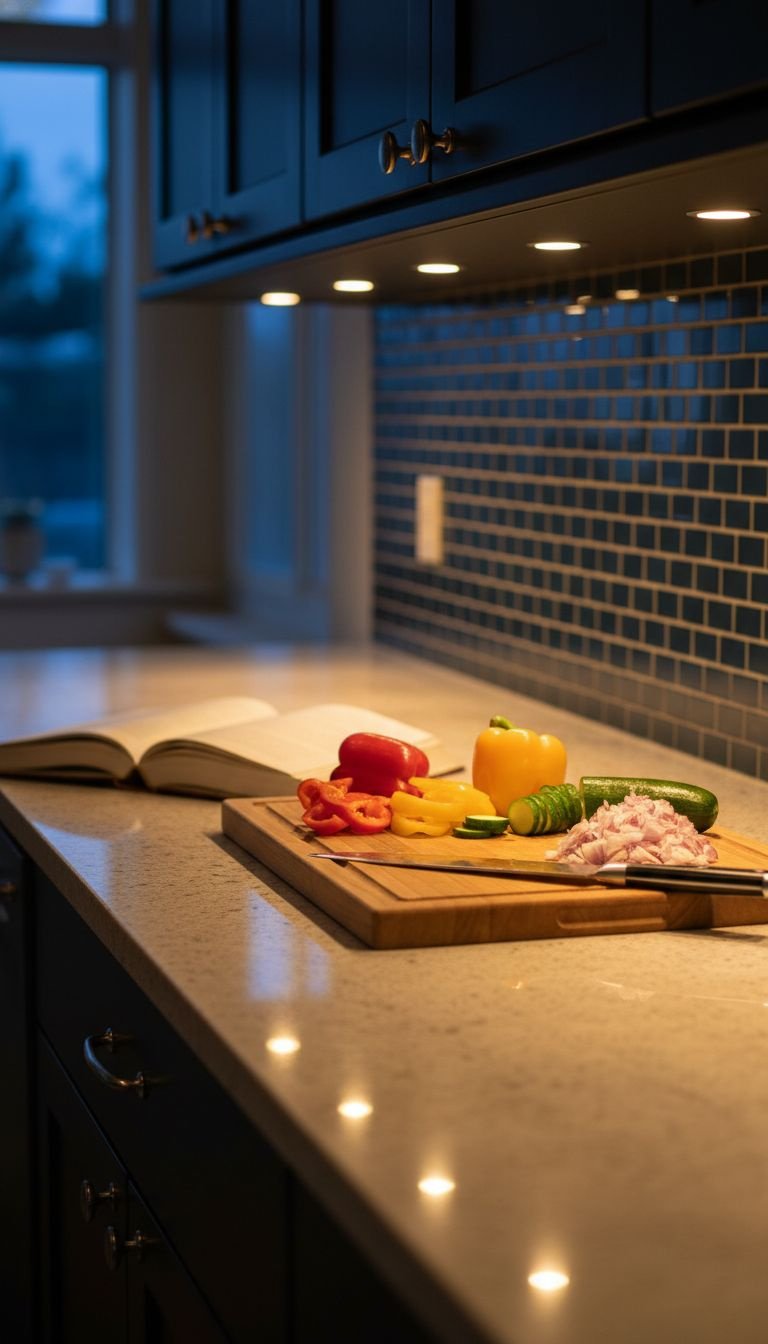
Save this brilliant idea for a dark kitchen!
Many rental kitchens suffer from poor lighting, making them feel dark and difficult to work in. Stick-on, battery-powered LED lights are a game-changer. This non-permanent lighting solution adds functional task lighting to your countertops, instantly making the space feel more high-end and usable.
Materials Needed:
- A set of battery-powered, peel-and-stick LED puck lights (many come with a remote control)
- Batteries for the lights
- A cleaning cloth
Step-by-Step Directions:
- Decide on the placement for your lights. A good rule of thumb is one light every 18-24 inches, placed towards the front of the cabinet, not the back.
- Wipe the underside of the cabinets with a dry cloth to remove any dust.
- Insert the batteries into your puck lights.
- Peel the adhesive backing off the first light.
- Press the light firmly in place for about 30 seconds.
- Repeat for all lights and test them with the remote.
Buy rechargeable battery-powered lights if you can. It’s a slightly higher upfront cost, but it will save you money and hassle in the long run compared to constantly replacing disposable batteries.
5. Add a Rolling Kitchen Cart for Prep Space & Storage
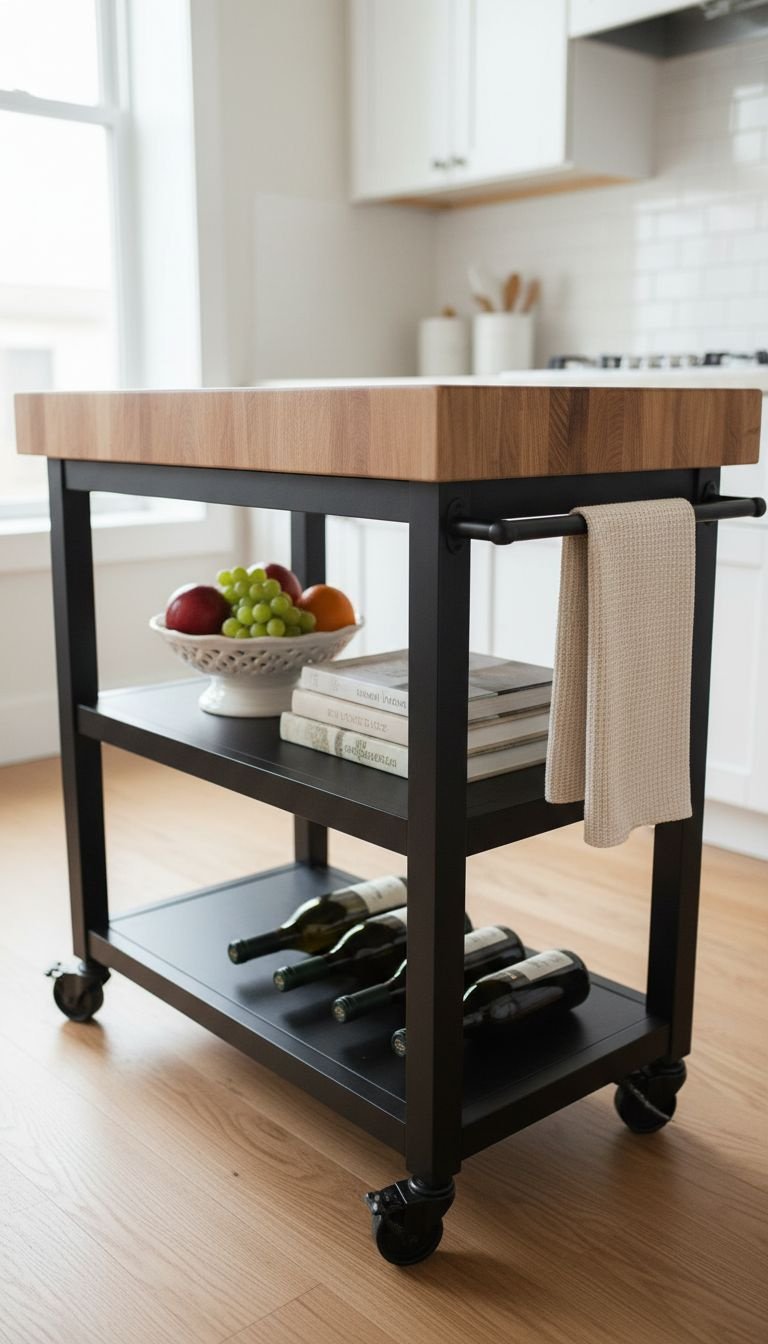
Pin this genius solution for small kitchens!
If you’re dealing with a limited counter space fix, a rolling kitchen cart is your new best friend. It’s a versatile piece of furniture that adds valuable prep space and extra storage for appliances or dishware, and you can take it with you when you move.
Materials Needed:
- A rolling kitchen cart (choose one that fits your space and has features you need, like shelves, drawers, or a wine rack)
- Basic assembly tools (usually included, but a screwdriver helps)
Step-by-Step Directions:
- Measure the empty floor space in your kitchen where you plan to put the cart. Write down the maximum length, width, and height.
- Shop for a cart online, using your measurements to filter the results. Look for one with locking wheels for stability.
- Once it arrives, follow the manufacturer’s instructions to assemble the cart. This usually takes less than an hour.
- Style your cart! Use the top for a coffee station or extra prep space, and the shelves below for appliances, bowls, or cookbooks to free up cabinet space.
Look for a cart that is “counter height” (usually around 36 inches tall). This makes it a seamless and ergonomic extension of your existing countertops for chopping and prep work.
6. Warm Up Cold Floors with a Stylish Runner Rug
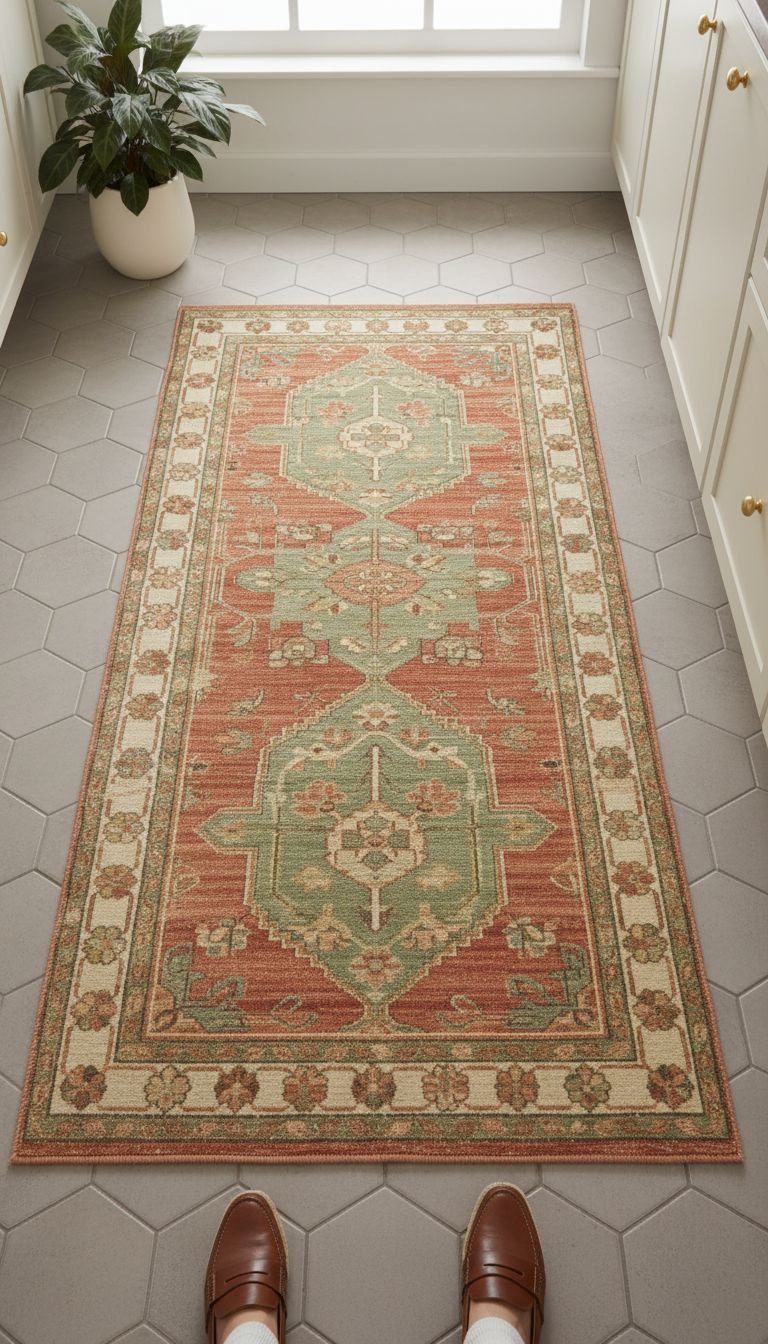
Save this simple idea to add instant personality to your kitchen!
Ugly linoleum or cold tile floors? A runner rug is the easiest possible fix. It requires zero installation, instantly hides the floor you hate, adds a pop of color and personality, and makes the space feel warmer and more inviting.
Materials Needed:
- A kitchen runner rug
- A non-slip rug pad (optional but highly recommended for safety)
- Measuring tape
Step-by-Step Directions:
- Measure the length of the open floor space in your kitchen, typically in front of the sink and stove area.
- Shop for a runner that is slightly shorter than this length so it doesn’t look cramped.
- **Crucially, choose a rug that is washable or made from a durable, easy-to-clean material like polypropylene or other synthetics.
- If your rug doesn’t have a rubber backing, place a non-slip rug pad underneath to prevent it from sliding around.
- Unroll the rug and enjoy your instantly upgraded floor.
Don’t be afraid of patterns! A busy pattern on a kitchen rug is great at hiding crumbs and small spills between cleanings. A washable brand like Ruggable is a fantastic investment for a rental kitchen.
7. Cover Dated Cabinets with Removable Wallpaper
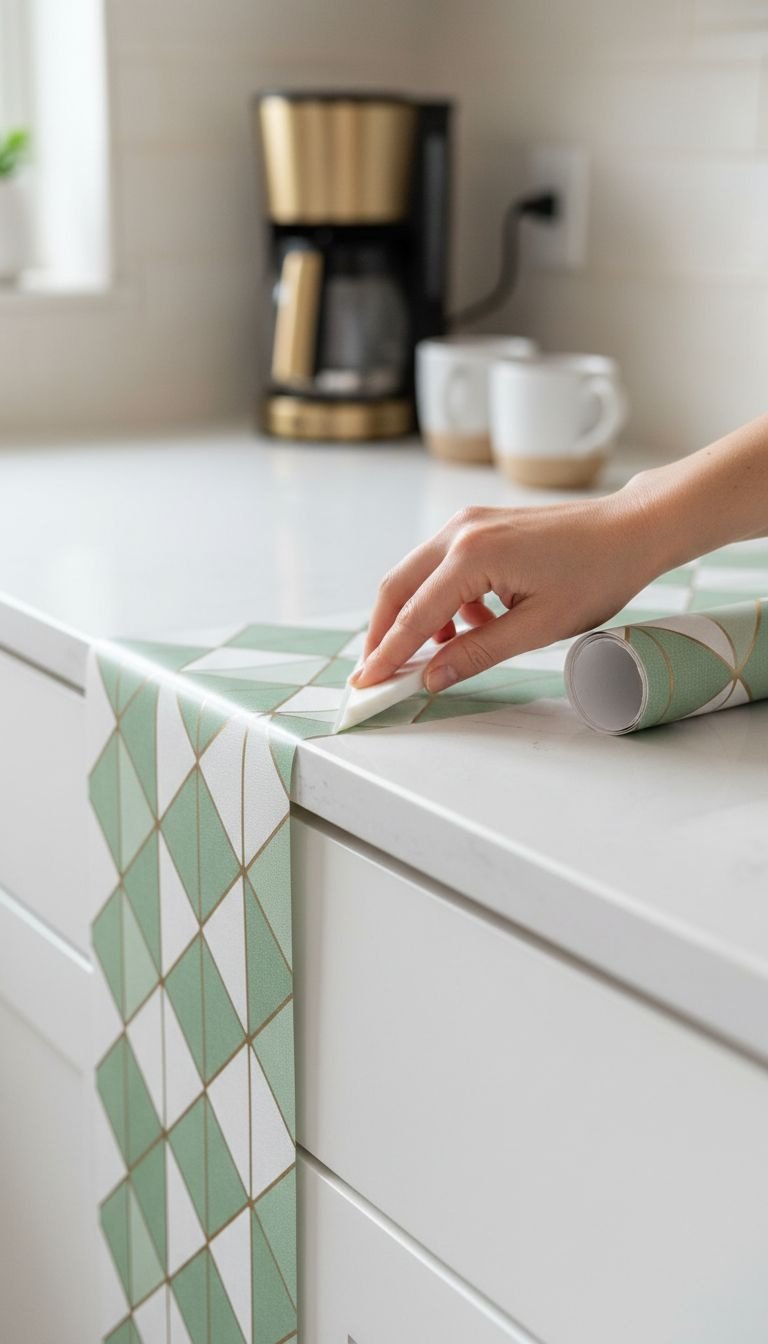
Pin this amazing no-paint cabinet makeover!
If you dream of new cabinets but painting is a no-go, the best removable wallpaper for kitchen cabinets is your answer. This is a more involved project than contact paper, but the payoff is huge, allowing you to introduce color and pattern for a truly custom look.
Materials Needed:
- High-quality peel-and-stick removable wallpaper
- Screwdriver
- Degreaser or isopropyl alcohol
- Squeegee
- Sharp utility knife
- Measuring tape
Step-by-Step Directions:
- Using a screwdriver, remove one cabinet door and the hardware. (It’s best to work one door at a time).
- Thoroughly clean the front of the door with a degreaser to remove all grime. Let it dry.
- Lay the door on a flat surface. Roll out your wallpaper and cut a piece slightly larger than the door.
- Following the same method as contact paper, peel back a small portion of the backing, align it, and slowly smooth it on with the squeegee.
- Wrap the wallpaper around the edges of the door for a seamless look.
- Use the utility knife to trim the excess and poke a hole from the back where the hardware screw goes.
- Re-attach the hardware and re-hang the door.
This technique works best on flat-panel cabinet doors. If your doors have intricate details or beveling, this project will be much more difficult and may not look as clean.
8. Maximize Under-Sink Storage with a Tension Rod
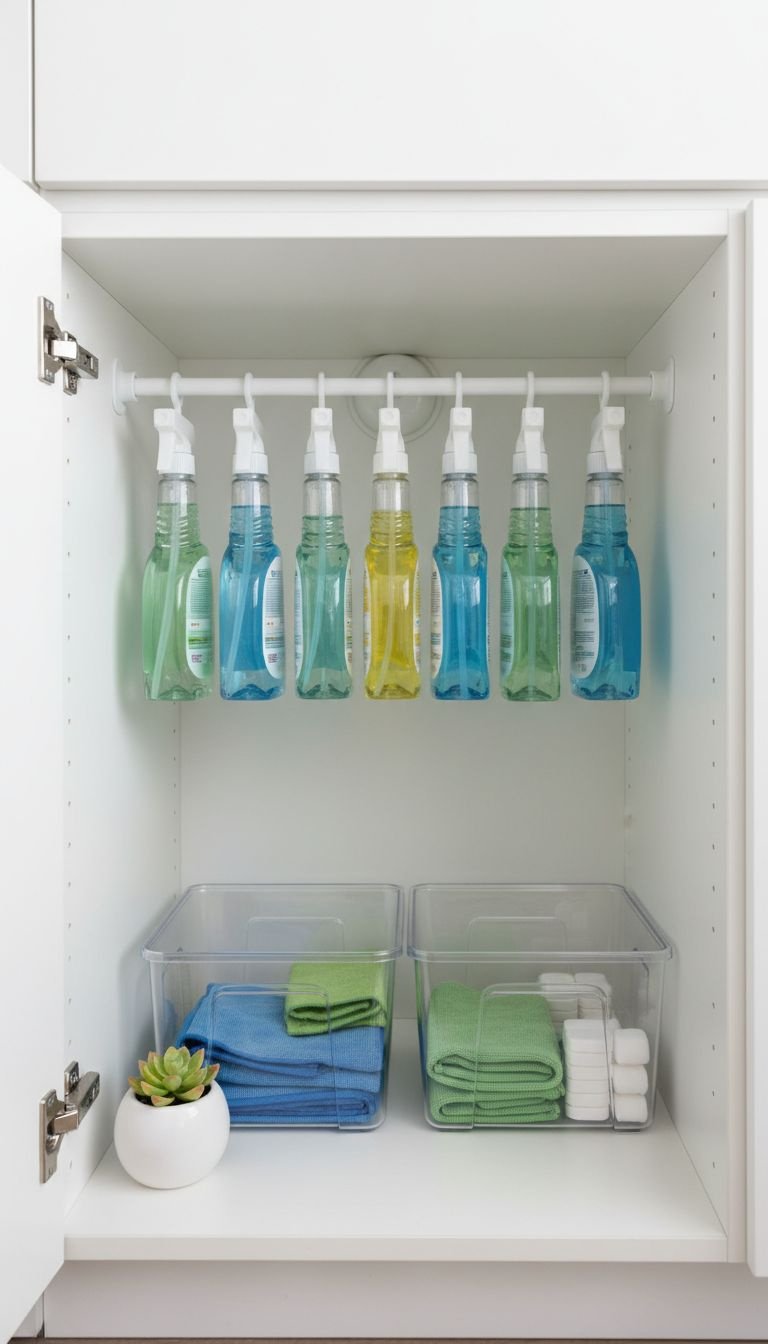
Save this damage-free organization hack!
The cabinet under the sink is often a chaotic mess. This simple tension rod hack is one of the best apartment kitchen storage ideas with no drilling required. It cleverly uses vertical space to hang spray bottles, freeing up the entire bottom of the cabinet for other supplies.
Materials Needed:
- A small, spring-loaded tension rod
- Your collection of spray-bottle cleaning supplies
Step-by-Step Directions:
- Empty and clean out the cabinet under your sink.
- Measure the width of the cabinet. Purchase a tension rod that adjusts to that size.
- Install the tension rod near the top of the cabinet, positioning it high enough so the spray bottles can hang freely without hitting the bottom.
- Hang your spray bottles by their triggers over the rod. This frees up the entire floor of the cabinet for other items like sponges, dish soap, or a small trash can.
Use small, clear bins or a lazy susan on the bottom of the cabinet to group the rest of your items. This makes it easy to see everything and pull out exactly what you need without causing an avalanche.
9. Give Your Fridge a Facelift with Decals or Contact Paper
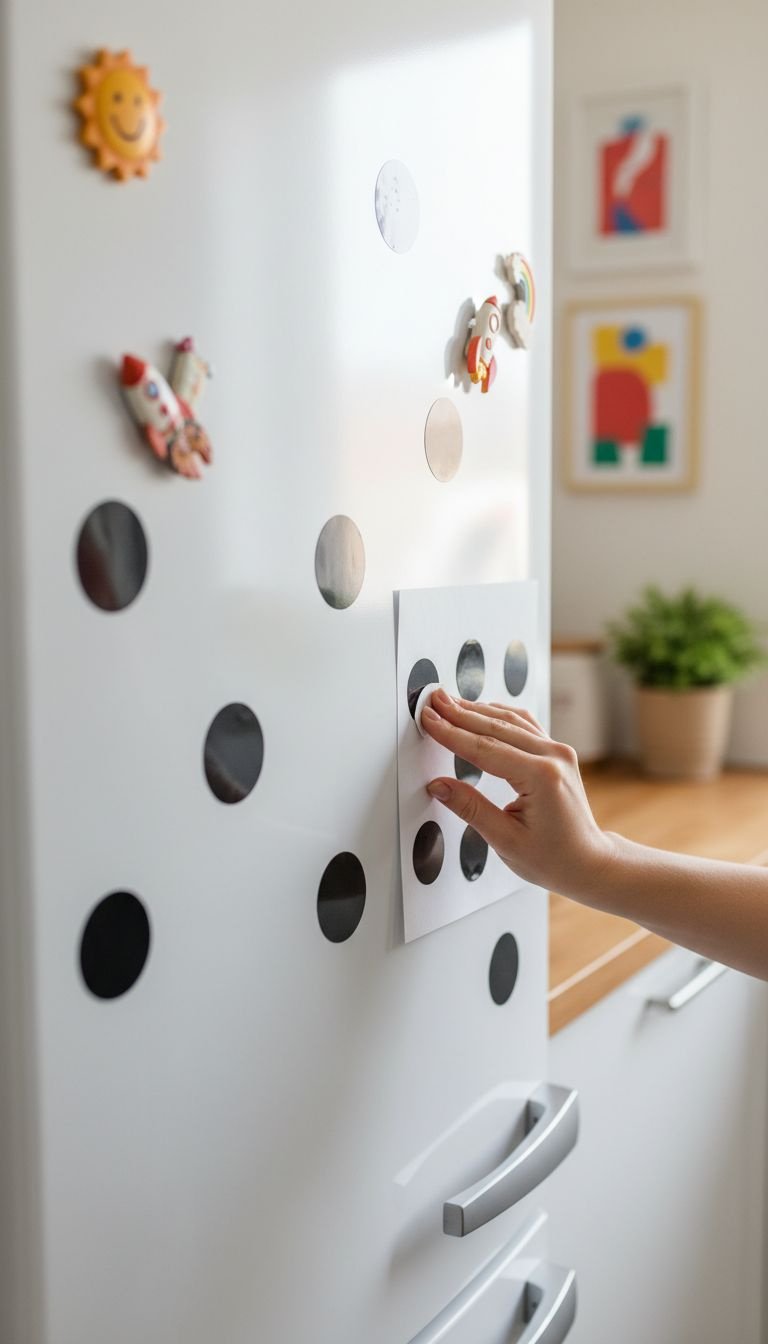
Pin this cute idea for a boring appliance!
If you’re wondering what you can do about ugly old appliances, this one’s for you. A standard white or almond refrigerator can be a boring eyesore. Use fun, removable vinyl decals or specialty contact paper to give it a dose of personality that reflects your style.
Materials Needed:
- Removable vinyl decals in a pattern you love OR a roll of specialty appliance contact paper (e.g., stainless steel look)
- A soft cloth
- A level or measuring tape for spacing (for decals)
Step-by-Step Directions:
- Thoroughly clean the front and sides of your refrigerator to remove fingerprints and grime.
- If using decals, plan your pattern. You can place them randomly or use a measuring tape for a more uniform grid pattern.
- Peel one decal from its backing and press it firmly onto the fridge, smoothing from the center out to remove air bubbles.
- If using contact paper to cover the whole door, use the same technique as for countertops, working slowly and smoothing with a squeegee.
- Step back and admire your “new” appliance!
Make sure the decals you buy are made from removable wall vinyl. Regular stickers will leave a terrible, sticky residue that might cost you part of your security deposit to clean.
10. Swap a Harsh Fixture for a Plug-In Pendant Light
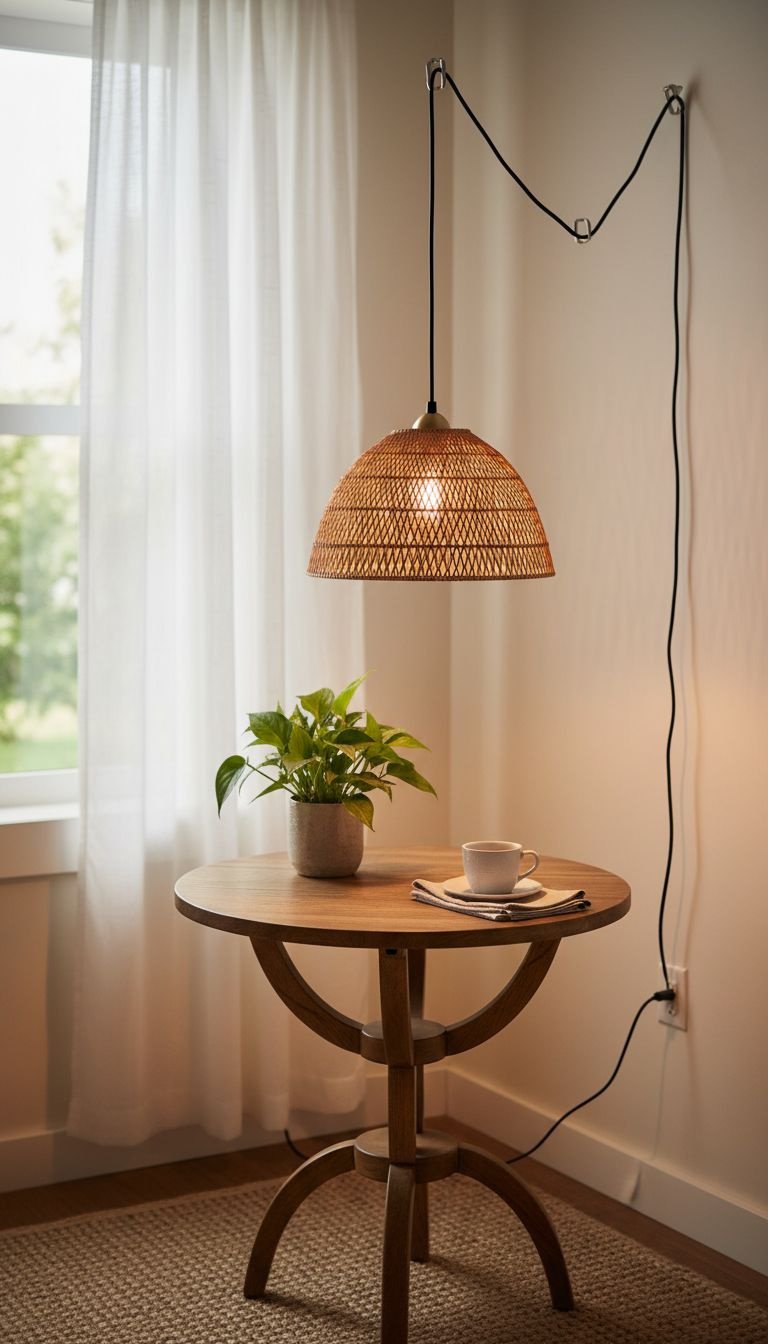
Save this renter-friendly lighting game-changer!
The dreaded “boob light” or harsh fluorescent fixture is a staple of rental kitchens everywhere. A plug-in pendant light (or swag light) is a brilliant renter-friendly light fixture solution that requires no electrical work but adds major style and warm, ambient light.
Materials Needed:
- A plug-in pendant light kit (comes with a long cord, socket, and plug)
- A lightweight lampshade of your choice (like rattan, fabric, or metal)
- A small ceiling hook
- An Edison-style or other decorative light bulb
Step-by-Step Directions:
- Turn off the existing light. Carefully unscrew the glass cover and remove the light bulbs from the ugly fixture (this makes it less noticeable).
- Screw a small hook into the ceiling near the existing light fixture.
- Assemble your pendant light and drape the cord over the hook so the light hangs at your desired height.
- Run the cord across the ceiling and down a wall to the nearest outlet. You can use small, clear, removable adhesive hooks to guide the cord neatly.
- Plug it in and enjoy your beautiful new light!
If you’re allowed to, you can sometimes remove the landlord’s light fixture completely (save it in your “Originals Box”!), cap the wires safely, and cover it with a ceiling medallion for an even cleaner look. Only do this if you are 100% comfortable with basic electrical safety.
11. Create a Damage-Free Magnetic Spice Wall
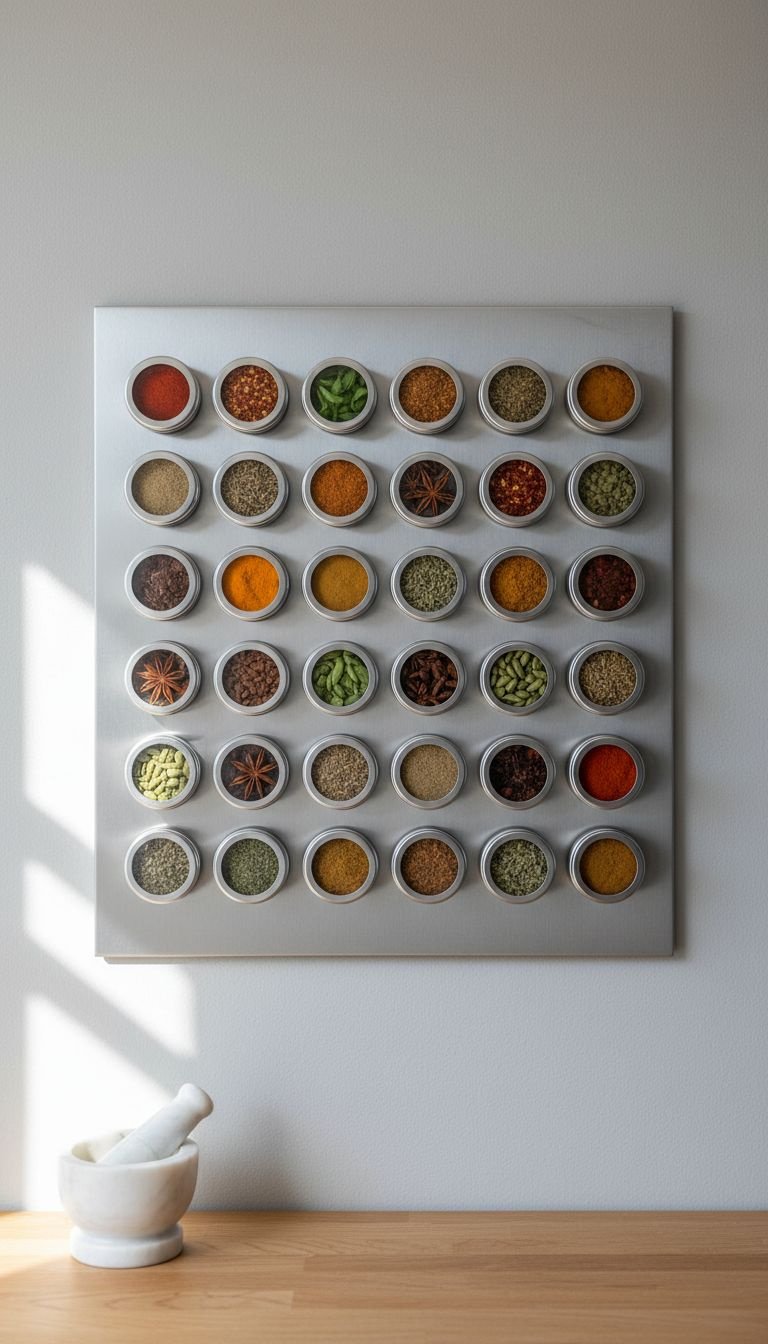
Pin this space-saving spice storage idea!
Free up precious cabinet and counter space with a vertical storage solution. A magnetic spice rack wall is a functional and stylish way to organize your spices, turning them into a piece of damage-free wall decor.
Materials Needed:
- A thin sheet of metal (you can find these at hardware stores)
- Heavy-duty removable adhesive strips (like Command Picture Hanging Strips)
- Magnetic spice tins (or small tins with strong magnets glued to the back)
- Your collection of spices and labels
Step-by-Step Directions:
- Find a piece of empty wall space, like the side of a cabinet or a small area of backsplash.
- Clean the wall surface and the back of your metal sheet with isopropyl alcohol.
- Apply the heavy-duty removable adhesive strips to the back of the metal sheet, following the package instructions for weight limits.
- Press the metal sheet firmly onto the wall and hold for 30-60 seconds.
- Fill your magnetic tins with spices and label them.
- Arrange your spice tins on the metal sheet for a beautiful and functional display.
Don’t skimp on the adhesive strips! Use more than you think you need to ensure the metal sheet is secure, especially if you have a lot of heavy spices. Check the weight rating on the package.
Key Takeaways: Your Quick Guide to a Better Rental Kitchen
- Cover, Don’t Replace: Use high-quality contact paper and peel-and-stick tiles to affordably transform ugly countertops, cabinets, and backsplashes.
- The Easiest Win: Swapping out dated cabinet hardware is a 1-hour project that makes the entire kitchen look more modern and intentional.
- Lighting is Everything: Banish dark corners with stick-on under-cabinet lights and replace harsh overhead fixtures with stylish plug-in options.
- Think Vertically & Mobile: When you can’t add cabinets, add a rolling cart for prep space or use walls for magnetic storage to declutter surfaces.
- Always Protect Your Deposit: Document the “before” state with photos, use only truly removable products, and keep all original hardware in a safe place.
People Also Ask About Budget Apartment Kitchens
What is the single cheapest way to make a rental kitchen look better?
The cheapest way is to declutter and deep clean. A spotless, organized kitchen instantly looks better. The next cheapest upgrade with the highest visual impact is changing cabinet hardware. New knobs or pulls can cost as little as $20-50 for an entire kitchen and can be installed in under an hour.
Will peel-and-stick backsplash damage my apartment walls?
Generally, no, if you use a quality product on the right surface. High-quality peel-and-stick tiles are designed to be removable from smooth, painted walls. Avoid applying them to textured or unpainted drywall. To ensure clean removal, gently warm the tiles with a hairdryer as you peel them off.
How do I get my full security deposit back after doing these DIYs?
The key is the “leave no trace” principle. First, take detailed photos of your kitchen before you touch anything. Second, only use products explicitly marketed as “removable” or “renter-friendly.” Finally, keep every single original piece of hardware (knobs, light fixtures) in a labeled box to reinstall before you move out.
What can I do to my kitchen without my landlord’s permission?
You can typically do any cosmetic change that is 100% reversible and causes no damage. This includes projects like adding peel-and-stick backsplashes, using contact paper on counters, swapping hardware (as long as you keep the originals), adding rugs, and using freestanding storage like kitchen carts. Never paint or alter plumbing/electrical without written permission.
Final Thoughts
Living in a rental doesn’t mean you have to live in a space that doesn’t feel like home. With a little creativity and the right temporary solutions, you can completely transform your apartment kitchen on a budget. You have the tools and the confidence to create a kitchen that brings you joy every single day.
What’s the one thing in your rental kitchen you’re dying to change? Let me know in the comments below
Last update on 2025-10-29 at 14:32 / Affiliate links / Images from Amazon Product Advertising API
