As an Amazon Associate KitchenwareSets.com earns from qualifying purchases.
9 Genius Minimalist Apartment Kitchen Ideas to End Clutter
Feeling overwhelmed by a small, disorganized kitchen? You open a cabinet and things tumble out. Every inch of counter space is a battleground.
This daily struggle is the reality of apartment living. You’re looking for minimalist apartment kitchen ideas not just for style, but for sanity. It’s a design approach focused on creating a calm, functional space.
A minimalist apartment kitchen uses smart storage, clean lines, and a neutral color palette to make a small space feel larger, calmer, and more functional. This guide will show you nine genius, easy-to-implement ideas to reclaim your kitchen from chaos. Get ready for a space that’s a joy to cook in.
Is Your Small Kitchen Drowning in Clutter? Here’s How to Reclaim Your Space
The daily frustration of a cramped, disorganized kitchen is real. It’s more than just an eyesore; according to psychology research, living in cluttered environments is linked to higher levels of the stress hormone cortisol. That visual noise from mismatched packaging and overflowing counters actively works against your peace of mind. This is a common struggle in apartment living, where limited storage solutions often lead to chaos.
This is where minimalist design becomes a practical solution, not just a sterile aesthetic. It’s a design philosophy that prioritizes function to create calm and efficiency. By focusing on smart storage solutions, clean lines, and essential items, you can transform a stress-inducing space into a serene and highly functional part of your home. We’ll explore simple kitchen ideas that provide a clear, actionable path toward the organized kitchen you deserve.
9 Genius Minimalist Apartment Kitchen Ideas to End Clutter for Good
Ready for a kitchen transformation? Each of the following ideas is a practical blueprint designed for real-world apartment constraints, including limited square footage and renter-friendly requirements. These aren’t just pretty concepts; they are proven strategies that tackle the most common small kitchen problems, from a lack of counter space to disorganized drawers. Let’s dive into simple, actionable ways to create a more functional and beautiful kitchen.
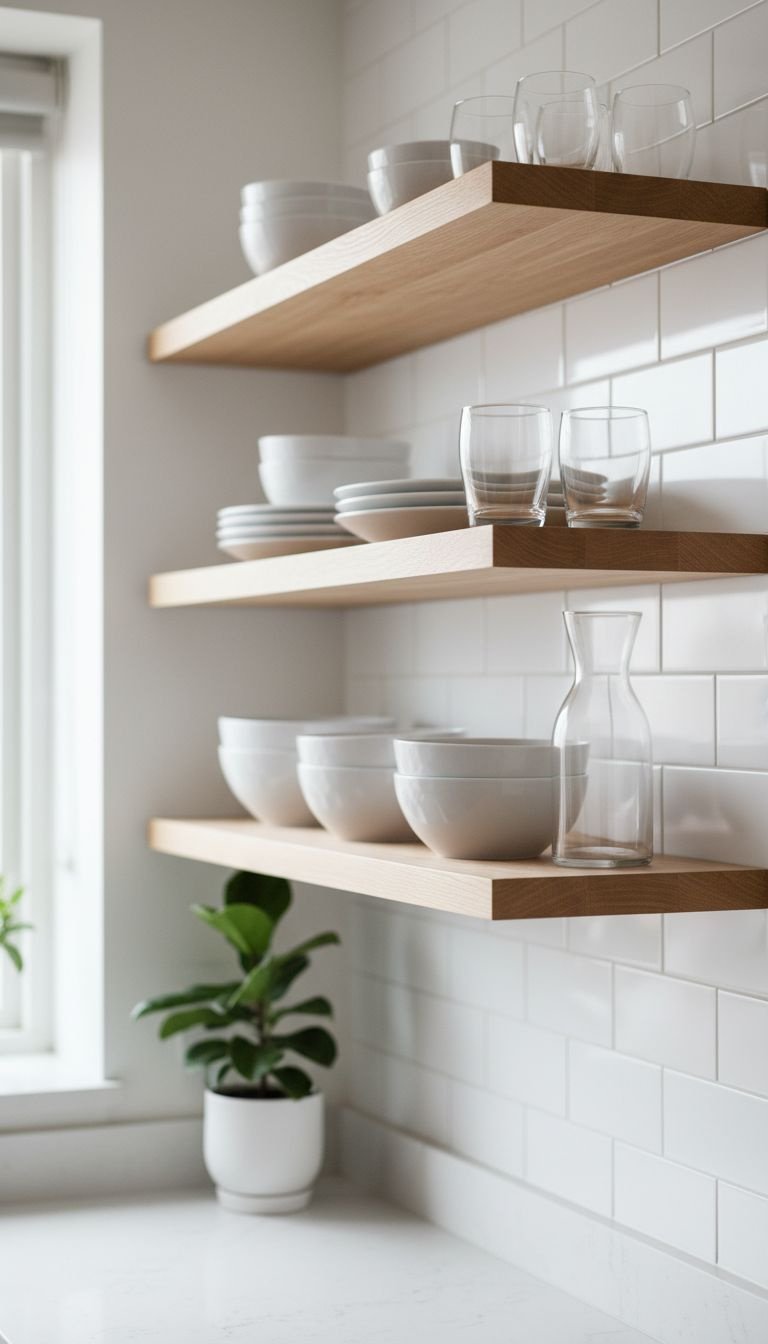
1. Go Vertical with Floating Shelves to Free Up Counters
Pin this space-saving idea to your ‘Kitchen Goals’ board!
One of the best small kitchen organization tipss is to draw the eye upward. Unused vertical wall space is a goldmine for storage. Installing natural wood floating shelves allows you to store everyday dishes, glasses, and bowls in a way that is both accessible and beautiful, freeing up your valuable countertops for prep work.
Materials Needed:
- 2-3 floating shelves (choose a solid wood like oak or acacia for warmth)
- Heavy-duty floating shelf brackets rated for at least 40 lbs per bracket
- A stud finder
- Power drill with appropriate bits
- A level and pencil
- Wall anchors (if not drilling directly into studs)
Step-by-Step Directions:
- Plan Your Layout: Use a pencil and level to mark exactly where you want your shelves. Ensure they are high enough to not interfere with countertop activities but low enough to be accessible.
- Locate Studs: Use a stud finder to locate the wooden studs in your wall. Mark their locations. This provides the strongest possible anchor point.
- Install Brackets: Securely drill the heavy-duty brackets into the wall studs. If a stud is not available, use appropriate high-capacity wall anchors.
- Attach Shelves: Slide the floating shelves onto the brackets and secure them according to the manufacturer’s instructions.
- Style Intentionally: Place your most-used, beautiful items on the shelves, like everyday dishes or glasses. Avoid overcrowding to maintain the minimalist aesthetic.
Pro-Tip: For a cohesive look, choose shelves that match your countertops or cabinets. In a rental, consider using a tall, narrow étagère bookcase instead of drilling into walls.
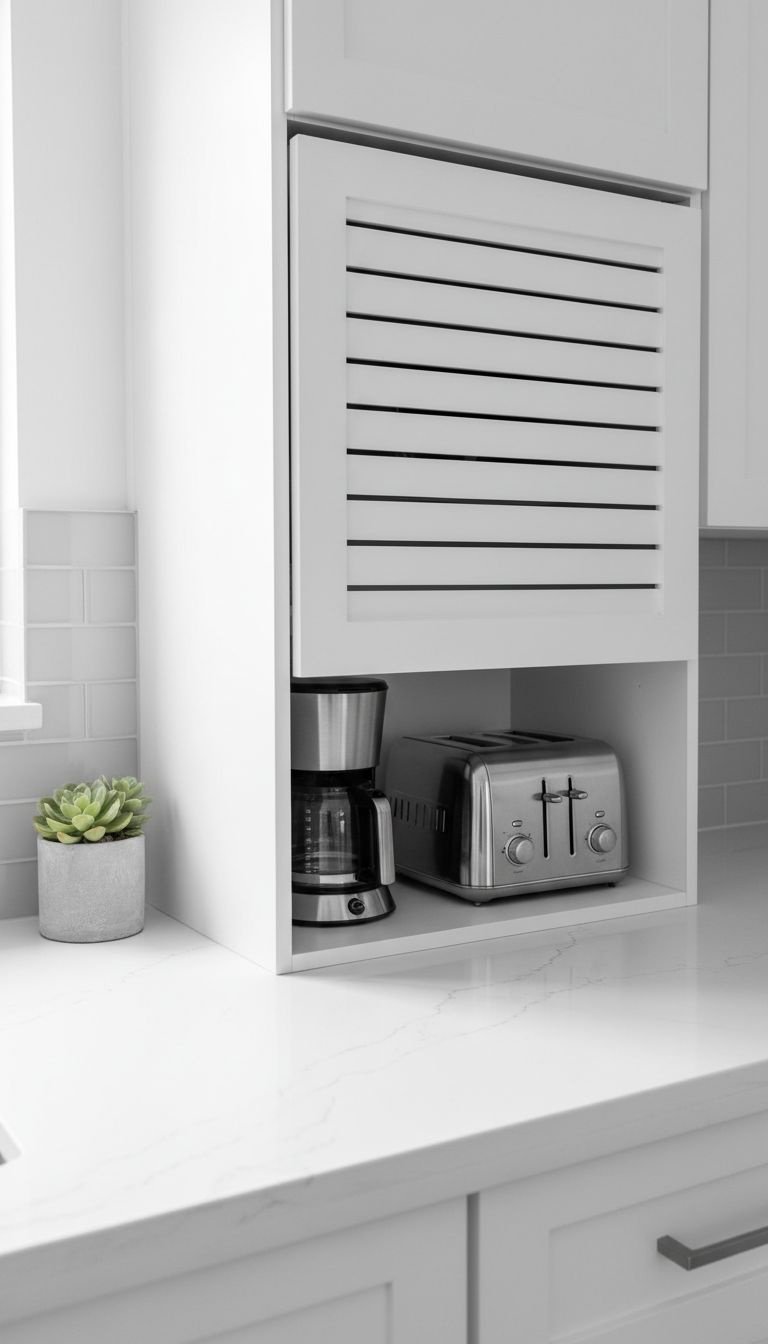
2. Conceal Clutter with an “Appliance Garage” or Bread Box
Save this genius idea for hiding countertop clutter!
Countertop clutter from items like toasters, blenders, and coffee makers creates constant visual noise. An “appliance garage,” a countertop cabinet with a lift-up or tambour door, is the ultimate solution. For a simpler, renter-friendly option, a large, modern bread box can stylishly hide smaller items and maintain those clean, uncluttered surfaces.
Materials Needed:
- A countertop appliance garage cabinet or a large, modern bread box
- A drill (if installing a built-in version)
- Cable management clips or ties
- Non-slip pads for the bottom
Step-by-Step Directions:
- Measure Your Space: Before buying, measure the height, width, and depth of the corner or area where you’ll place the unit. Also, measure your tallest appliance (like a blender).
- Select Your Solution: Choose an appliance garage that matches your cabinet style. For a simpler, renter-friendly option, a large, stylish bread box works perfectly for hiding items like coffee bean bags, vitamins, or a small toaster.
- Position and Organize: Place the unit on your countertop. If it has a back opening for cords, feed them through neatly.
- Load Your Appliances: Place your most-used small appliances inside. Use cable ties to keep cords tidy within the garage.
- Maintain the Habit: Make it a daily habit to put appliances back in their “garage” after use to keep counters permanently clear.
Lesson Learned: An appliance garage is a game-changer for visual peace. The simple act of closing a door instantly makes the entire kitchen feel cleaner and more organized.
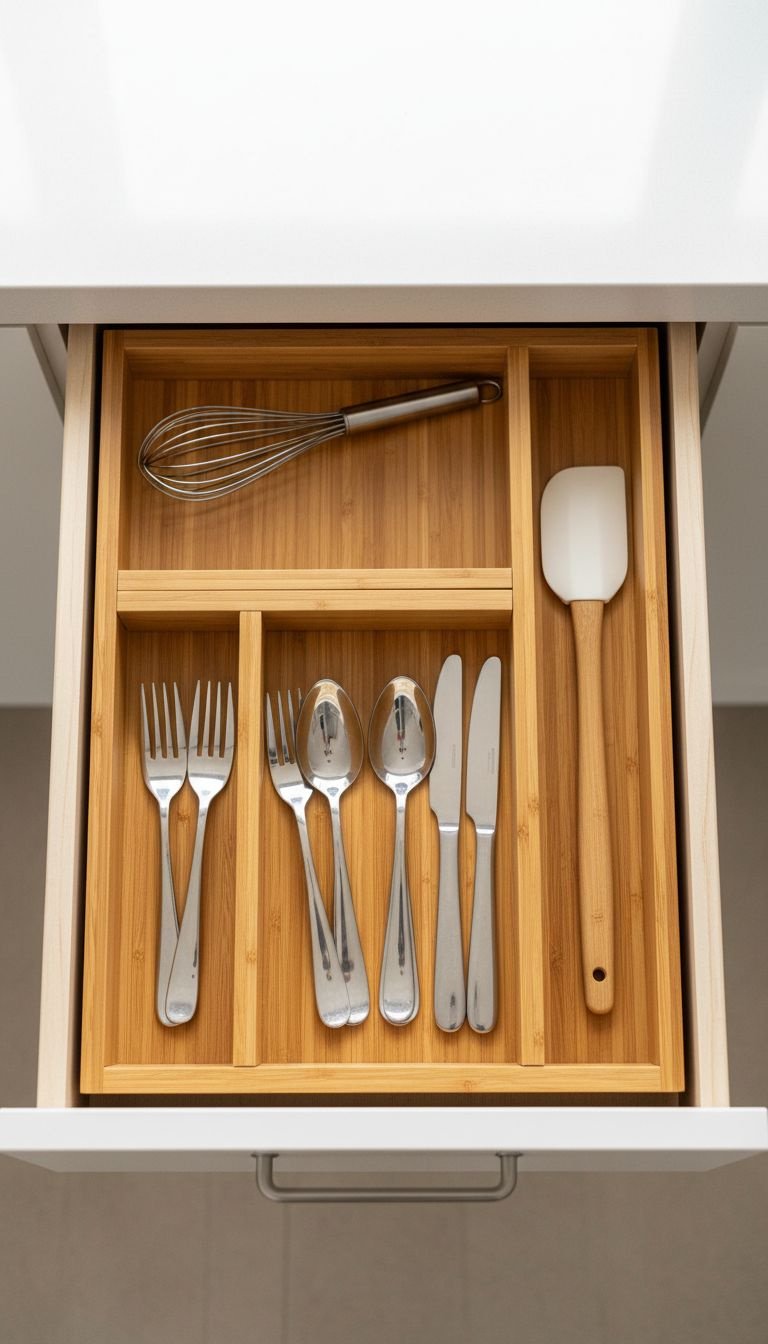
3. Divide and Conquer with Expandable Drawer Organizers
Pin this satisfying organization tips for later!
The chaotic “junk drawer” is the enemy of a calm kitchen. Taming utensil and tool drawers is easy with expandable dividers. These adjustable organizers, often made of warm bamboo or clean acrylic, create designated spots for everything, transforming a jumbled mess into a system of perfect order.
Materials Needed:
- Expandable bamboo or clear acrylic drawer dividers
- A tape measure
- Non-slip drawer liner (optional but recommended)
- A cleaning cloth and all-purpose cleaner
Step-by-Step Directions:
- Empty and Clean: Take everything out of the drawer. Wipe it clean and let it dry completely. This is a great time to declutter and get rid of duplicate or unused utensils.
- Line the Drawer: If using, cut a non-slip drawer liner to size and place it in the bottom of the drawer. This prevents dividers and items from sliding around.
- Measure and Adjust: Measure the interior width of your drawer. Adjust your expandable divider so it fits snugly from side to side without buckling.
- Categorize and Place: Group similar items together (e.g., forks with forks, spatulas with turners). Place each category into its own designated compartment.
- Avoid Overstuffing: The key to minimalism is not just organizing but also curating. Only keep what you truly need and use.
Pro-Tip: Use deep drawer dividers for pots and pans. Storing them vertically like files makes it incredibly easy to grab the one you need without unstacking everything.
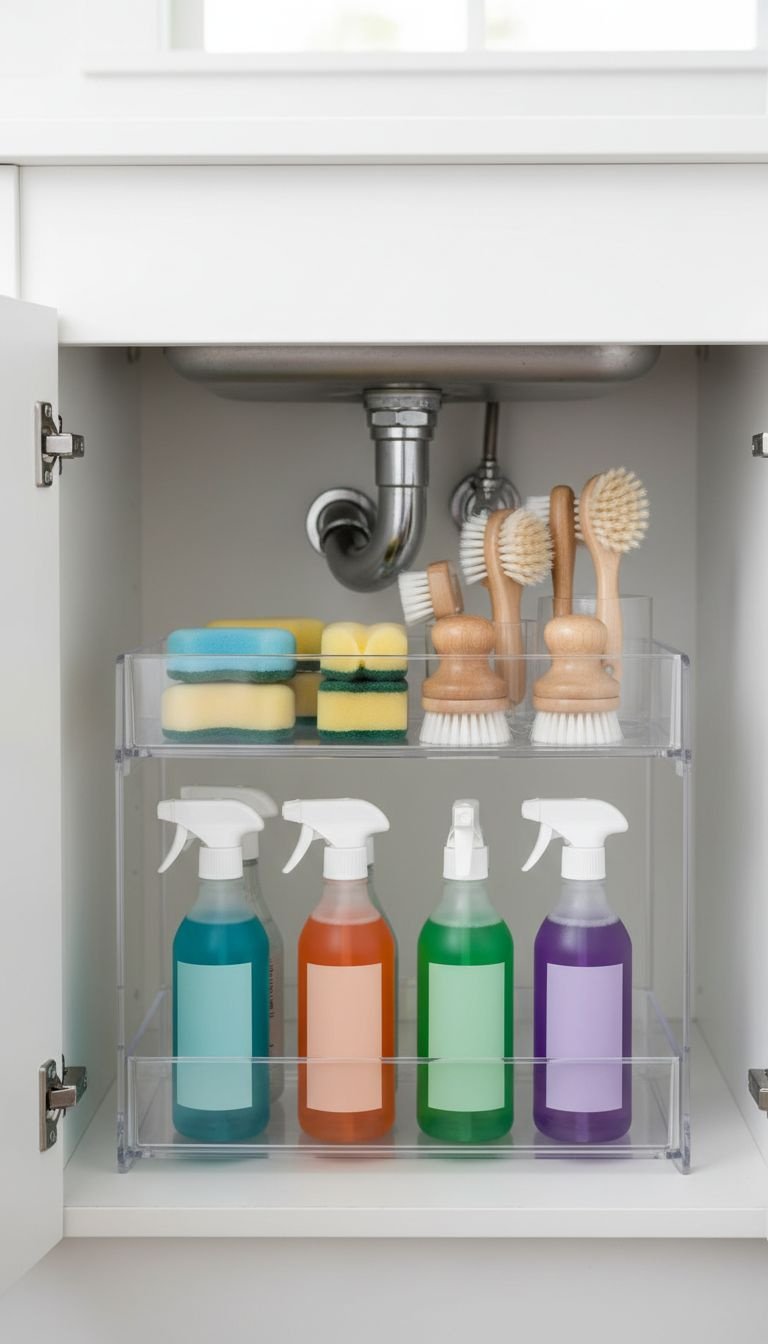
4. Reclaim Wasted Space with Under-Sink Organizers
Save this brilliant idea for that awkward under-sink space!
The cabinet under the kitchen sink is often a dark, chaotic abyss of cleaning supplies. A two-tier sliding organizer is the perfect tool to conquer this space. It works around plumbing pipes and allows you to easily reach items stored in the back, turning a wasted area into a highly efficient storage zone.
Supplies Needed:
- A two-tier sliding under-sink organizer (measure your cabinet width, depth, and height, accounting for the garbage disposal and pipes)
- Stackable clear bins or a turntable (Lazy Susan)
- A waterproof cabinet liner
- Adhesive hooks
Quick Steps:
- Empty and Protect: Remove everything and wipe the cabinet clean. Place a waterproof liner on the bottom to protect against leaks.
- Install Main Organizer: Assemble and place your sliding organizer on one side of the cabinet, away from the pipes. The sliding feature is key for reaching items in the back.
- Use Bins and Turntables: On the other side, use a turntable for oddly shaped bottles or stackable bins for smaller items like dishwasher pods and sponges.
- Utilize Vertical Space: Stick adhesive hooks to the inside of the cabinet doors to hang dish brushes, gloves, or a dustpan.
- Group and Store: Place your most-used cleaning sprays in the pull-out organizer for easy access.
Pro-Tip: Before you buy any organizer, take a photo of your under-sink space and measure it carefully. Note the exact location of pipes and the garbage disposal to ensure a perfect fit.
5. Streamline Spices with a Wall-Mounted Magnetic Rack
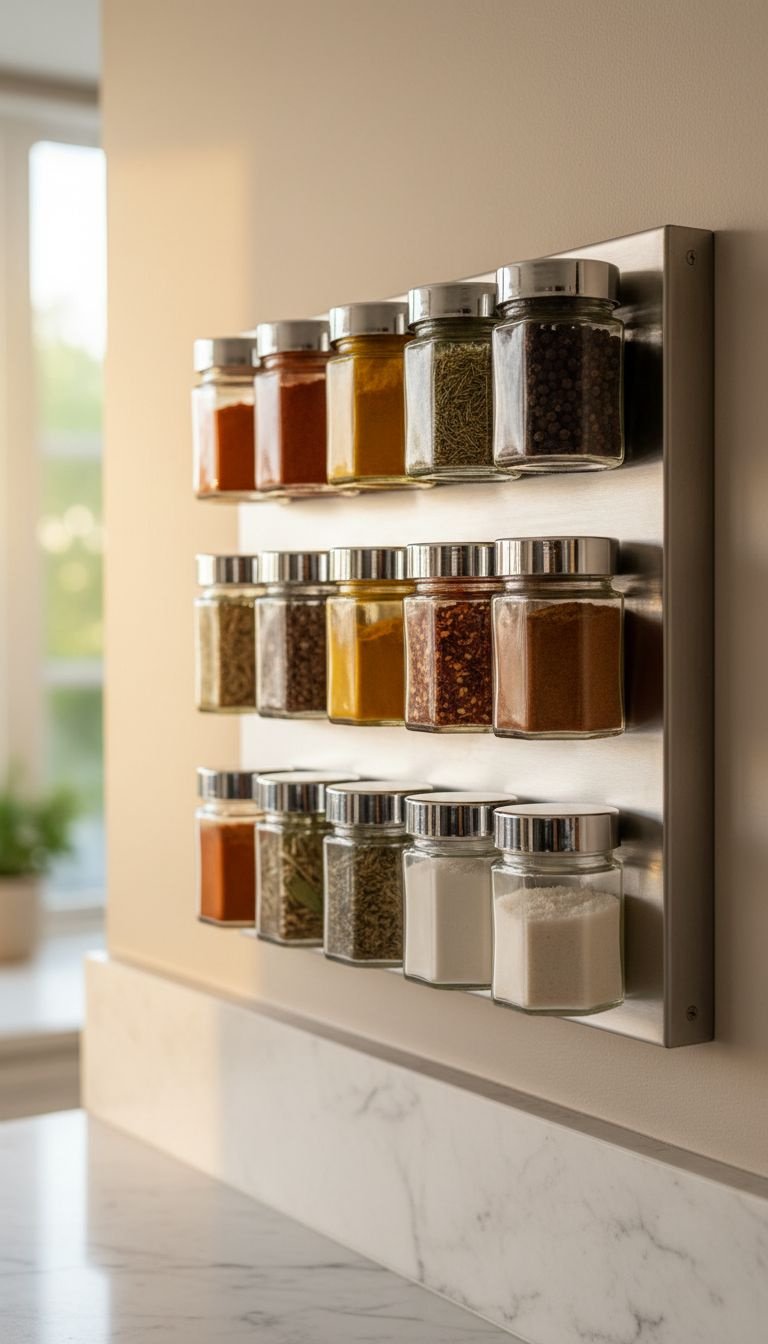
Pin this stylish and functional spice storage solution!
Spice collections can quickly become a disorganized mess in a cabinet or drawer. A wall-mounted magnetic spice rack frees up that space entirely and turns your spices into functional decor. Using uniform glass jars creates a clean, cohesive look, and having them visible and accessible makes cooking more efficient.
Materials Needed:
- A magnetic knife bar or a dedicated magnetic spice rack panel
- A set of empty magnetic spice tins or small glass jars with metal lids
- Strong craft magnets and adhesive (if making your own jars magnetic)
- A label maker or fine-tip permanent marker
- Funnel for transferring spices
Step-by-Step Directions:
- Choose Your Location: Find a clear patch of wall near your cooking area, on the side of a cabinet, or on your backsplash.
- Install the Magnetic Bar: Securely mount the magnetic bar to the wall using the included hardware.
- Prepare Your Jars: Transfer your spices into the uniform jars using a funnel to avoid messes. If your jars aren’t magnetic, glue a strong magnet to the center of each lid.
- Label Clearly: Label the bottom or lid of each jar so you can easily identify the spices.
- Arrange and Display: Stick the jars to the magnetic strip. You can arrange them alphabetically or by color for a functional and beautiful display.
Lesson Learned: This doesn’t just save space; it transforms your spices into a piece of functional art and makes you more likely to use them since they’re always in sight.
6. Maximize Every Inch with Cabinet Door Organizers
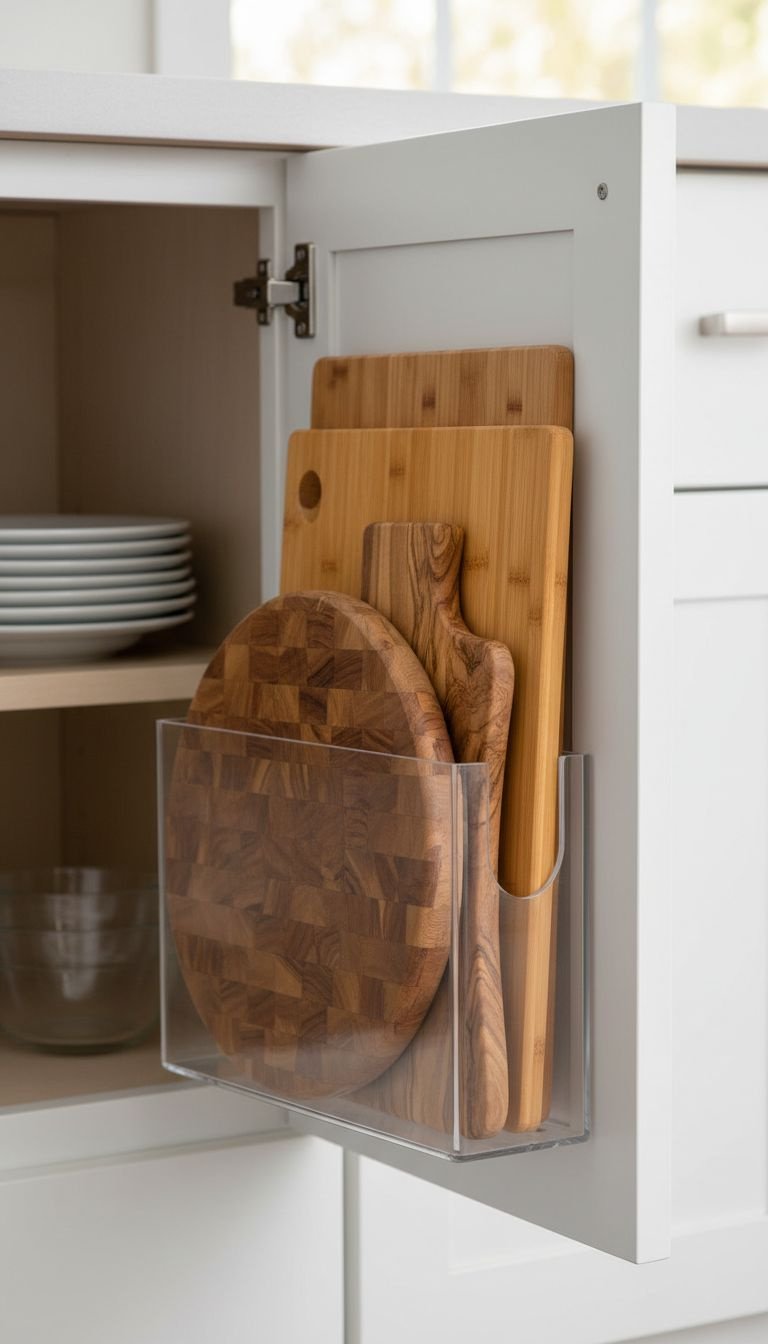
Save this hidden storage tips for your kitchen!
The inside of your cabinet doors is some of the most underutilized real estate in your kitchen. Slim-profile organizers are perfect for storing flat items like cutting boards, pot lids, or boxes of foil and wrap. This simple tips frees up valuable shelf and drawer space for bulkier items.
Materials Needed:
- Slim-profile, over-the-door or stick-on organizers designed for cutting boards, foil/wrap boxes, or pot lids.
- Rubbing alcohol and a clean cloth.
- Measuring tape.
Step-by-Step Directions:
- Measure First: Open the cabinet door and measure the available flat space, ensuring any organizer you buy won’t hit the shelves or items inside when the door is closed.
- Prep the Surface: Thoroughly clean the inside of the cabinet door with rubbing alcohol to ensure a strong bond for adhesive organizers. Let it dry completely.
- Install the Organizer:
- For over-the-door styles: Simply hook it over the top of the door.
- For adhesive styles: Peel off the backing, press it firmly onto the clean door, and hold for 30-60 seconds. Let the adhesive cure for 24 hours before loading it.
- Organize Your Items: Slide your cutting boards, pot lids, or aluminum foil boxes into their new home. This is perfect for freeing up deep drawer space.
Pro-Tip: This is one of the best renter-friendly tipss available. Most adhesive organizers can be removed cleanly with a little heat from a hairdryer.
7. Fake a Renovation with a Peel-and-Stick Backsplash
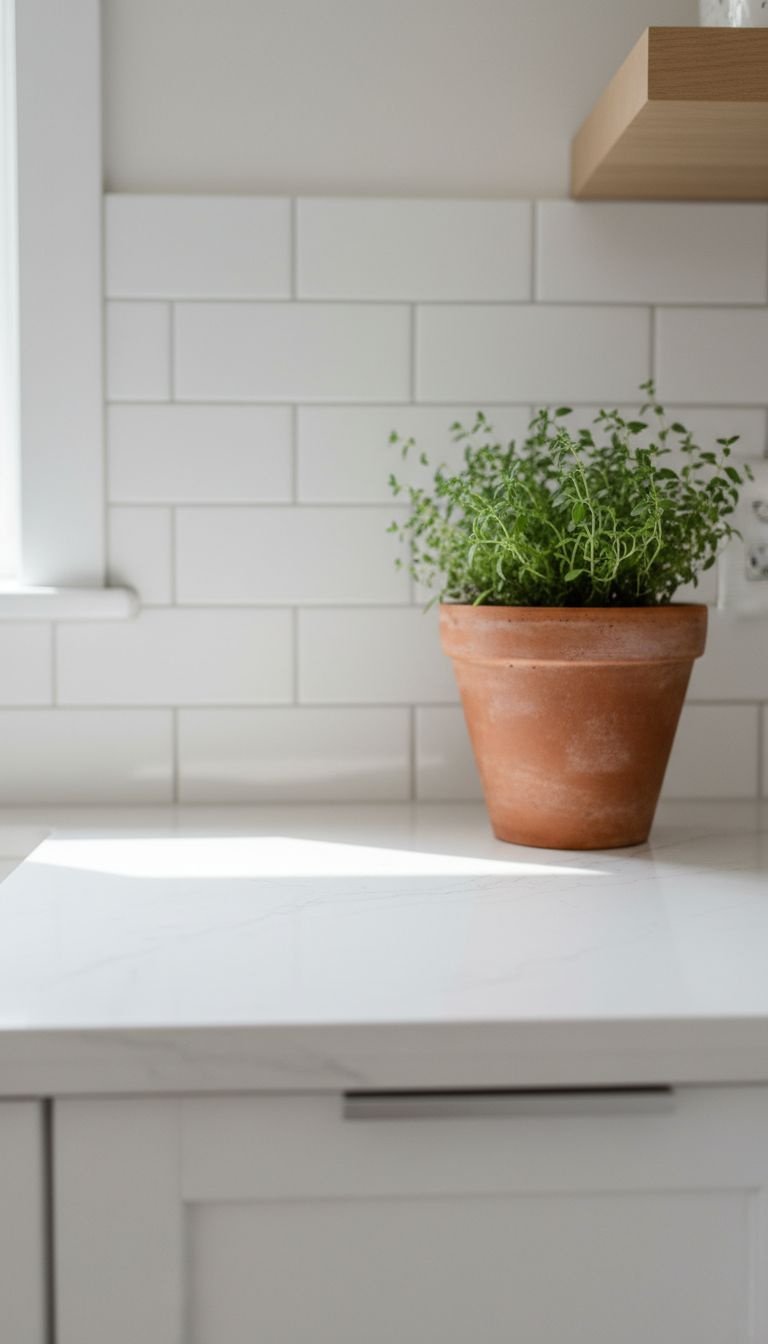
Pin this amazing renter-friendly kitchen upgrade!
A dated backsplash can undermine the entire look of your kitchen. For renters or those on a tight budget, a high-quality peel-and-stick backsplash offers a massive visual upgrade without the cost or commitment of a real renovation. A simple white subway tile design can instantly brighten the space and reinforce a clean, minimalist aesthetic.
Materials Needed:
- High-quality peel-and-stick tile sheets
- All-purpose cleaner or TSP (trisodium phosphate)
- A utility knife or sharp scissors
- A ruler or straight edge
- A smoothing tool (a credit card works in a pinch)
Step-by-Step Directions:
- Clean and Prep: This is the most important step. Thoroughly clean your existing backsplash or wall with a degreasing cleaner like TSP to remove any grime. Let it dry completely for 24 hours.
- Plan Your Starting Point: Start in the most visible corner. Plan to overlap the tiles slightly as directed by the manufacturer to create a seamless, waterproof seal.
- Peel, Align, and Stick: Peel back only the top few inches of the backing paper. Carefully align the top edge of the tile sheet with the bottom of your cabinets or a level line.
- Smooth and Press: Slowly peel away the rest of the backing while using a smoothing tool to press the tile firmly to the wall, working from the center outwards to remove any air bubbles.
- Cut to Fit: Use a utility knife and a ruler to score and snap tiles to fit around outlets and at the end of a wall.
Lesson Learned: Don’t cheap out on the product. High-quality peel-and-stick tiles have a realistic 3D texture and stronger adhesive, making them look far more like real tile.
8. Add Flexible Space with a Slim Rolling Cart
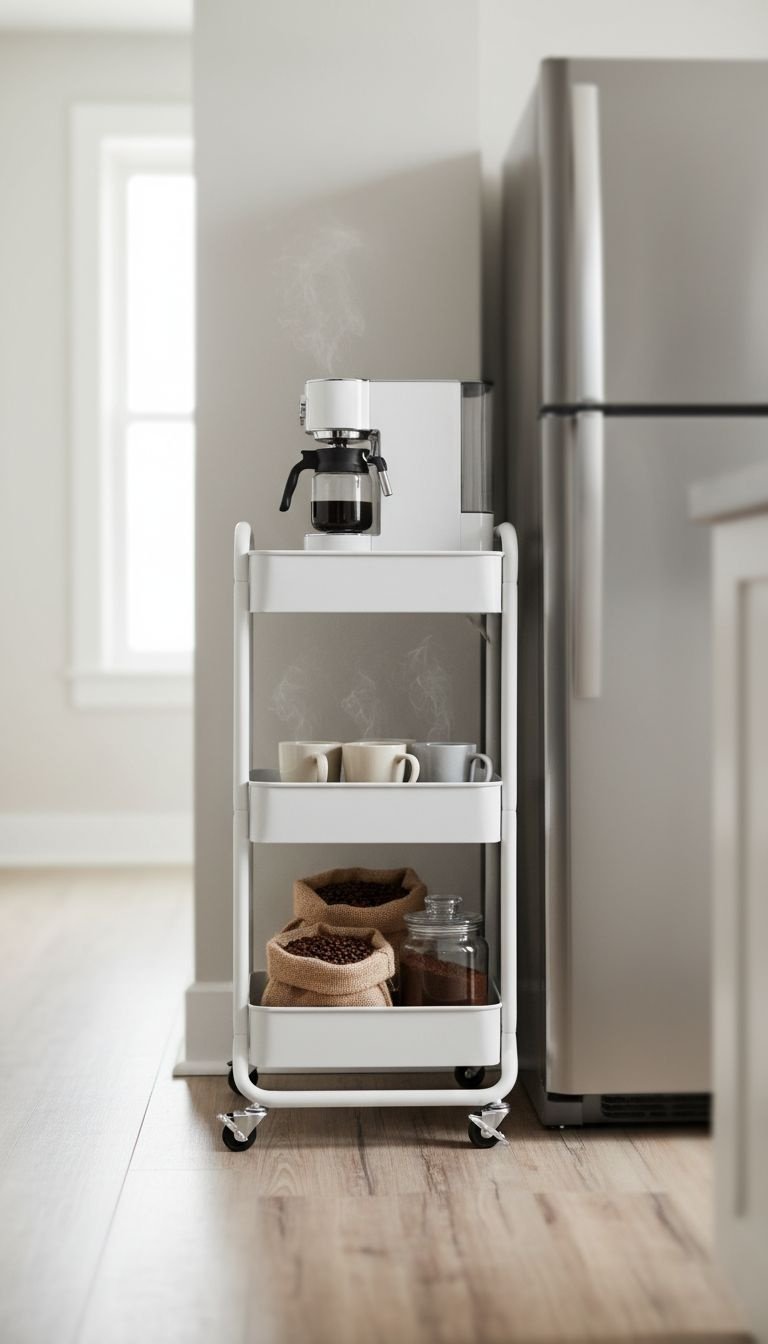
Save this versatile storage solution for small spaces!
Every apartment kitchen has them: awkward, narrow gaps next to the fridge or cabinets that seem useless. A slim rolling utility cart is the perfect tool to reclaim this dead space. It can serve as a mobile pantry, a coffee bar, or extra storage for produce, providing flexible functionality that can be rolled out when needed and tucked away when not in use.
Materials Needed:
- A slim rolling utility cart (measure the gap you intend to fill first!)
- Optional: Baskets or bins that fit the shelves
- Optional: S-hooks for hanging items off the side
Step-by-Step Directions:
- Identify a Gap: Look for that awkward 6-10 inch gap next to your fridge or between a cabinet and the wall. Measure it.
- Assemble the Cart: Follow the package instructions to assemble your slim cart. Ensure the wheels are attached correctly and roll smoothly.
- Assign a Purpose: Decide what the cart’s job will be. This focus prevents it from becoming a clutter magnet. Great ideas include:
- A Coffee Bar: Top shelf for the coffee maker, middle for mugs/sugar, bottom for beans.
- A Pantry Overflow: For oils, vinegars, and spices.
- A Produce Stand: For onions, potatoes, and other non-refrigerated produce in baskets.
- Load and Roll: Organize your items onto the cart and slide it into its designated gap. Roll it out when you need access.
Pro-Tip: A cart with a butcher block top can double as extra prep space—a huge bonus in a tiny kitchen.
9. Create Visual Calm by Decanting into Uniform Containers
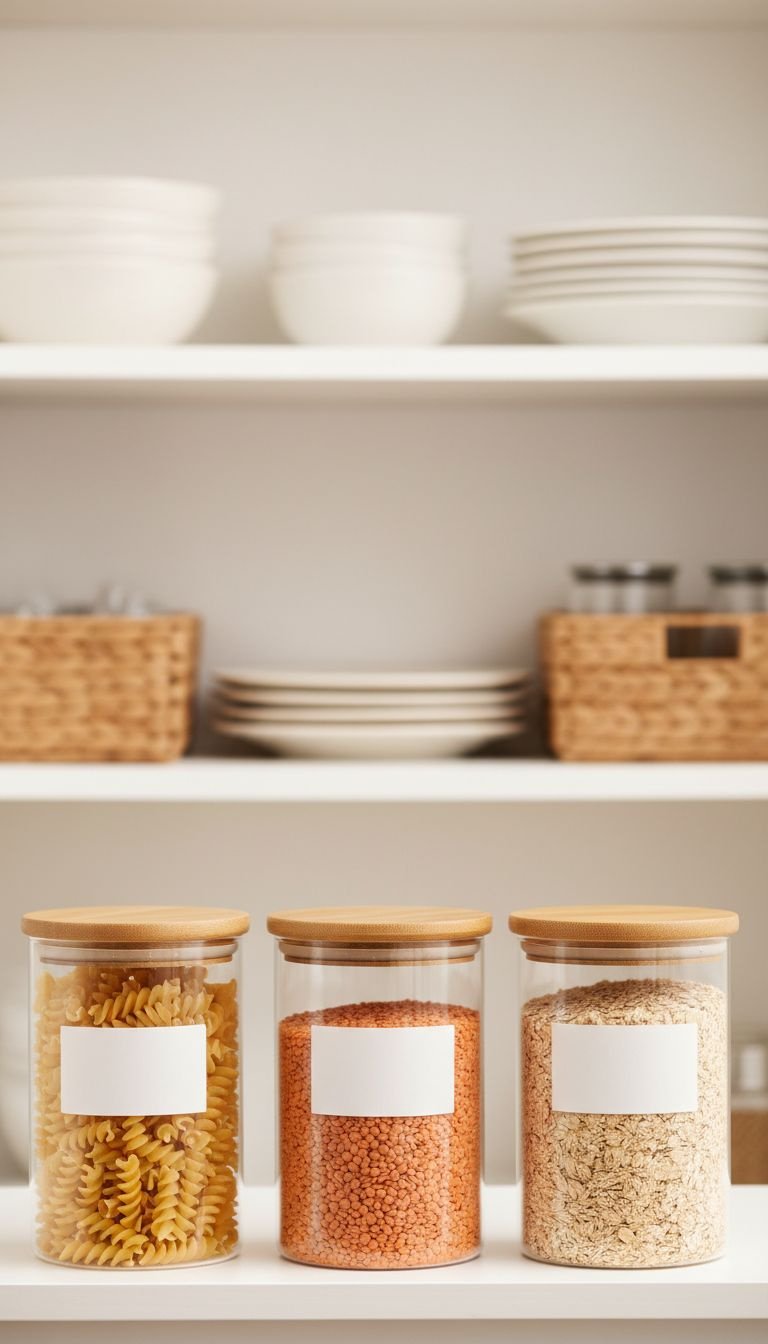
Pin this pantry organization goal for a clutter-free kitchen!
The visual clutter from mismatched, brightly-colored commercial packaging in your pantry or cabinets can be surprisingly stressful. Decanting pantry staples like pasta, grains, and flour into a set of uniform, clear food containers creates instant visual harmony. This minimalist pantry approach is one of the most satisfying organizational projects.
Materials Needed:
- A set of airtight, stackable food storage containers (glass or BPA-free plastic with matching lids are ideal)
- A label maker with simple, clean font
- A food-safe funnel set
- A permanent marker for writing expiration dates
Step-by-Step Directions:
- Take Inventory: Empty your pantry shelves and group all your dry goods. This is a great time to check for expired items.
- Choose Your Containers: Select a matching set of containers in various sizes. Square or rectangular shapes are more space-efficient than round ones.
- Decant and Label: Using a funnel, transfer your pasta, rice, flour, sugar, nuts, and other staples into their new containers. Create a simple, uniform label for the front of each one.
- Add Expiration Dates: Use a permanent marker or a small sticker to write the expiration date on the bottom of the container.
- Arrange and Admire: Place your newly filled containers back on the shelves. The visual transformation from chaotic packaging to clean uniformity is instantly calming.
Lesson Learned: This does more than just look good. It allows you to see exactly how much you have of everything at a glance, preventing duplicate purchases and reducing food waste.
Key Takeaways: Your Quick Guide to a Minimalist Kitchen
- Prioritize Function: Every item and design choice should make the kitchen easier to use.
- Clear Your Counters: This single action has the biggest visual impact. Use appliance garages and vertical storage to achieve it.
- Go Vertical: Utilize wall space with shelves and magnetic racks to draw the eye upward and free up work surfaces.
- Divide and Organize: Use dividers and organizers inside every drawer and cabinet to give every item a home.
- Create Visual Cohesion: Stick to a simple color palette and use uniform containers to eliminate the visual noise of mismatched packaging.
People Also Ask About Minimalist Apartment Kitchens
How can I make my small apartment kitchen look minimalist on a budget?
Focus on decluttering and painting first. A fresh coat of light, neutral paint on the walls or even old cabinets is inexpensive and transformative. Then, invest in affordable organization tools like drawer dividers, under-sink organizers, and uniform food containers to eliminate visual clutter.
What is the most important rule of a minimalist kitchen?
The most important rule is to keep countertops as clear as possible. A minimalist kitchen is defined by its uncluttered surfaces. Aim to have only 2-3 essential or beautiful items out at any time, such as a coffee maker, a knife block, or a small plant. Everything else should be stored away.
How do you add warmth to a minimalist kitchen so it doesn’t feel cold?
Incorporate natural textures and materials. Add a thick wooden cutting board, a linen tea towel, a ceramic vase, or a small potted herb. According to professional designers, these organic elements break up flat, neutral surfaces and make the space feel inviting and personal without adding clutter.
What’s a good, non-permanent way for a renter to update a kitchen?
Use high-quality peel-and-stick products. Removable vinyl backsplashes can completely change the look of your kitchen. You can also use contact paper to cover dated countertops and add battery-powered, stick-on LED lights under your cabinets for better task lighting.
Final Thoughts
Creating a minimalist apartment kitchen isn’t about an expensive, overnight renovation. It’s a journey of small, intentional changes that add up to a big impact on your daily life. The core principle is intentionality—ensuring every item has a purpose and a place. By embracing vertical space, organizing what’s hidden, and clearing your surfaces, you create a kitchen that not only looks beautiful but also supports a calmer, more efficient lifestyle.
Your journey to a more functional kitchen starts with just one drawer or one shelf. What’s the first idea you’re excited to try? Share your plan in the comments below
Last update on 2025-12-31 at 05:14 / Affiliate links / Images from Amazon Product Advertising API
