As an Amazon Associate KitchenwareSets.com earns from qualifying purchases.
9 Brilliant DIY Apartment Kitchen Ideas That Are Damage Free
Stuck staring at a kitchen that feels more sad than stylish? You’re not alone. I know that feeling of wanting a beautiful space but being trapped by a rental agreement.
A Renter-Friendly DIY Kitchen Makeover is a set of temporary, non-destructive, and affordable home improvement techniques. It’s designed to fix that exact problem. It lets you upgrade your kitchen’s look and feel without risking your security deposit.
The best damage-free DIY apartment kitchen ideas include using removable contact paper for countertops, applying peel-and-stick tiles for a temporary backsplash, and swapping cabinet hardware. This guide will show you 9 brilliant ways to transform your kitchen. You’ll create a space you truly love, all on a budget.
Feeling Stuck With a Sad Rental Kitchen? Here’s Your Damage-Free Escape Plan
I know the frustration of living with a dated, boring, or just plain ugly rental kitchen. You spend so much time there, but it doesn’t feel like yours. You scroll through Pinterest and dream of marble countertops and chic backsplashes, but then reality hits: you can’t make any permanent changes. It feels like you’re stuck between wanting a beautiful home and protecting your security deposit.
But here’s the good news: that’s an old way of thinking. A budget-friendly, empowering DIY makeover is completely within your reach. This isn’t about breaking the rules; it’s about using smart, temporary solutions to reclaim your space. The 9 ideas in this guide are your escape plan from that sad rental kitchen—each one is landlord-friendly and 100% reversible.
9 Brilliant DIY Apartment Kitchen Ideas That Are Damage Free
Ready for the fun part? Each of these DIY apartment kitchen ideas has been chosen for maximum visual impact with minimal risk. These are real-world, renter-friendly kitchen tipss that tackle the most common complaints—from ugly countertops and dated cabinets to bad lighting and lack of storage. We’ll focus on quality materials and proper, reversible techniques that are designed to protect your security deposit while creating a kitchen you’re proud of.
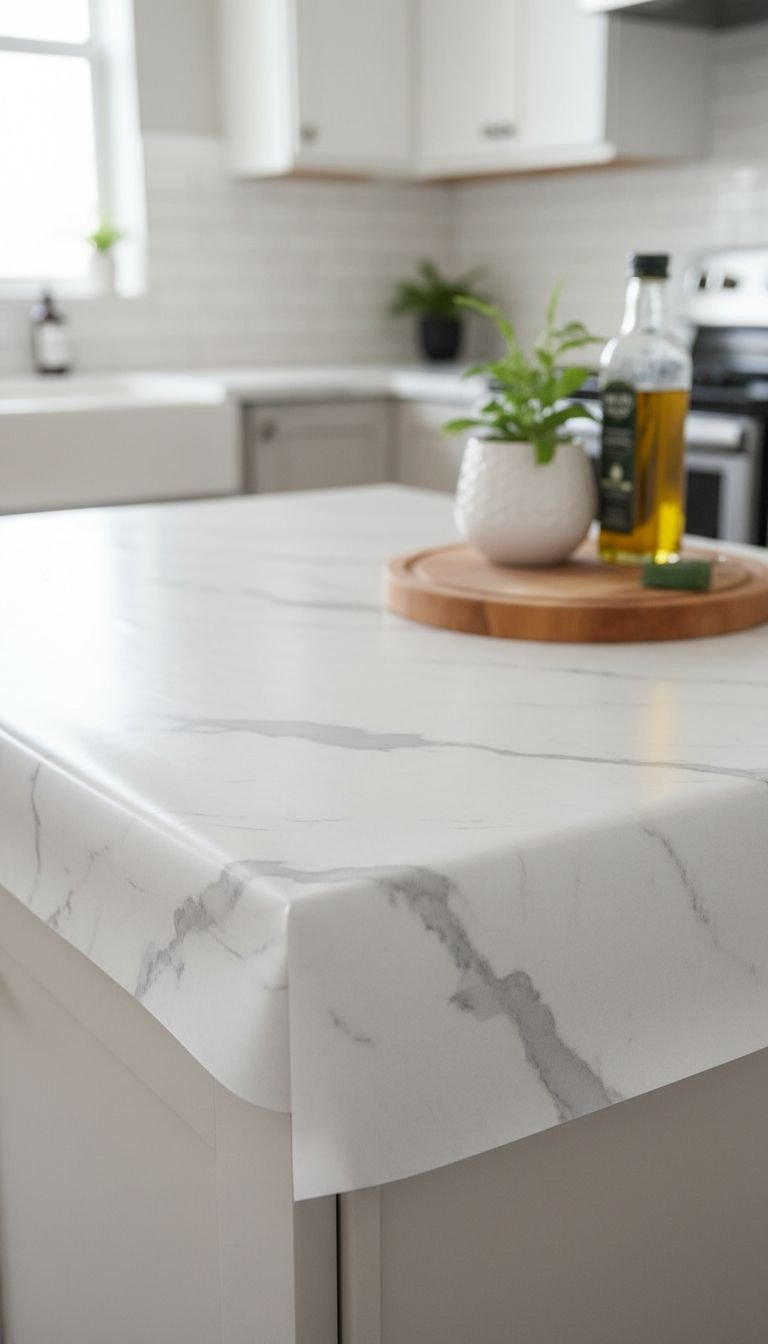
1. Give Dated Countertops a Faux Marble Makeover
Pin this stunning countertop transformation to your ‘Dream Kitchen’ board!
Materials Needed:
- High-quality, heat-resistant marble contact paper (measure your countertops and add 6 inches to length and width)
- Vinyl application kit with a felt-tipped squeegee and a precision craft knife
- Measuring tape
- Isopropyl alcohol and a microfiber cloth
- Hairdryer
Step-by-Step Directions:
- Prep the Surface: Thoroughly clean your existing countertops with isopropyl alcohol to remove all grease and dust. This is the most crucial step for good adhesion.
- Measure and Cut: Measure your first section of countertop. Roll out the contact paper and cut a piece that is a few inches larger on all sides.
- Apply and Smooth: Peel back about 6 inches of the backing paper. Align the paper with the back edge of the counter, leaving some overhang. Use the squeegee to smooth the paper onto the surface, working from the center out to push out air bubbles.
- Continue and Wrap: Slowly pull off more backing paper with one hand while smoothing with the squeegee with the other. To wrap corners and edges, use a hairdryer on low heat to make the vinyl slightly more flexible, then pull taut and smooth down.
- Trim Excess: Use the sharp craft knife to carefully trim all excess paper for a clean, professional finish.
Pro-Tip: For a seamless look at the sink, make precise cuts around the basin and caulk the edges with clear, removable silicone caulk for a waterproof seal.
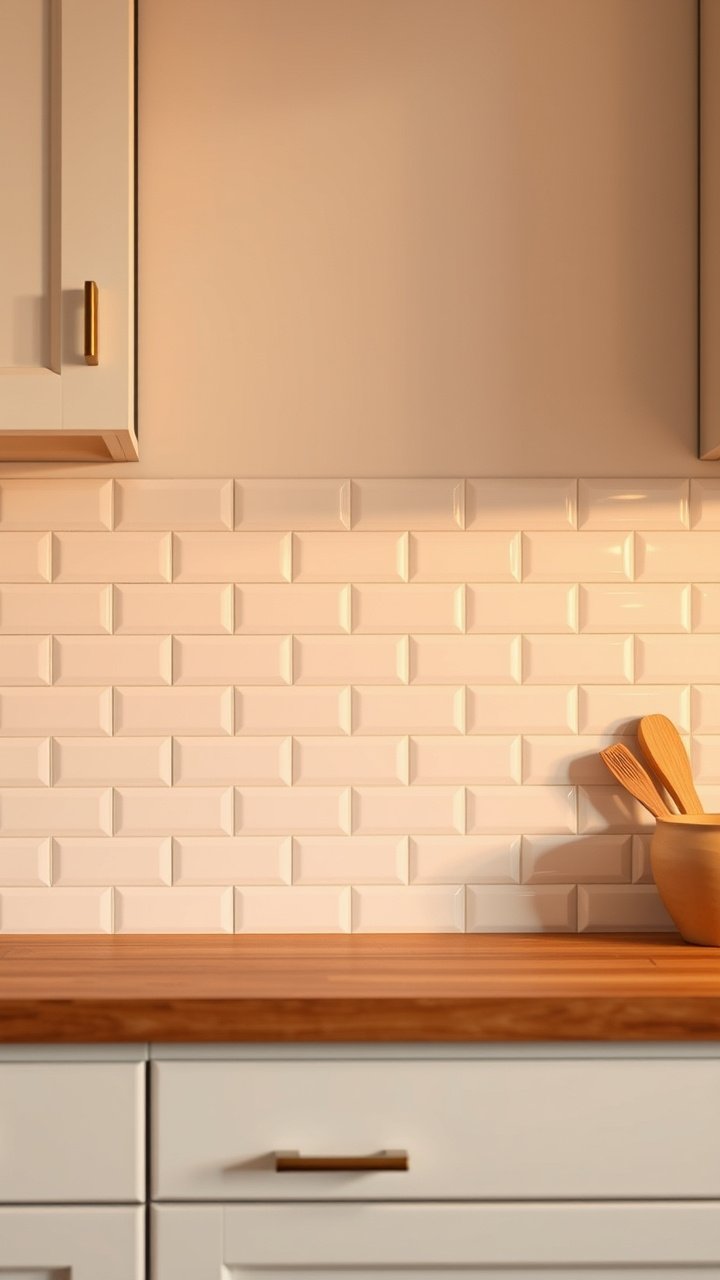
2. Install a Chic Peel-and-Stick Backsplash
Save this easy backsplash idea for your weekend project!
Materials Needed:
- High-quality peel-and-stick wall tiles (calculate square footage and buy 10% extra for mistakes)
- Laser level or a traditional level and pencil
- Measuring tape
- Utility knife or sharp scissors
- Degreasing cleaner (like isopropyl alcohol)
Step-by-Step Directions:
- Clean the Wall: Clean the wall surface thoroughly to remove any grease. Allow it to dry completely.
- Draw a Guideline: Your countertop may not be perfectly level. Use a level to draw a faint pencil guideline for your first row of tiles to ensure a straight result.
- Peel and Align: Peel the backing off your first tile sheet. Carefully align the bottom edge with your guideline.
- Stick and Press: Press the tile sheet firmly onto the wall, smoothing from the center outwards to ensure good contact and remove any air pockets.
- Overlap and Repeat: Each tile sheet will have an overlapping edge. Align the next sheet over the designated area of the first sheet and press firmly. Continue this process until the area is covered.
- Cut to Fit: For edges and outlets, measure and mark the tile sheet on the front. Use a sharp utility knife and a straight edge to cut the tile to size before peeling and sticking.
Lesson Learned: Don’t skip the guideline! I once tried to eyeball the first row and had to peel it all off. A level line is your best friend for a professional look.
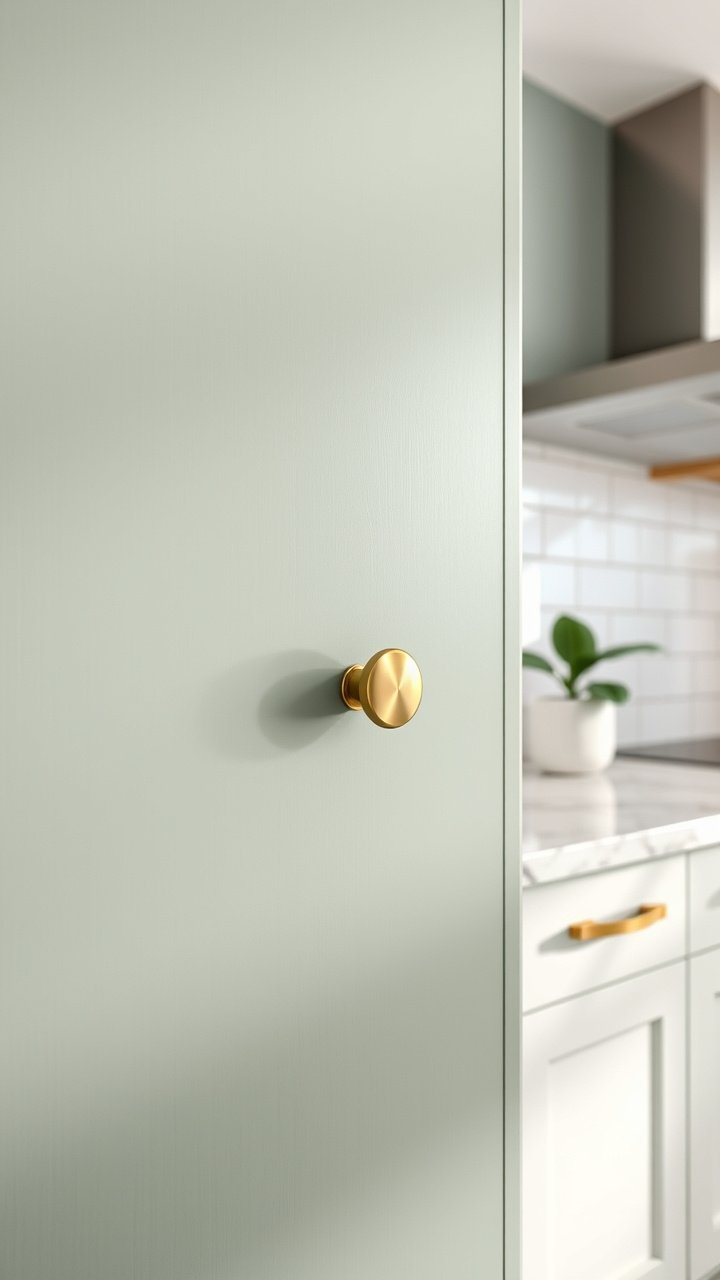
3. Refresh Dated Cabinets Without a Drop of Paint
Pin this no-paint cabinet tips for a total kitchen transformation!
Materials Needed:
- High-quality, scrubbable peel-and-stick wallpaper
- Screwdriver (to remove hardware)
- Squeegee and craft knife
- Measuring tape
- Degreasing cleaner
Step-by-Step Directions:
- Remove Hardware: Unscrew and remove all knobs or pulls from the cabinet doors and drawers. Store them safely.
- Clean All Surfaces: Deep clean the cabinet faces with a degreaser to ensure the wallpaper will stick properly.
- Measure and Cut: Measure a single cabinet door. Cut a piece of removable wallpaper that is 2-3 inches larger on all sides.
- Apply to Face: Peel the backing and apply the wallpaper to the front of the door, using a squeegee to smooth it out and eliminate bubbles.
- Wrap the Edges: Use a hairdryer on low heat to gently warm the wallpaper, then pull it taut and wrap it around the edges of the door for a seamless, factory-finish look.
- Trim and Re-install: Use your craft knife to trim excess from the back. Poke a small hole from the back where the screw hole is, then reinstall your hardware.
Pro-Tip: If your cabinets have a strong wood grain texture, it may show through thin wallpaper. Opt for a thicker, higher-quality vinyl or a wallpaper with its own texture to help conceal it.
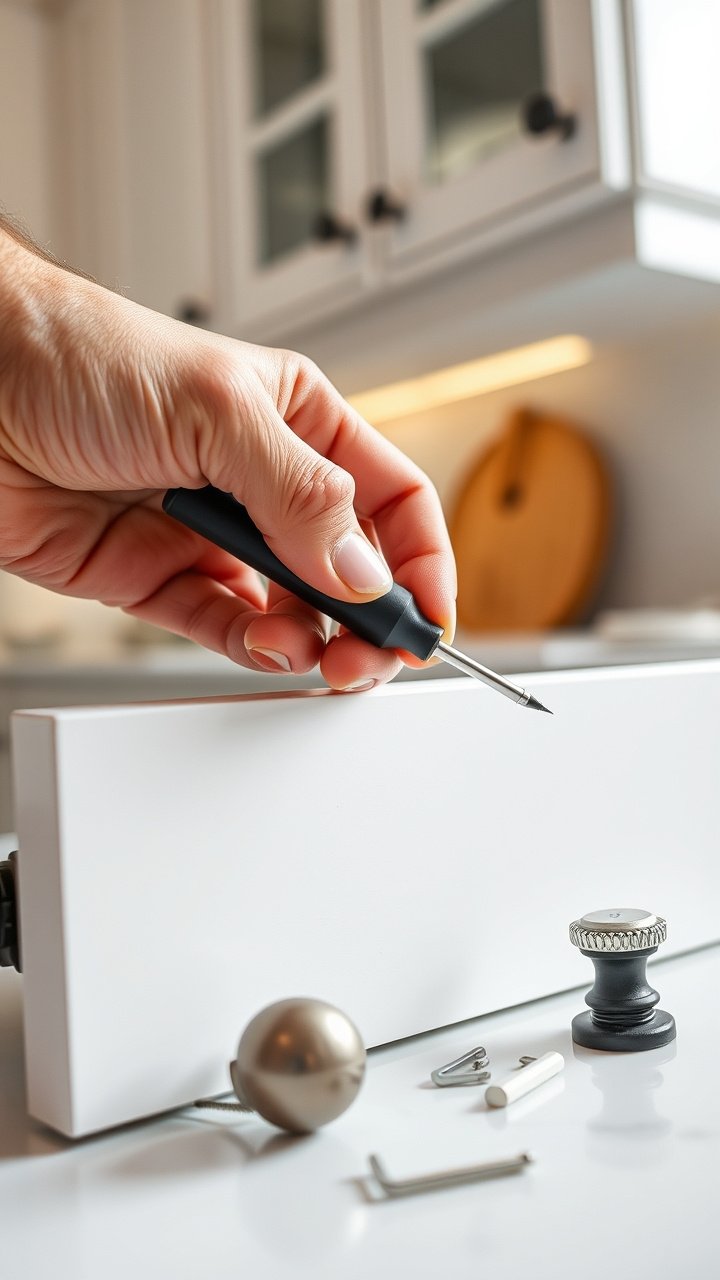
4. Swap Out Hardware for an Instant Upgrade
Save this 30-minute kitchen upgrade idea!
Materials Needed:
- New cabinet knobs and/or pulls
- A screwdriver (usually a Phillips head)
- A small bag for storing the original hardware
Step-by-Step Directions:
- Measure First: Before you buy, measure the distance between the screw holes on your existing pulls (this is the “center-to-center” measurement). Buy new pulls with the exact same measurement to avoid drilling new holes. For knobs, it’s just a single hole.
- Unscrew the Old: Open the cabinet or drawer. Use your screwdriver to unscrew the old knob or pull from the inside.
- Save the Originals: Place the original hardware and its screws into a labeled plastic bag. You MUST put these back on before you move out.
- Screw in the New: Align your new hardware with the existing holes and screw it in from the back. Don’t overtighten, just make it snug.
- Repeat: Continue for all your cabinets and drawers.
Pro-Tip: Take one of your old pulls with you to the hardware store to ensure you buy new ones with the perfect screw-hole spacing. This is the secret to a no-drill upgrade.
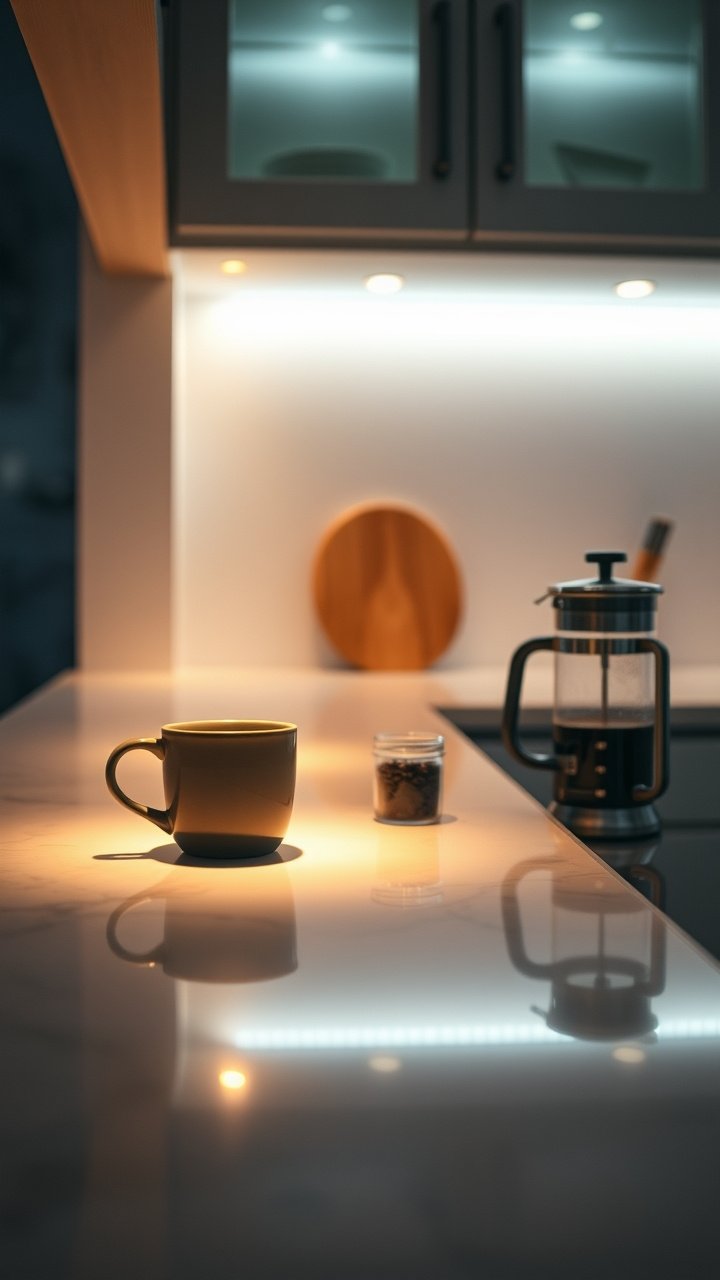
5. Add Warmth with Wireless Under-Cabinet Lighting
Pin this genius lighting tips to brighten your kitchen!
Materials Needed:
- A set of rechargeable, battery-operated LED under-cabinet lights (puck or strip style)
- Microfiber cloth and cleaning spray
Step-by-Step Directions:
- Plan Placement: Decide where you want the lights. For task lighting, place them towards the front of the cabinet bottom. For accent lighting on a backsplash, place them towards the back. Space them evenly.
- Clean the Surface: Thoroughly clean the underside of the cabinets where the lights will be placed. Let it dry completely.
- Install Batteries/Charge: If your lights are battery-powered, insert the batteries. If they are rechargeable, make sure they are fully charged before installing.
- Peel and Stick: Remove the backing from the adhesive pad on the light and press it firmly into place for 30 seconds.
- Test: Use the remote control or tap the light to test it. If you have motion-sensor lights, test their range.
Pro-Tip: Choose rechargeable LED lights. They cost a little more upfront but will save you a lot of money and hassle on batteries in the long run. Many now come with a magnetic base, so you can just pop them off to charge.
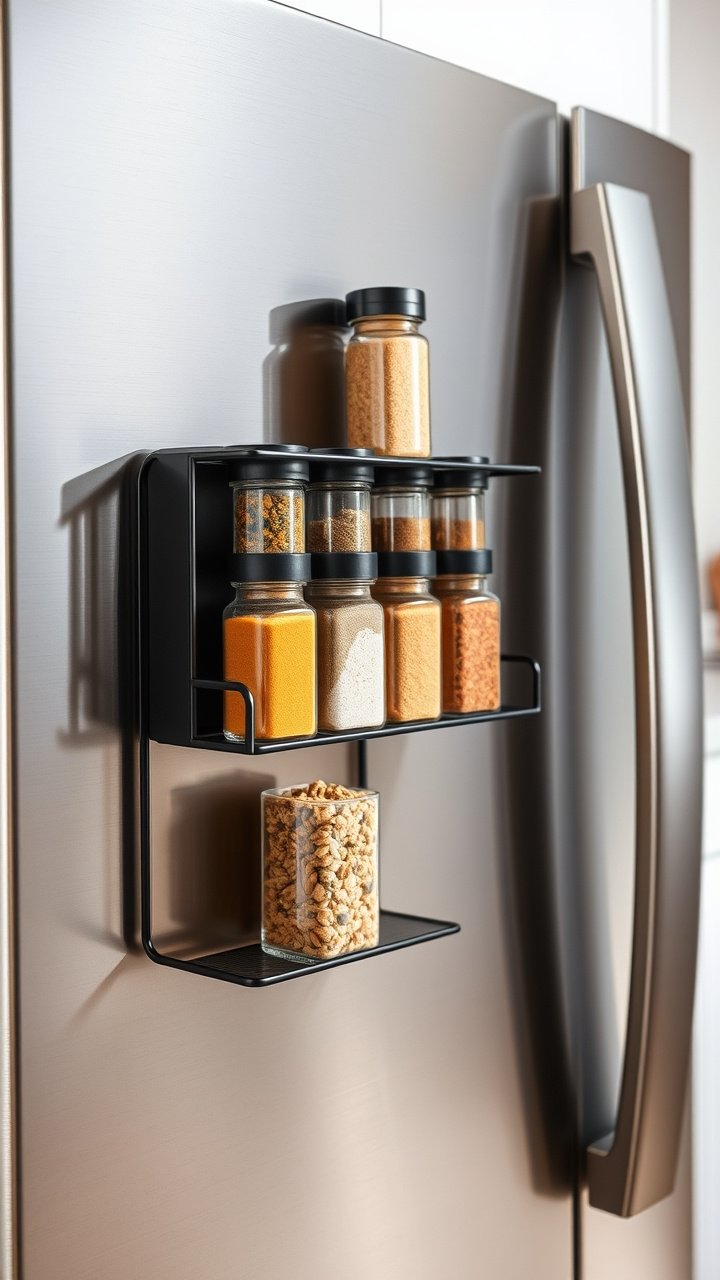
6. Go Vertical with a Magnetic Spice Rack
Save this clever storage idea to free up counter space!
Materials Needed:
- Heavy-duty magnetic spice rack shelf
- Your collection of spice jars
Step-by-Step Directions:
- Identify a Surface: The side of your refrigerator is the most common and ideal magnetic surface in a kitchen.
- Unbox and Place: Remove the magnetic rack from its packaging. There is no assembly required.
- Attach to Fridge: Simply place the rack onto the side of the fridge. The strong magnets will hold it securely in place.
- Arrange Your Spices: Fill the shelf with your most-used spices for easy access while cooking.
Lesson Learned: Check the weight capacity of the magnetic shelf before buying. A good one can hold 5-10 pounds, which is more than enough for spices, oils, or even paper towels if you get a larger version.
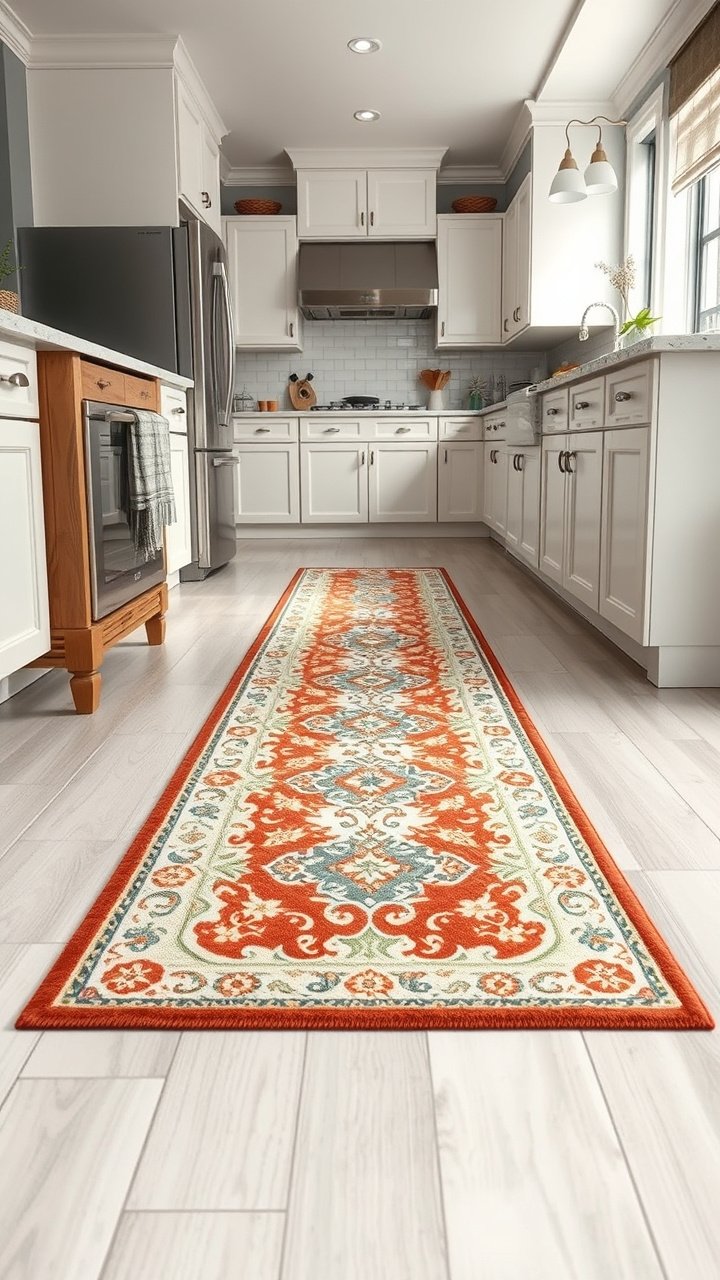
7. Cover an Ugly Floor with a Stylish Washable Rug
Pin this easy fix for ugly kitchen floors!
Materials Needed:
- A washable runner rug with a built-in non-slip backing, sized for your kitchen’s main walkway
Step-by-Step Directions:
- Measure Your Space: Measure the length and width of the main walkway in your kitchen, usually the area in front of the sink and stove. Choose a runner that fits this space well, leaving a few inches of floor visible on each side.
- Sweep and Mop: Give your kitchen floor a good cleaning before laying down the rug.
- Unroll and Place: Simply unroll the rug in the desired location. Smooth out any wrinkles.
- Live and Wash: Enjoy the new look! When it gets dirty, just throw it in the washing machine according to the manufacturer’s instructions.
Pro-Tip: Look for rugs made specifically for kitchens. They are often low-pile, which makes them easier to clean, and have a rubber or non-slip backing for safety on slick floors.
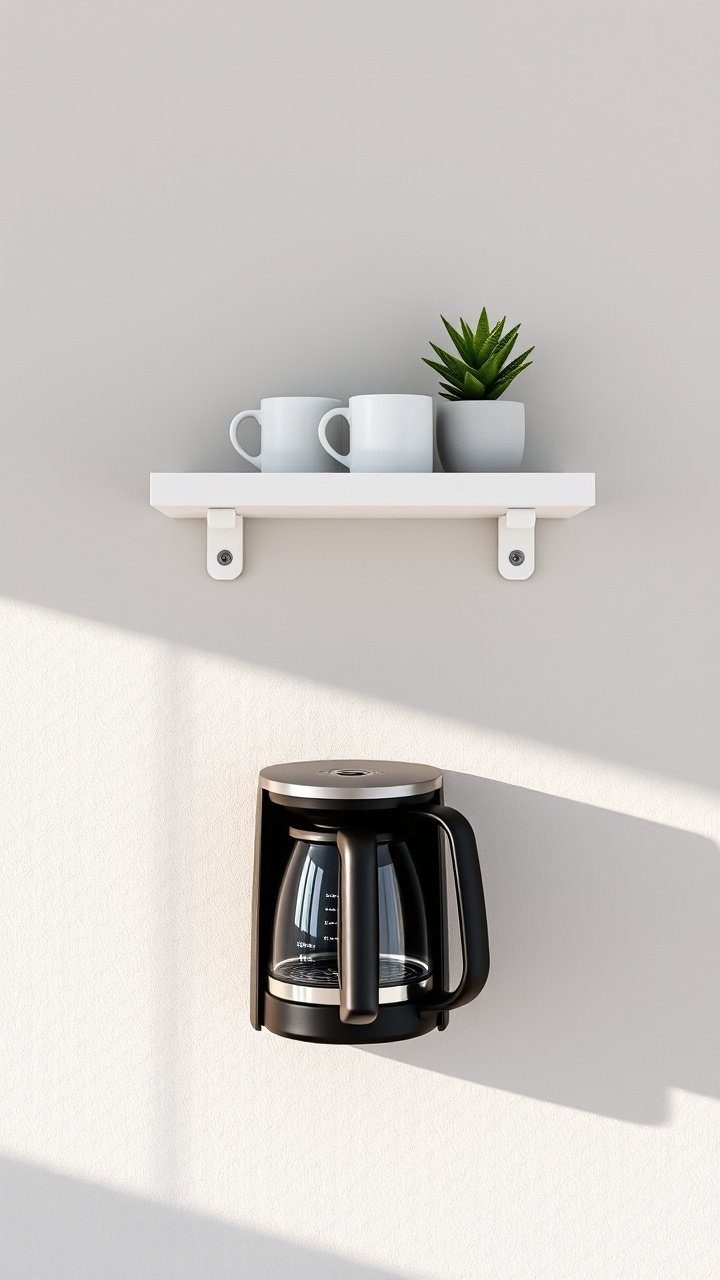
8. Add Storage with Damage-Free Hanging Shelves
Save this no-drill shelving idea for extra storage!
Materials Needed:
- A lightweight picture ledge or narrow shelf (under 5 lbs)
- Multiple pairs of large, heavy-duty Command Picture Hanging Strips (check weight limits)
- A level
- Isopropyl alcohol
Step-by-Step Directions:
- Check Weight Limits: This is critical. Check the total weight your adhesive strips can hold. Weigh your shelf and the items you plan to put on it to ensure you are well under the limit. This method is for lightweight items ONLY (mugs, spices, small plants).
- Prep the Wall: Clean the wall area where the shelf will go with isopropyl alcohol. Do not use household cleaners.
- Apply Strips: Separate the strips. Click two strips together until they snap. Remove one liner and apply it to the back of your shelf. Press firmly. Repeat this process, spacing the strips out along the length of the shelf.
- Mount the Shelf: Remove the remaining liners. Position your shelf on the wall, using a level to make sure it’s straight. Press the shelf firmly against the wall for 30 seconds.
- Let it Cure: Remove the shelf by pulling it up and away from the wall (the strips on the wall should remain). Press the wall-side strips for another 30 seconds. Wait at least one hour for the adhesive to cure before putting the shelf back on.
- Decorate Lightly: Re-attach your shelf and place your lightweight decorative items on it.
Lesson Learned: Do not overload adhesive shelves. They are perfect for small decor items but are not meant for heavy plates or books. Always use more strips than you think you need for extra security.
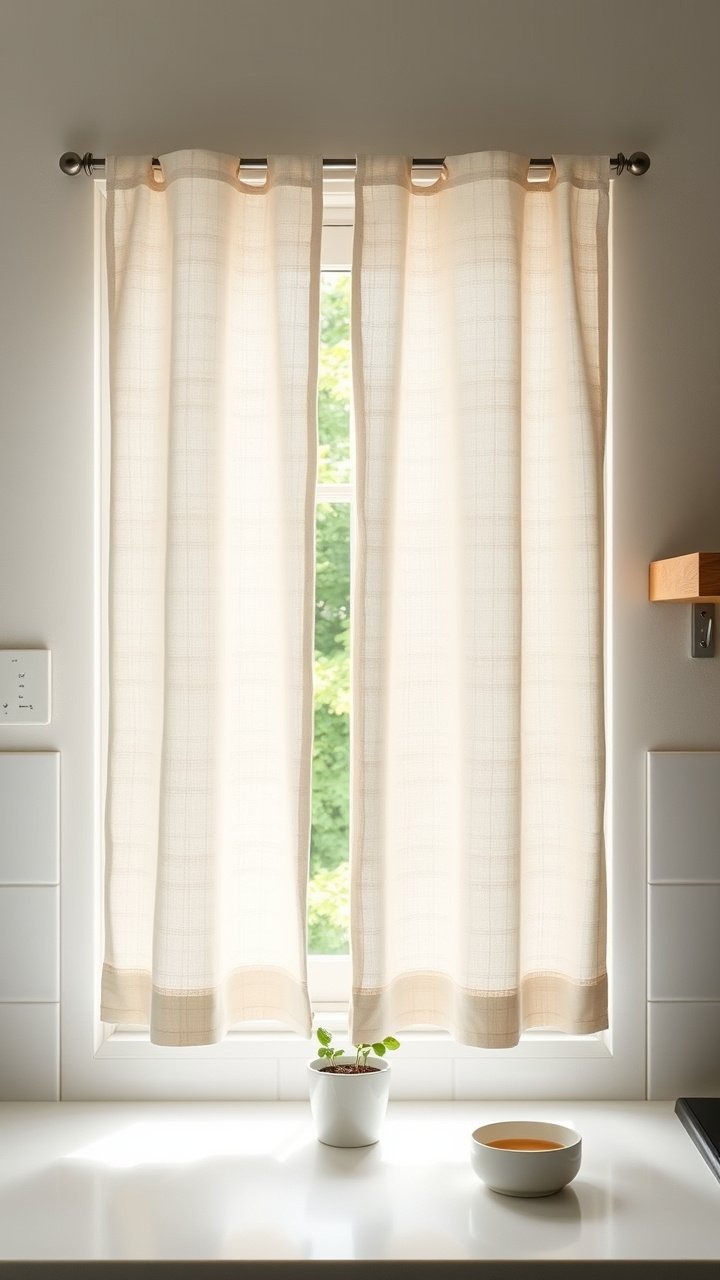
9. Create Privacy with a No-Drill Window Treatment
Pin this simple and chic no-drill window idea!
Materials Needed:
- An adjustable tension rod
- A pair of lightweight cafe curtains with a rod pocket
Step-by-Step Directions:
- Measure Your Window: Measure the inside width of your window frame to ensure you buy a tension rod that will fit.
- Thread the Curtain: Slide the tension rod through the pocket at the top of your cafe curtain panel(s).
- Adjust the Rod: Twist the rod to extend it so it’s slightly longer than the width of your window frame. This creates the tension.
- Install: Squeeze the rod to compress the internal spring, fit it into place inside the window frame, and release. The spring tension will hold it securely in place.
- Adjust Height: Position the rod at the desired height—cafe curtains usually cover the bottom half of the window to provide privacy while still letting in light from the top.
Pro-Tip: For even more privacy or a modern look, consider a peel-and-stick frosted or reeded glass window film. It applies with water and is easily removable, offering a sleek alternative to curtains.
Key Takeaways: Your Quick Guide to a Damage-Free Kitchen Upgrade
Here is your rental kitchen transformation checklist to get you started.
- For Ugly Countertops: Use high-quality, heat-resistant marble contact paper for a luxurious look on a budget.
- For Boring Walls: Install a peel-and-stick tile backsplash for the biggest visual impact in just a few hours.
- For Dated Cabinets: Change the hardware for a 30-minute fix, or cover them with removable wallpaper for a total color change.
- For Bad Lighting: Instantly add warmth and functionality with stick-on, battery-powered under-cabinet lights.
- For Lack of Storage: Go vertical. Use the side of your fridge, tension rods, and other no-drill solutions to get organized.
- The Golden Rule: Always clean your surfaces with isopropyl alcohol before applying any adhesive, and always save the original hardware!
FAQs About DIY apartment kitchen ideas
Will peel-and-stick backsplash damage my apartment walls?
No, high-quality peel-and-stick backsplash should not damage your walls if removed correctly. The key is proper preparation (cleaning the wall) and careful removal. To remove, gently warm the tiles with a hairdryer to soften the adhesive, then slowly peel them off at an angle.
How can I cover my ugly rental countertops?
The best way to cover ugly rental countertops is with thick, durable, heat-resistant vinyl contact paper. This temporary solution is affordable, comes in many styles like marble or butcher block, and can be removed at the end of your lease. Always use a cutting board and avoid placing hot pans directly on the surface.
Can I update my kitchen cabinets without painting them?
Yes, you can easily update cabinets without paint. The two best damage-free methods are swapping out the knobs and pulls for a quick 30-minute upgrade, or covering the cabinet doors and drawer faces with high-quality, removable peel-and-stick wallpaper for a complete color and style transformation.
What’s the cheapest way to make my rental kitchen look better?
The cheapest, highest-impact upgrade is to thoroughly deep clean the entire kitchen and then change the cabinet hardware. A new set of knobs or pulls can cost very little and can single-handedly make dated cabinets look more modern and intentional.
Final Thoughts
Your rental kitchen doesn’t have to be a source of frustration. With a little creativity and these damage-free 2025 ideas, you can create a space that feels stylish, functional, and uniquely yours. The best part? When it’s time to move, you can reverse it all and get that security deposit back.
Which of these ideas are you most excited to try first? Let me know in the comments below
Last update on 2025-12-30 at 22:41 / Affiliate links / Images from Amazon Product Advertising API
