As an Amazon Associate KitchenwareSets.com earns from qualifying purchases.
Brilliant Outdoor Kitchen Design Plans To Avoid Costly Mistakes
Dreaming of the perfect outdoor kitchen but terrified of making costly mistakes? An outdoor kitchen design is the official plan for creating a functional cooking and entertainment space in your backyard. But turning that beautiful vision into a durable, functional reality can feel complex and overwhelming.
The key to a successful outdoor kitchen design is a structured plan: define your layout based on workflow, choose materials suited for your climate, and plan for utilities before you build. This guide provides our proven, step-by-step plans to help you create your dream space without the common, expensive regrets.
Feeling Overwhelmed by Your Outdoor Kitchen Dream? Here’s Where to Start.
That feeling of being swamped by choices—layouts, materials, appliances—is completely normal. There’s also the fear of making a permanent, expensive mistake. We’ve guided hundreds of homeowners through this exact process, and the single most important lesson we’ve learned is that a methodical approach is the best way to prevent errors.
This guide is your definitive roadmap. We’ll break down the entire outdoor kitchen design process into a series of simple, manageable steps. By following this plan, you can turn your backyard transformation dream into an achievable, functional reality you’ll love for years to come.
9 Brilliant Outdoor Kitchen Design Plans To Avoid Costly Mistakes
1. Plan Your Location for Perfect Workflow & Comfort
Pin this essential first step to your ‘Backyard Project’ board!
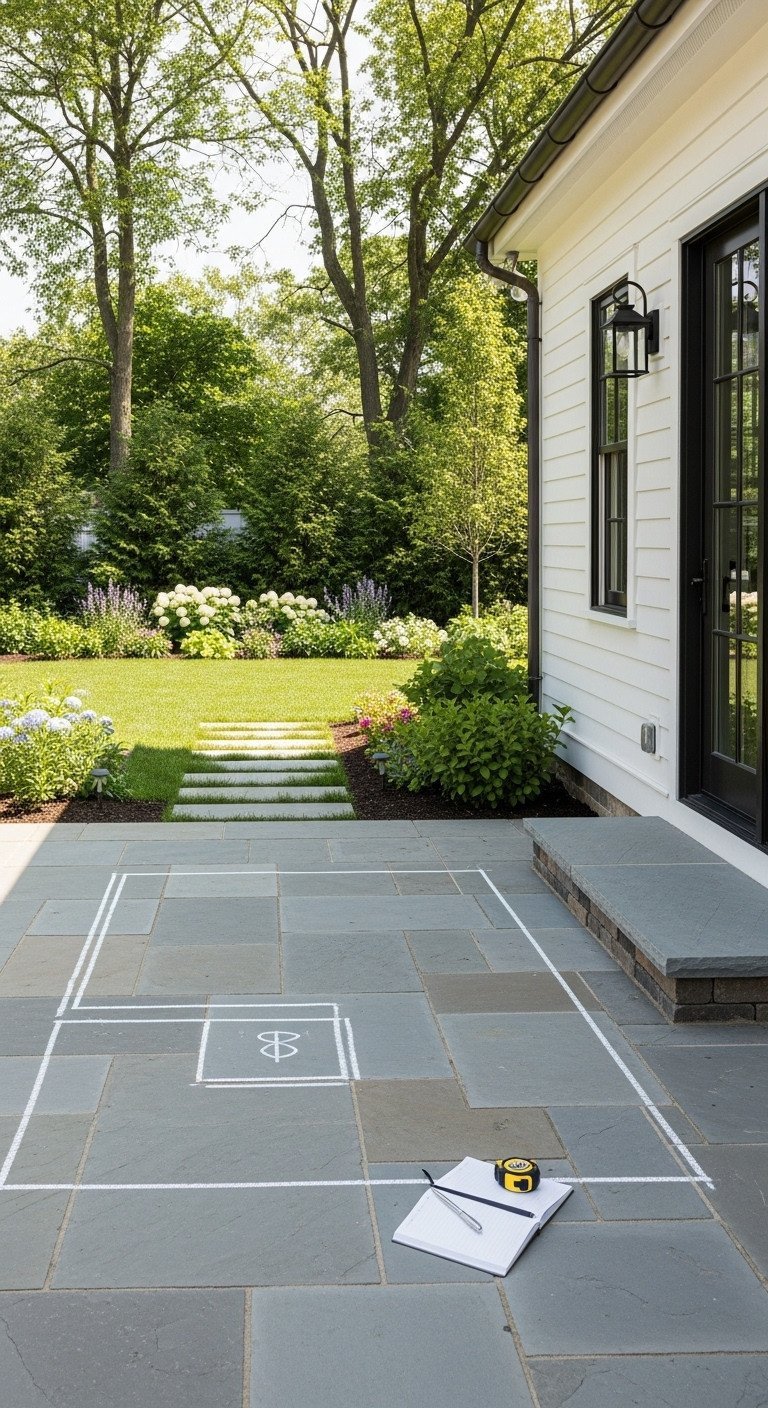
Your kitchen’s location impacts everything from convenience to comfort. Choosing the right spot is the first and most critical step in your outdoor kitchen design.
Materials Needed:
- Tape measure (100 ft. for accuracy)
- Notebook and pencil for sketching
- Stakes and string or marking paint/chalk to outline the footprint
- Compass app on your phone to check sun direction
Step-by-Step Directions:
- Assess Proximity: Measure the distance from your indoor kitchen door to potential outdoor kitchen locations. The ideal spot is close enough for easy transport of food and supplies, typically within 15-20 feet.
- Observe Natural Elements: Over a full day, note the sun and shade patterns. Identify the prevailing wind direction to ensure grill smoke won’t blow into seating areas or back into the house.
- Map Traffic Flow: Consider how people walk through your yard. Avoid placing the kitchen in a major pathway between the house, a pool, or a play area to prevent bottlenecks.
- Locate Utilities: Identify the nearest access points for gas, electricity, and water. The closer your kitchen is to these, the lower your installation costs will be.
- Outline and Test: Use stakes and string or chalk to mark the potential footprint on the ground. Walk around it for a day or two to see how the size and location feel in the space.
The most common location mistake is ignoring the wind. We once built a beautiful kitchen where the smoke blew directly onto the patio dining table. Always check prevailing winds before finalizing your spot!
2. Finalize Your Layout to Maximize Functionality
Save this layout planning guide for your dream kitchen!
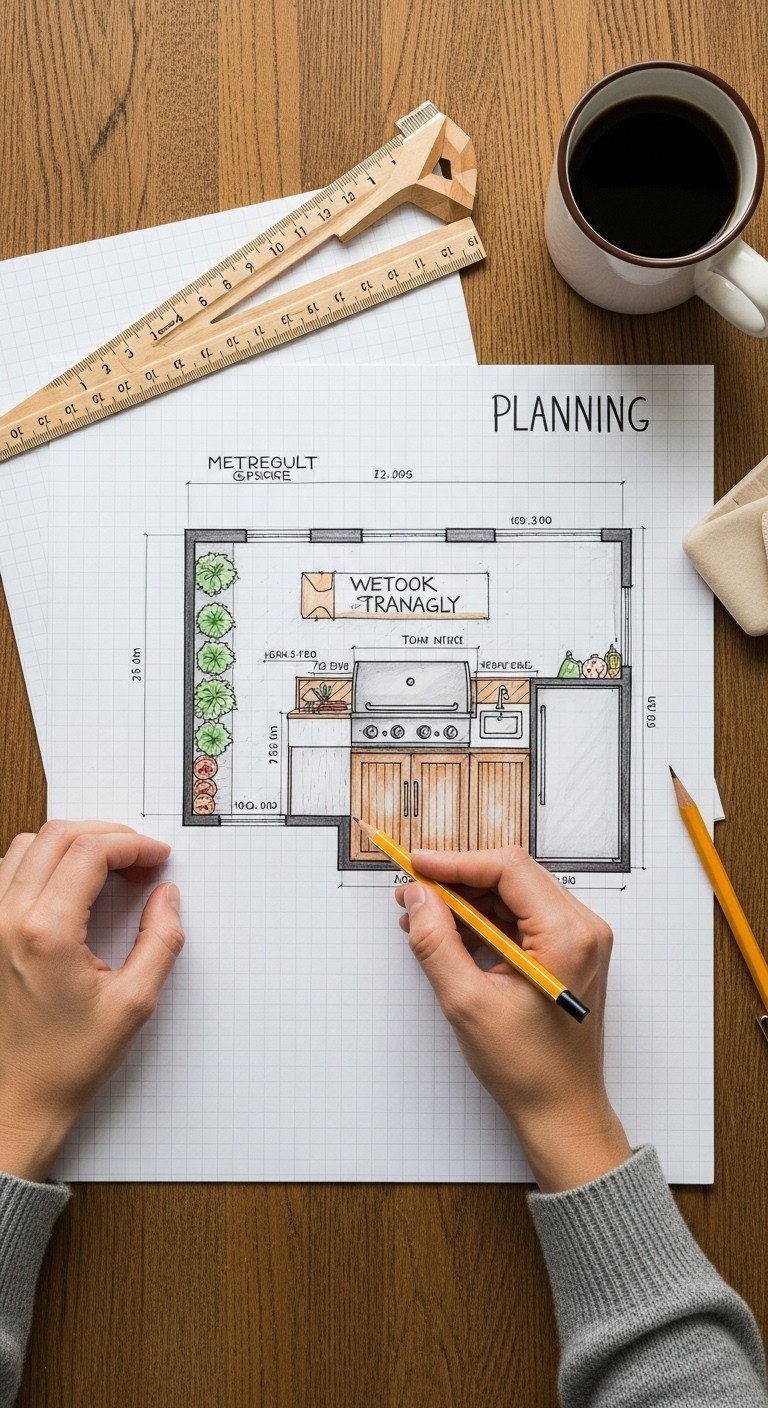
The layout, or footprint, of your kitchen determines how easy it is to use. A well-planned layout creates an ergonomic and efficient workflow, making cooking outdoors a pleasure.
Tools Needed:
- Graph paper and pencil
- Architect’s scale ruler
- Manufacturer spec sheets for your desired appliances (for dimensions)
- Free online design tools (optional, from brands like RTA or Coyote)
Step-by-Step Directions:
- Choose Your Shape: Based on your location from Step 1, select a layout. An L-shape is great for corners and defining a space. A U-shape offers maximum counter space but needs a larger footprint. A Linear/Galley layout is perfect for narrow patios.
- Draw to Scale: On graph paper, draw the outline of your chosen footprint. A common scale is letting one square equal 6 inches.
- Place Your Zones: Position your three main zones: Hot (grill), Cold (refrigerator), and Wet (sink). To create an efficient outdoor “work triangle,” the legs connecting these zones should ideally be between 4 and 9 feet each, according to NKBA guidelines.
- Add Landing Space: This is critical! Plan for at least 24 inches of clear counter space on one side of your grill and 18 inches on one side of your sink. This is your “landing space” for platters and ingredients.
- Refine and Finalize: Adjust the positions of your appliances on paper until the workflow feels logical and un-cramped. This is the blueprint for your build.
Don’t let the “work triangle” be too big. If the distance between your grill, sink, and fridge is too large, you’ll spend all your time walking back and forth instead of cooking.
3. Establish a Solid Foundation That Lasts
Pin this crucial construction tip for a durable build!
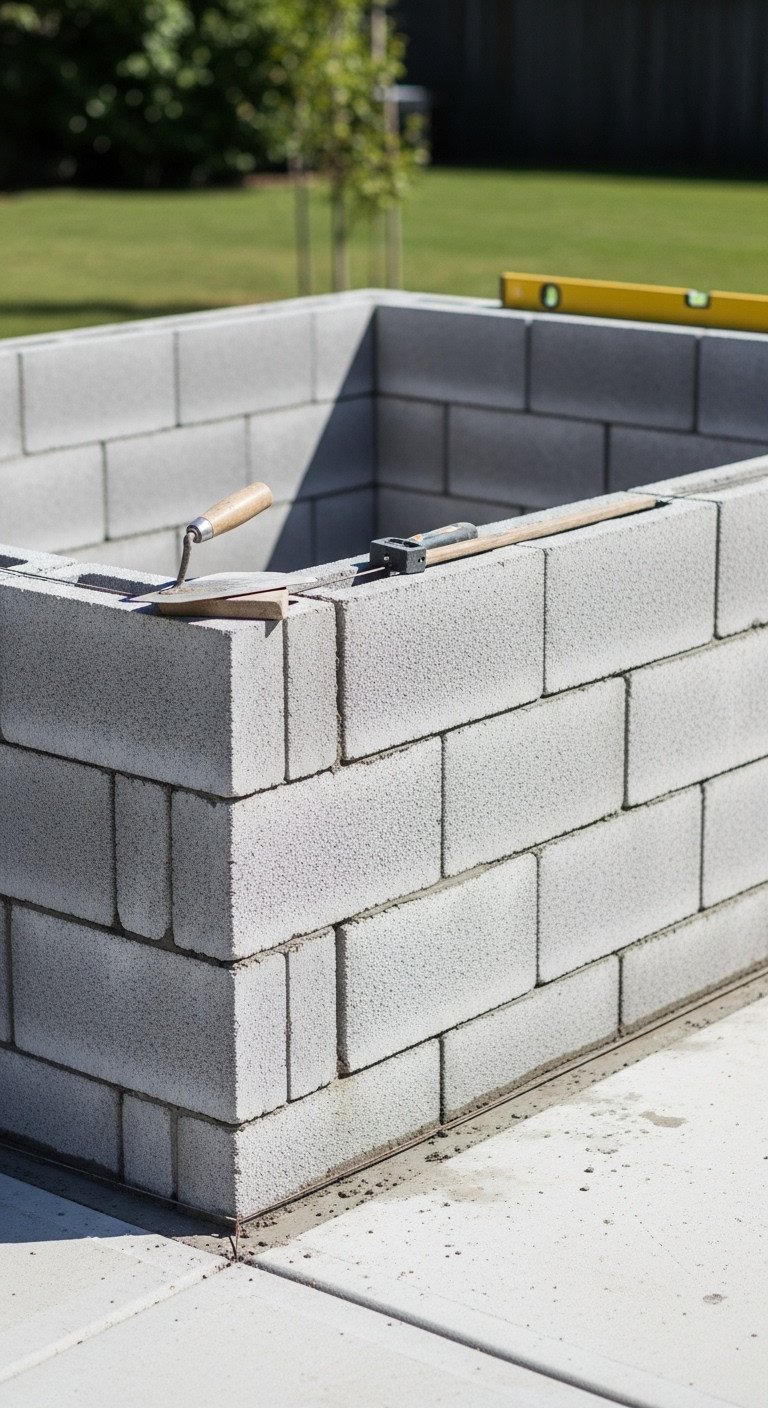
An outdoor kitchen is incredibly heavy. The foundation it rests on must be strong enough to support the weight of the frame, countertops, and appliances without shifting or cracking.
Materials Needed:
- For a Concrete Slab: Concrete mix, rebar, wood for forms.
- For a Paver Base: Compactable gravel base, leveling sand, concrete pavers.
- For Deck Reinforcement: 4×4 or 6×6 posts, concrete footings, joist hangers, structural screws.
Step-by-Step Directions:
- Consult a Pro: Disclaimer: For foundations and structural work, we strongly advise consulting a licensed contractor to ensure safety and code compliance.
- Option 1 (Best): Concrete Slab: A reinforced concrete slab, at least 4 inches thick, is the most durable and reliable foundation. In cold climates, ensure it extends below the frost line to prevent heaving.
- Option 2 (Good): Paver Patio: An existing paver patio can work if it has a properly compacted gravel base of at least 4-6 inches deep. This prevents the pavers from settling under the kitchen’s significant weight.
- Option 3 (Advanced): Wooden Deck: Placing a heavy kitchen on a deck requires significant reinforcement. You must add extra posts and footings directly underneath the kitchen footprint to transfer the load to the ground, not just the deck joists.
- Frame Construction: Build your island frame on top of this solid foundation using either non-combustible steel studs or concrete masonry units (CMU blocks).
Never build a heavy masonry kitchen on a standard floating deck. The weight will cause it to sag and potentially collapse. Reinforcement is not optional; it’s a critical safety requirement.
4. Center Your Design Around a High-Quality Grill
Save this tip for choosing the heart of your outdoor kitchen!
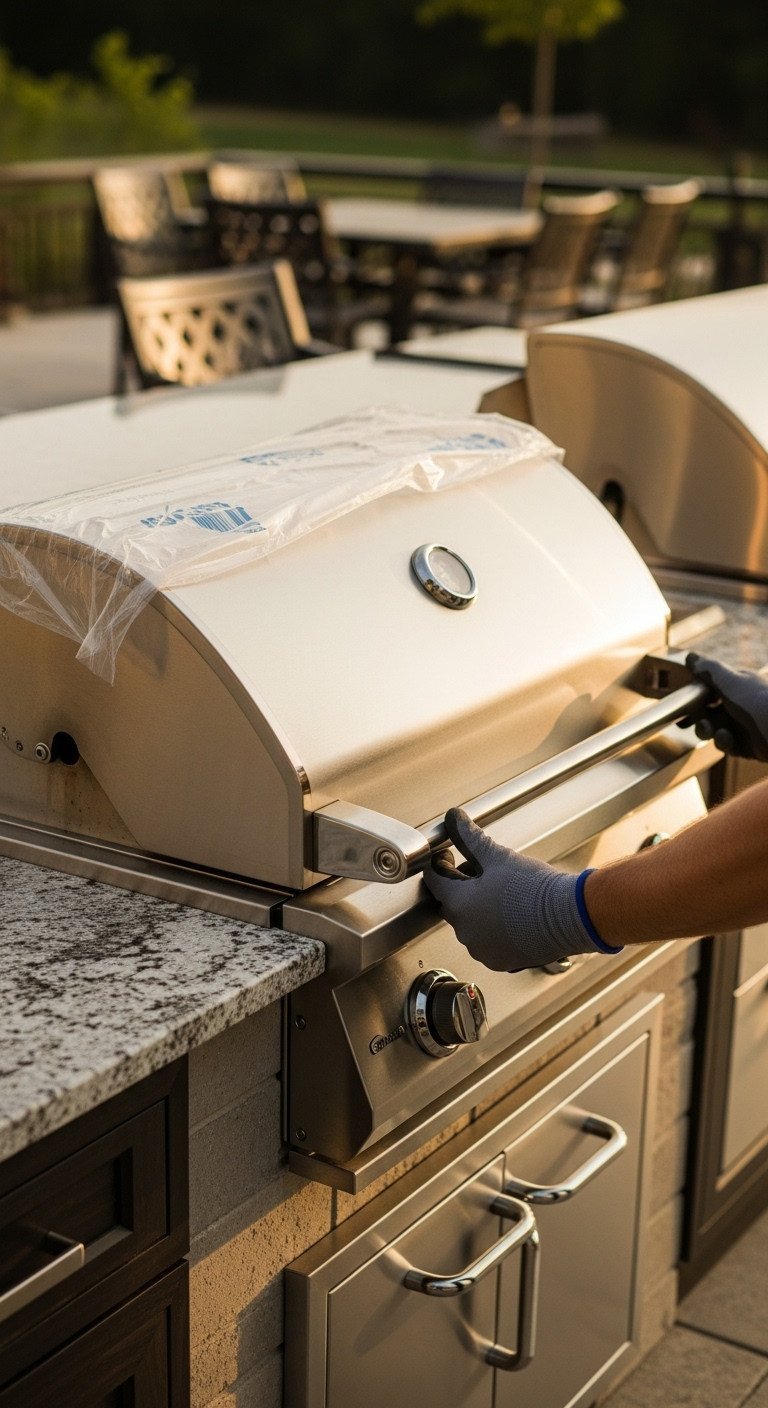
The grill is the centerpiece of any outdoor kitchen. Investing in a quality built-in model ensures longevity and provides the foundation for your entire design.
Materials Needed:
- High-quality built-in grill (304-grade stainless steel recommended)
- Grill’s manufacturer spec sheet (for cutout dimensions)
- Non-combustible insulated jacket (if building into a wood or composite frame)
- Outdoor-rated vent hood (if under a covered roof)
Step-by-Step Directions:
- Invest in Quality: The grill is the star player, so allocate a significant portion of your budget here. Choose a grill made from 304-grade stainless steel for the best resistance to corrosion and rust.
- Select Fuel Type: Decide between a natural gas line, which is convenient but requires a plumber, or a propane tank, which is more portable but requires swaps and storage.
- Check the Spec Sheet: Before you build the frame, get the exact cutout dimensions from the grill’s manufacturer spec sheet. Build the opening to these precise measurements.
- Use an Insulated Jacket: CRITICAL SAFETY STEP: If your kitchen island frame is made of combustible materials like wood, you MUST install the grill into a stainless steel insulated jacket. This creates an essential fireproof barrier.
- Plan for Ventilation: If your kitchen is under a covered patio or roof, you must install an outdoor-rated ventilation hood to safely exhaust heat, smoke, and dangerous carbon monoxide.
Pay close attention to the required clearances. Your grill’s manual will specify the minimum distance needed between the grill and any combustible walls or surfaces. Ignoring this is a major fire hazard.
5. Integrate Your “Wet” and “Cold” Zones
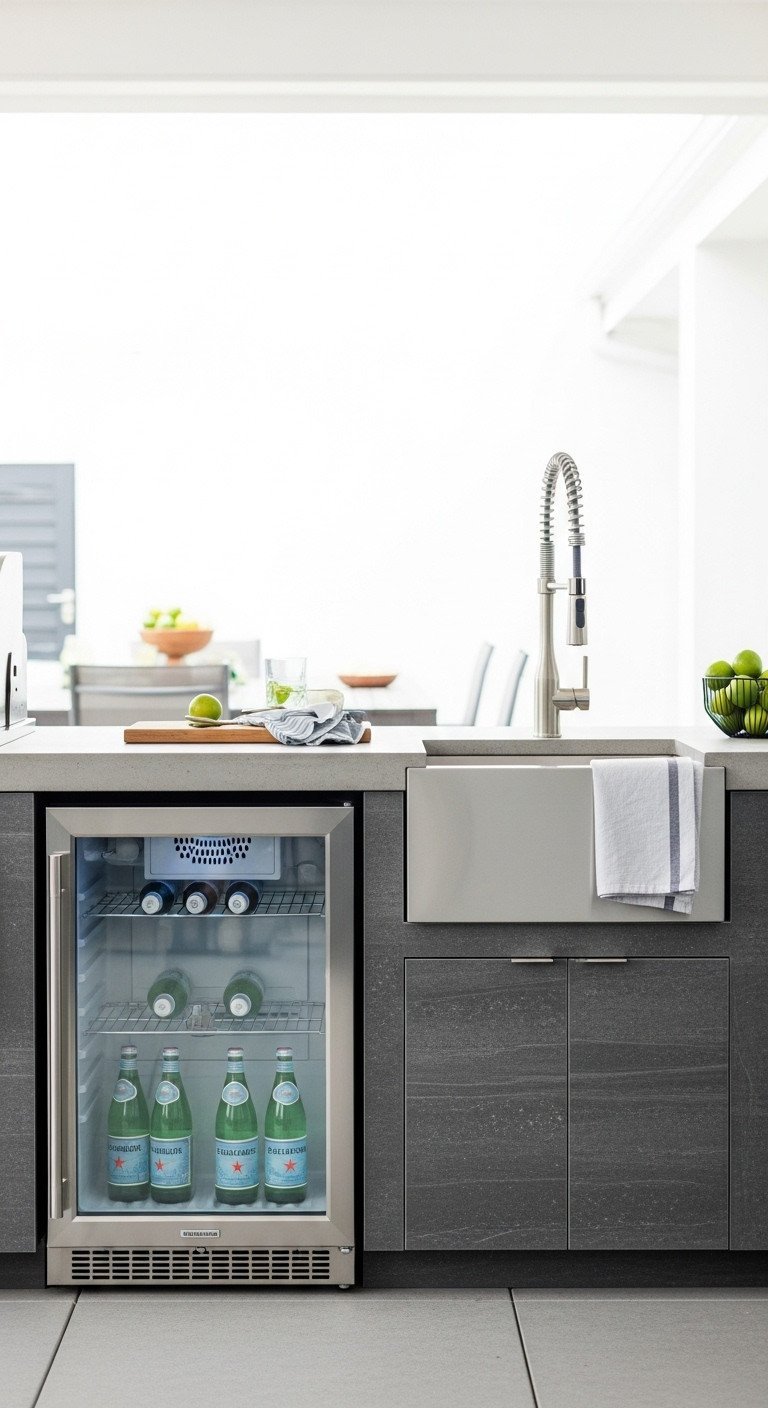
Pin this—the feature everyone regrets skipping!
A grill is a cooking station, but adding a sink and refrigerator transforms it into a true outdoor kitchen. These components dramatically improve workflow and convenience.
Materials Needed:
- Outdoor-rated sink and faucet
- UL-listed outdoor compact refrigerator or beverage center
- PVC pipe for drainage
- PEX tubing or copper pipe for water supply
- GFCI-protected outdoor electrical outlet
Step-by-Step Directions:
- Prioritize the Sink: If budget is tight, prioritize a sink. Its utility for hand washing, food prep, and cleanup is a game-changer. The most common regret homeowners have is skipping the sink.
- Choose Outdoor-Rated Appliances: You cannot use an indoor mini-fridge outside. It will fail quickly and can be a safety hazard. Purchase a refrigerator specifically rated for outdoor use (UL-listed) to withstand the elements.
- Plan the Plumbing: Consult a licensed plumber. You’ll need to run a water supply line and a drain line. In cold climates, the system must be designed to be easily winterized to prevent pipes from bursting.
- Plan the Electrical: Consult a licensed electrician. Your refrigerator requires a dedicated GFCI-protected outlet, a safety device that prevents electrical shock in wet environments.
- Position for Workflow: Place the sink and refrigerator near each other to create a convenient station for grabbing drinks, washing produce, and cleanup.
A simple cold-water-only sink is far better than no sink at all. It’s much less expensive to plumb and still provides most of the functionality.
6. Select Durable, Climate-Appropriate Countertops
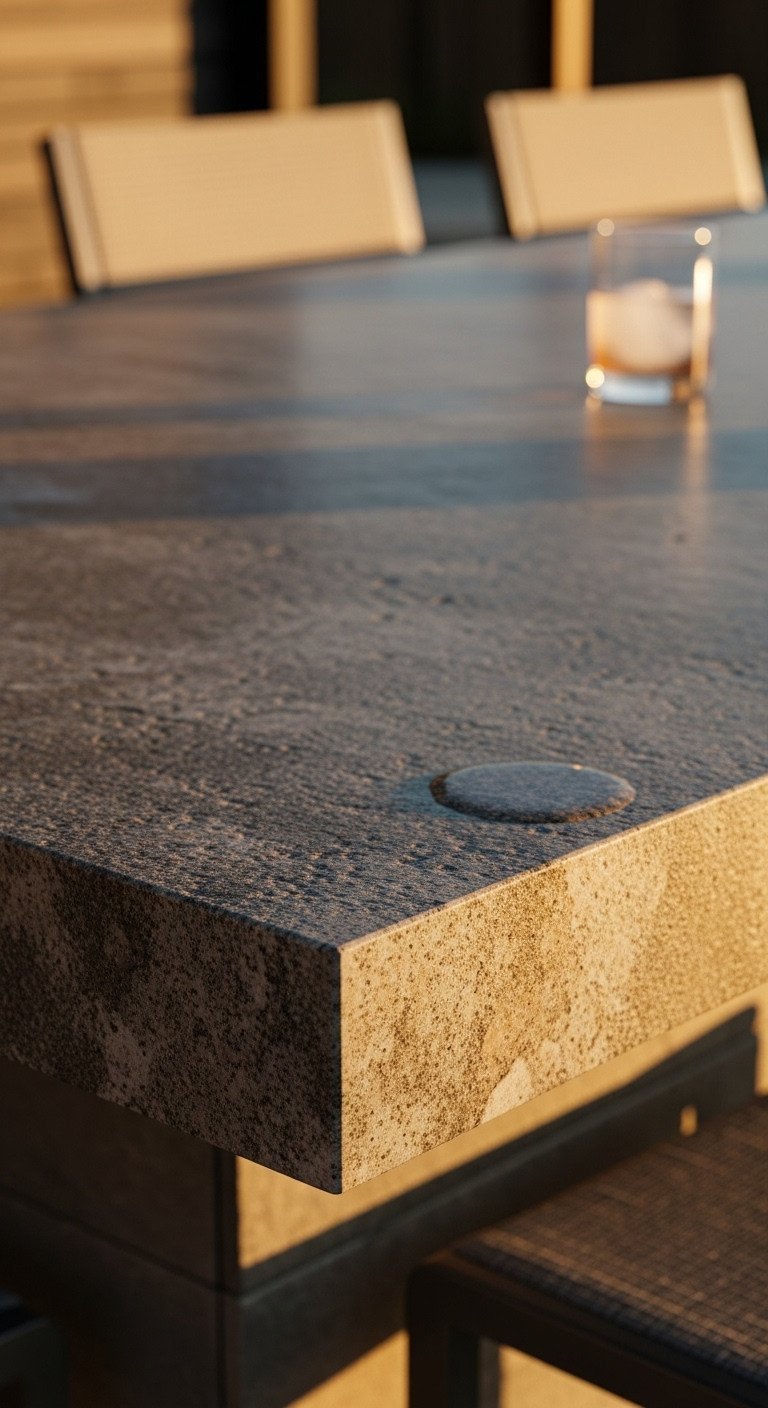
Save this guide to choosing the perfect outdoor countertops!
Outdoor kitchen countertops face extreme conditions: intense sun, rain, and even snow. Choosing a material that can withstand your specific climate is essential for a long-lasting, beautiful surface.
Materials Needed:
- Your chosen countertop material:
- Granite slabs: Excellent durability and heat resistance.
- Poured-in-place concrete: Highly customizable but requires sealing.
- Porcelain or Granite Tile: Budget-friendly but grout can stain.
- Bluestone or Soapstone: Beautiful natural options.
- Plywood or cement board substrate
- Construction adhesive and outdoor-rated silicone sealant
Step-by-Step Directions:
- Assess Your Climate: This is the most important factor. In freeze-thaw climates, choose a low-porosity material like granite to prevent water from seeping in, freezing, and cracking the counter.
- Consider the Sun: In hot, sunny climates, avoid dark-colored countertops. Black or dark gray surfaces can become dangerously hot to the touch. Opt for lighter shades.
- Compare Top Options:
- Granite: The best all-around choice for durability and low maintenance.
- Concrete: Offers a modern look and is very durable if sealed properly and regularly.
- Tile: A good budget option, but choose a durable porcelain tile and use a dark, epoxy-based grout to resist staining.
- Avoid Quartz: Do not use quartz countertops outdoors. The resins that bind the stone together can yellow and degrade with prolonged UV exposure from the sun.
- Install on a Solid Substrate: Countertops should be installed over a solid substrate like a ¾-inch layer of cement board or marine-grade plywood.
Always get physical samples of your top material choices. Look at them outside in your yard in the morning, afternoon, and evening to see how the color looks in your specific lighting.
7. Incorporate Smart, Weatherproof Storage
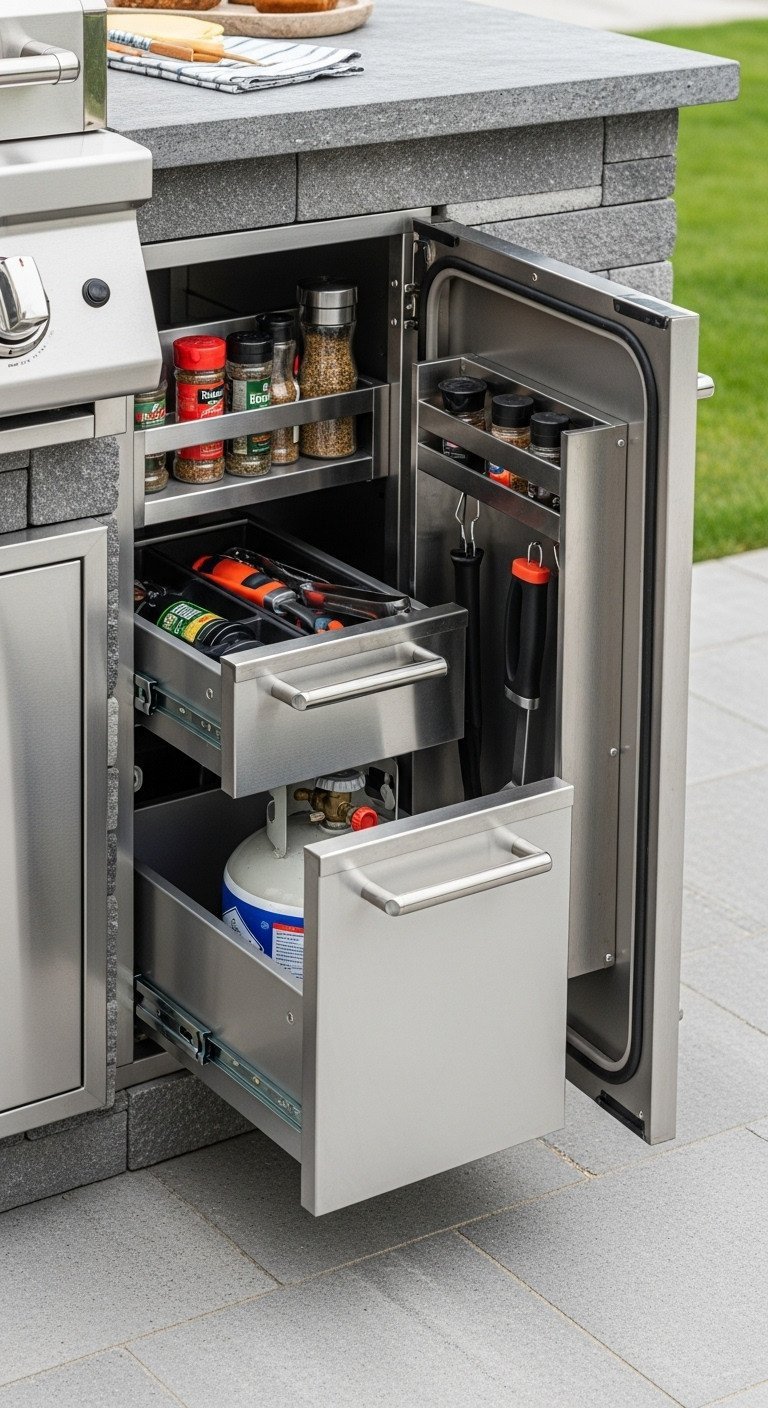
Pin this smart storage solution for a clutter-free outdoor kitchen!
Effective storage is the key to an organized and functional outdoor kitchen. Weatherproof cabinets and drawers protect your tools and supplies from the elements and prevent endless trips back inside the house.
Materials Needed:
- Drop-in outdoor kitchen storage units:
- 304 Stainless Steel Doors & Drawers: The gold standard for durability.
- Marine-Grade Polymer Cabinets: A lightweight, rust-proof alternative, great for coastal areas.
- Construction adhesive
- Fasteners appropriate for your frame material (e.g., tapcon screws for masonry)
Step-by-Step Directions:
- Plan for More Than You Need: Underestimating storage is a classic mistake. You’ll need space for grill tools, cleaning supplies, spices, paper towels, and a trash can.
- Choose Your Material: 304 stainless steel is the most popular choice for its sleek look and durability. Marine-grade polymer (HDPE) is another excellent option that is completely waterproof and will never rust.
- Integrate a Trash Pull-Out: A pull-out cabinet for a trash can is a must-have. It keeps trash contained, out of sight, and away from pests.
- Incorporate Access Doors: Install an access door under your sink to reach the plumbing for maintenance and winterization. If using a propane tank, you need a door for easy access to swap it.
- Look for Weatherproof Seals: When buying storage components, look for units that have rubber gaskets around the doors and drawer faces. This creates a seal to help keep water and insects out.
Don’t forget storage for your propane tank if you’re not using natural gas. A dedicated vertical cabinet with an access door keeps the tank secure and hidden.
8. Layer Your Lighting for Safety and Ambiance
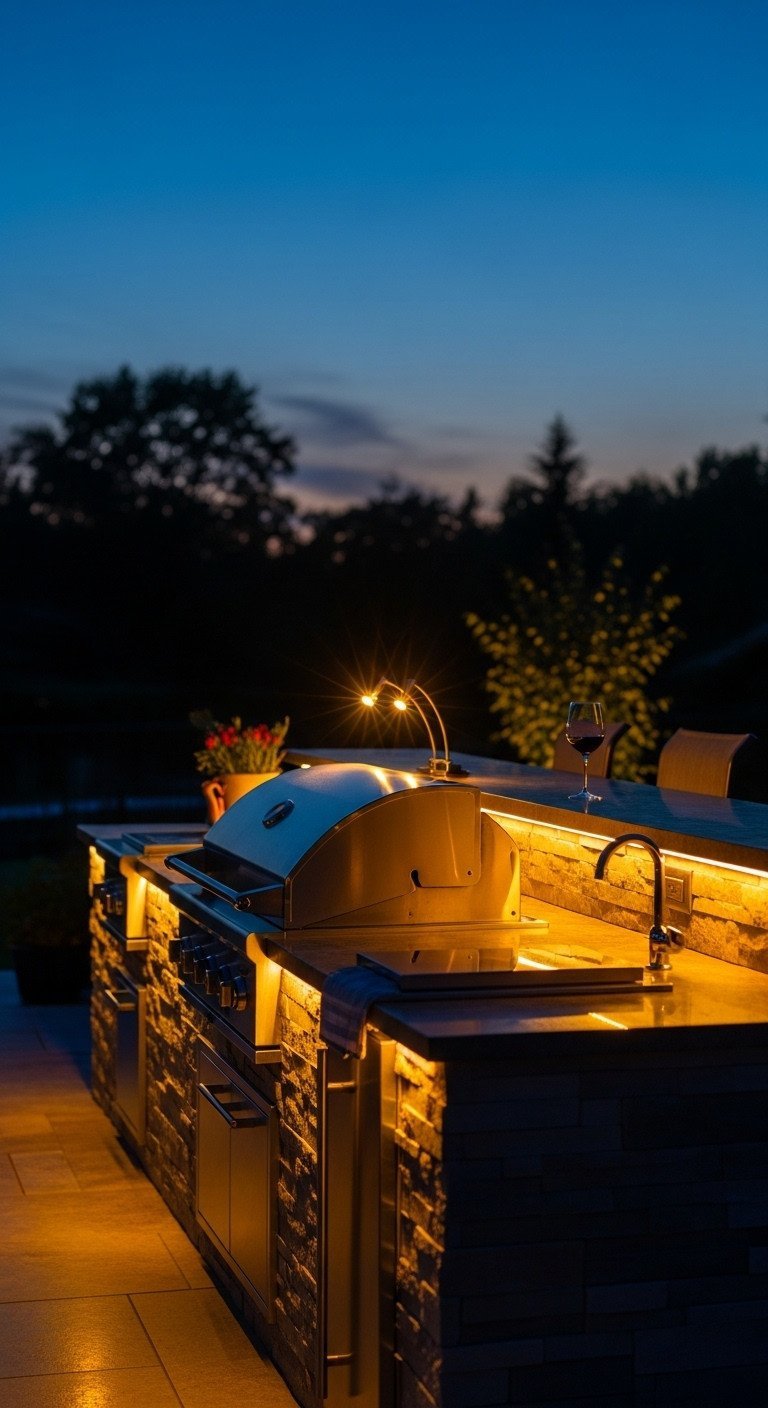
Save this brilliant lighting plan for magical backyard evenings!
A great lighting plan extends the usability of your kitchen into the evening, ensures safety, and creates an incredible atmosphere. A layered approach is the key to success.
Materials Needed:
- Low-voltage transformer
- Low-voltage outdoor wiring
- Task Lights: Outdoor-rated gooseneck lights or hardscape lights.
- Ambient Lights: Outdoor-rated LED tape light strips.
- Accent Lights: Small spotlights or well lights.
- All fixtures and wiring must be rated for outdoor/wet location use.
Step-by-Step Directions:
- Consult an Electrician: For safety, have a licensed electrician run the initial power and install GFCI outlets. The rest of the low-voltage setup is often DIY-friendly.
- Layer 1: Task Lighting (Safety First): This is non-negotiable. Install focused, bright lights directly over your primary work surfaces: the grill, the prep counter, and the sink. This ensures you can see what you’re cooking.
- Layer 2: Ambient Lighting (Atmosphere): This creates the overall warm glow. A popular method is installing waterproof LED strip lighting under the countertop overhang. It provides beautiful, indirect light and makes the island appear to float.
- Layer 3: Accent Lighting (Drama): Use small spotlights to uplight the texture of your stone veneer or highlight nearby landscape features to add depth and visual interest.
- Put it all on Dimmers: If possible, connect your ambient and accent lights to outdoor-rated dimmers so you can adjust the mood from bright and functional to soft and relaxing.
Use warm white light (2700K-3000K) for your ambient and accent lighting. It creates a much more inviting and relaxing atmosphere than harsh, cool white light.
9. Complete the Space with Smart, Comfortable Seating
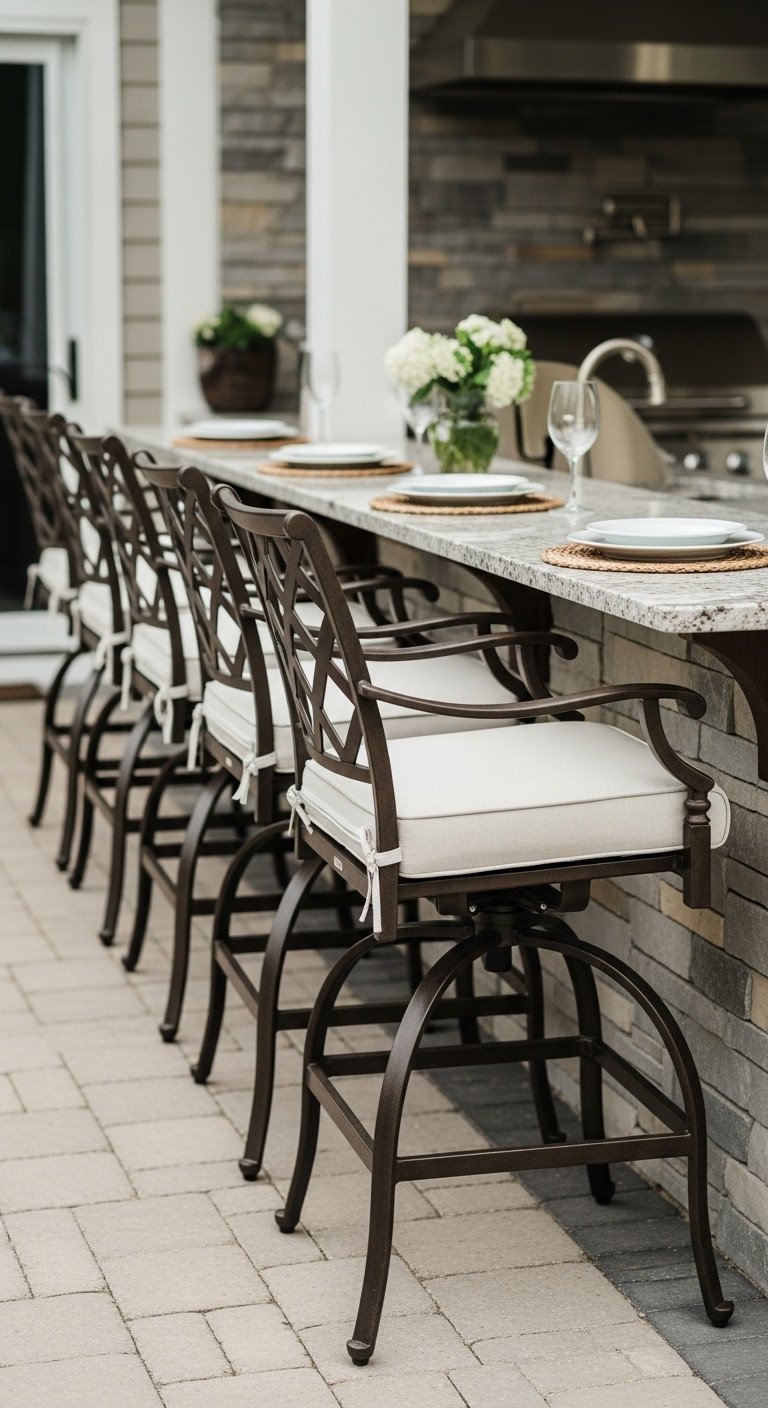
Pin this final touch for creating the ultimate social hub!
An outdoor kitchen isn’t just for cooking; it’s a social hub. Thoughtfully designed seating invites guests to relax and interact with the cook, turning the space into the true heart of your backyard.
Materials Needed:
- Bar-height outdoor stools (seat height of 28-30 inches)
- Weatherproof cushions (optional but recommended for comfort)
- Your chosen countertop material for the bar top
- Brackets for the countertop overhang
Step-by-Step Directions:
- Design a Two-Tier Counter: The best way to create seating is with a bi-level countertop. The lower level is for food prep (standard 36-inch height), and the upper level is for guests (bar height, typically 42 inches). This separation keeps guests safely away from the hot grill.
- Plan for Overhang: To provide comfortable legroom, the bar-height countertop should have an overhang of at least 10-12 inches. This overhang will need support from sturdy metal brackets.
- Calculate Spacing: Allow for 24 inches of width for each bar stool to give guests adequate elbow room. For three stools, you’ll need a bar that is at least 72 inches (6 feet) long.
- Ensure Walkway Clearance: Leave at least 36 inches of clear walkway space behind the stools when they are occupied. This prevents a traffic jam on your patio.
- Choose Durable Seating: Select bar stools made from materials designed to live outdoors, such as powder-coated aluminum, all-weather wicker, or recycled plastic lumber.
Don’t just have one big, flat countertop for both cooking and seating. A two-tier design is a small extra expense that vastly improves the safety and social dynamic of the space.
Key Takeaways: Your Quick Guide to a Regret-Free Outdoor Kitchen
- Plan First, Build Later: Your location, layout, and utility plan are the most critical decisions. Finalize them on paper before buying a single material.
- Prioritize a Quality Grill & Sink: These are the two most-used components. Invest in durable, outdoor-rated models to ensure longevity and functionality.
- Respect Your Climate: Choose materials, especially for countertops, that are proven to withstand your local weather conditions like intense sun, heavy rain, and frost.
- Don’t Skip Safety: Always use an insulated jacket for grills in combustible frames and plan for proper lighting and ventilation. When in doubt, hire a licensed professional for utilities.
- Think About Workflow: Design for “landing space” next to your grill and sink, and keep the path between your key appliances clear and efficient.
People Also Ask About Outdoor Kitchen Design
How much does a simple outdoor kitchen cost?
A simple outdoor kitchen typically costs between $3,000 and $7,000. This would usually include a prefabricated island, a good-quality built-in grill, an access door, and a basic tile or concrete countertop. Costs increase significantly with the addition of sinks, refrigerators, and high-end materials like granite.
What is the most durable material for outdoor kitchen cabinets?
304-grade stainless steel is considered the most durable material for outdoor kitchen cabinets and drawers. It offers excellent resistance to rust, corrosion, and heat. For coastal areas with salt in the air, marine-grade polymer (a type of high-density plastic) is another top-tier choice as it will never rust.
Can I put an outdoor kitchen on my existing patio?
Yes, you can often put an outdoor kitchen on an existing patio, provided it has a solid foundation. A concrete slab patio is ideal. A paver patio can also work if it was installed correctly with a deep, compacted gravel base to prevent the heavy kitchen from settling or shifting over time.
What is the biggest mistake people make when designing an outdoor kitchen?
The single biggest mistake is poor workflow and layout planning. This includes not having enough counter space next to the grill (landing space), placing the sink too far from the prep area, or creating a walkway that obstructs the cook. A functional layout is more important than any single appliance or material choice.
Final Thoughts
While designing an outdoor kitchen seems complex, following a structured plan turns it into an achievable and incredibly rewarding project. By focusing on a smart layout, durable materials, and functional workflow, you can confidently build a space that works for you.
By following these plans, you’re not just building a place to cook—you’re creating the future hub of your family’s best memories. What’s the one feature you absolutely must have in your dream outdoor kitchen? Share your ideas in the comments below
Last update on 2025-11-19 at 03:22 / Affiliate links / Images from Amazon Product Advertising API
