As an Amazon Associate KitchenwareSets.com earns from qualifying purchases.
9 Stunning Home Decor Ideas For A Cohesive Living Room And Kitchen
Does your open-plan home feel more like a collection of random zones than a single, harmonious space? You have this great room, but getting the kitchen and living room to feel connected is a real challenge. It’s a common problem that can make your entire home feel “off.”
Open-Plan Kitchen and Living Room Design: This interior design concept focuses on removing walls to create a unified, multi-functional area. But without the right approach, it can lead to a space that feels disconnected and chaotic instead of cohesive. You know exactly what you need to do, but you’re looking for stunning home decor ideas to create that seamless flow.
This guide reveals 9 stunning and actionable home decor ideas to solve that. You’ll learn the foundational interior design principles to transform your space. We’ll show you how to create a beautiful, unified home that feels both intentional and inviting.
Does Your Open-Plan Home Feel More Disconnected Than Cohesive?
The core challenge in decorating an open-plan kitchen and living room is creating visual continuity. This is achieved by using a unified color palette, consistent flooring throughout the space, and repeating key materials or finishes (like metal hardware) in both zones to create a cohesive design language. Many homeowners struggle because they decorate the kitchen and living room as separate entities, which leads to a disjointed feeling.
Instead of seeing two rooms, think of it as one large space with different functional zones. By applying a few foundational design principles, you can create a visual story that flows effortlessly from your morning coffee at the kitchen island to your evening relaxation on the sofa. This guide will walk you through the exact strategies professional designers use to unify a space, turning your open-concept challenge into your home’s greatest asset.
9 Stunning Home Decor Ideas For A Cohesive Living Room And Kitchen
Creating a seamless transition between your kitchen and living room doesn’t have to be complicated. Each of the following nine ideas is a powerful technique for establishing visual continuity and flow. These aren’t just fleeting trends; they are foundational strategies used by professional designers to craft spaces that are both beautiful and functional. We’ll break down the “why” and “how” for each one, giving you step-by-step guidance for easy implementation.
1. Lay a Foundation with Unified Flooring
Pin this foundational design tip to your ‘Home Inspiration’ board!
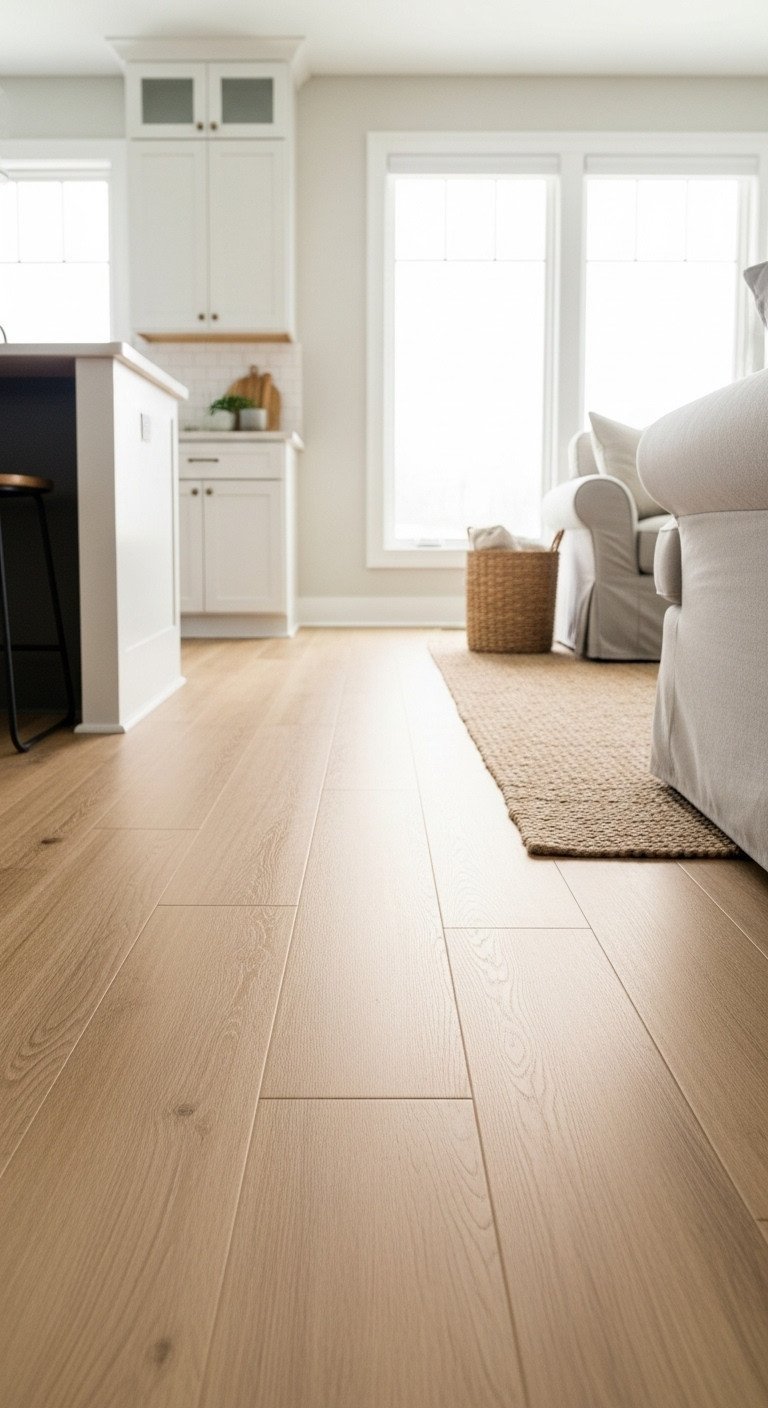
The single most impactful decision for creating a cohesive open-plan space is using one type of flooring throughout. It provides the visual foundation that instantly connects the kitchen and living room, making the entire area feel larger, more intentional, and harmonious.
Key Elements
- Continuous Flooring Material: Choose one type of flooring to run through both the kitchen and living room. Luxury Vinyl Plank (LVP) is an excellent choice for durability and water resistance in the kitchen while providing a warm, wood look.
- Consistent Plank Direction: Lay the flooring planks so they run parallel to the longest wall in the space to enhance the feeling of spaciousness and flow.
- Minimal Transitions: Avoid using transition strips or saddles between the two zones for a completely seamless look.
How to Implement
- Select a Material: Choose a high-quality, durable flooring like LVP or engineered hardwood that suits both the high-traffic kitchen and the comfortable living area.
- Prepare the Subfloor: Ensure the subfloor is perfectly level across the entire open-plan space to prevent gaps or squeaks.
- Plan Your Layout: Start laying the floor along the longest, most visible wall to ensure a straight, continuous line throughout the entire area.
- Install Seamlessly: Continue the installation from one end of the open space to the other without interruption, treating it as a single, large room.
Pro-Tip: Using a single flooring type is the number one most impactful decision you can make to create a cohesive open-plan space. It instantly makes the entire area feel larger and more intentional.
2. Weave a Story with a Cohesive Color Palette
Save this color palette idea for your dream open-plan space!
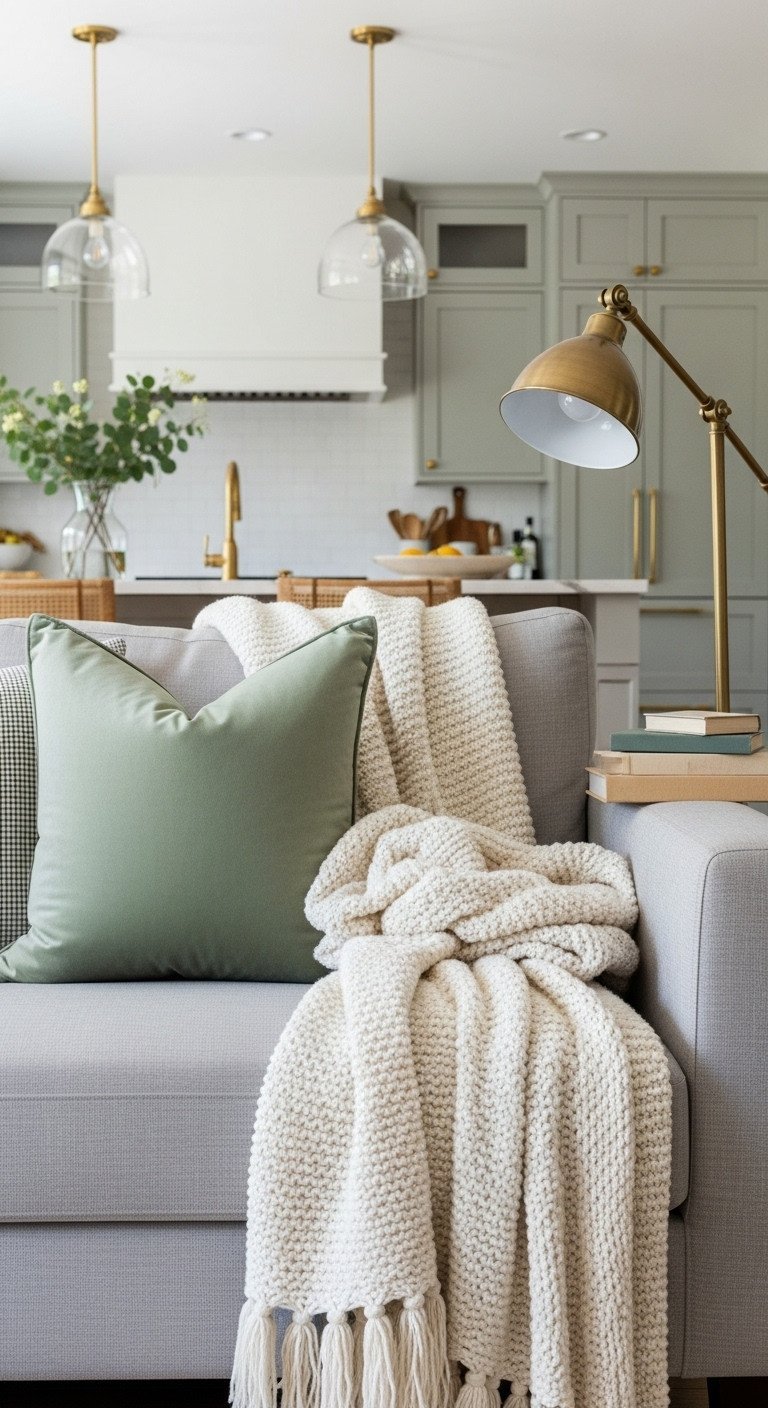
A unified color palette is the thread that weaves your kitchen and living room together. By using a consistent set of colors in varying proportions across both zones, you create a harmonious backdrop that feels considered and calm.
Key Elements
- One Main Neutral (60%): A single, light neutral paint color for all the walls in the open-plan space (e.g., a soft white, light gray, or warm beige).
- One Secondary Color (30%): A bolder or richer color used for larger elements, such as kitchen cabinets, a feature wall, or the main sofa.
- One to Two Accent Colors (10%): Vibrant colors used in small doses across both zones in items like throw pillows, artwork, kitchen canisters, or a vase.
How to Implement
- Choose Your Hero: Start by selecting the color for your largest colorful item, like your kitchen cabinets or sofa. This will be your secondary color.
- Find a Supporting Neutral: Pick a neutral wall color that complements your secondary color. Test swatches on the walls to see how they look in your home’s light.
- Sprinkle the Accents: Select an accent color from a piece of artwork or a rug. Buy throw pillows in this color for the living room and a matching tea kettle or utensil holder for the kitchen.
- Create a Visual Triangle: Place your accent color items in at least three places around the combined room to draw the eye and create a sense of balance.
Lesson Learned: Don’t paint the kitchen and living room different colors. Using one continuous wall color is the easiest way to make the space feel unified and expansive.
3. Bridge the Gap with a Statement Kitchen Island

Pin this stunning kitchen island idea for your future renovation!
A well-designed kitchen island serves as the perfect transitional element. It’s a functional workhorse for the kitchen that also acts as a visual and social bridge to the living area, defining the zones while inviting connection.
Key Elements
- Large Island with Overhang: An island substantial enough to act as a visual separator, with a countertop overhang of at least 12-15 inches to accommodate seating comfortably.
- Stylish Counter Stools: Choose stools that complement the living room furniture’s style. For example, if you have a leather sofa, consider stools with leather seats.
- A pair of statement pendant lights: Install two or three beautiful pendant lights above the island to define it as a distinct zone and provide essential task lighting.
Step-by-Step Directions
- Determine Function: Decide if your island will be primarily for prep, storage, or socializing. This will determine its size and features.
- Select Materials: Choose a countertop material (like quartz) and an island base color that ties into your overall color palette. A waterfall edge can make a strong modern statement.
- Choose Seating: Select 2-4 counter-height stools. Ensure they can tuck neatly under the overhang to keep walkways clear when not in use.
- Install Statement Lighting: Hang pendant lights so the bottom is 30-36 inches above the countertop. This visually anchors the island in the space.
Pro-Tip: The kitchen island is the perfect place to add a pop of your secondary color. Painting the island base a different color than the rest of your cabinets (e.g., a deep blue or sage green) creates a beautiful, furniture-like focal point.
4. Anchor the Living Zone with a Large Area Rug
Save this rug tip! It’s the secret to defining your living space.
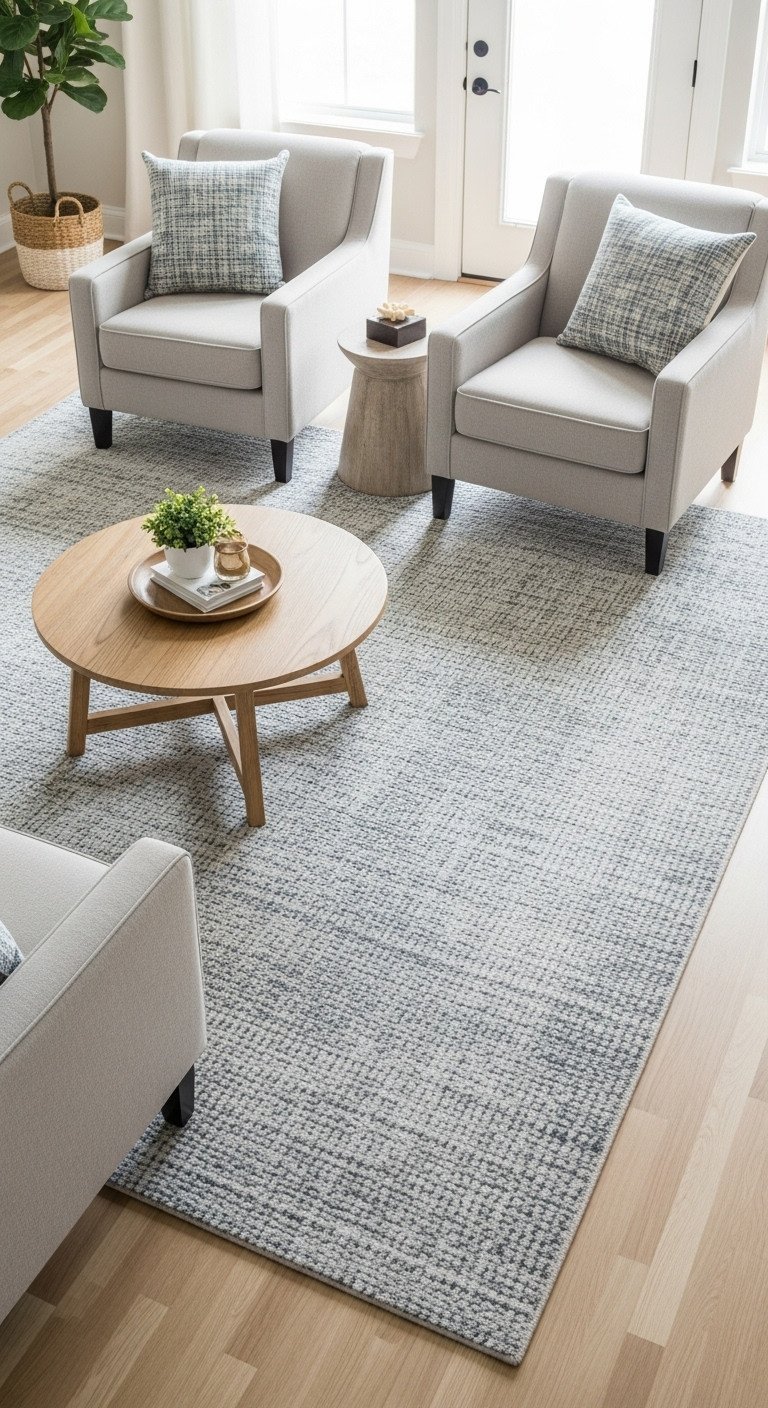
In an open-plan space, an area rug is like a visual anchor. It groups your living room furniture together, creating a cozy and defined conversational zone. This simple addition effectively creates a “room within a room,” preventing your furniture from feeling like it’s floating in a vast, empty space.
Materials Needed
- Large Area Rug: A rug that is big enough for at least the front legs of your sofa and all accent chairs to rest comfortably on it. Common sizes for open plans are 8×10 or 9×12 feet.
- Non-Slip Rug Pad: A high-quality pad cut slightly smaller than the rug to prevent slipping and add extra cushioning.
- Measuring Tape: To measure your furniture grouping and ensure you buy the correct rug size.
Step-by-Step Directions
- Arrange Your Furniture: First, position your sofa and chairs in their ideal conversational arrangement, pulling them away from the walls.
- Measure the Grouping: Measure the length and width of the area covered by your furniture arrangement. Add at least 6-8 inches on each side to determine your minimum rug size.
- Select Your Rug: Choose a rug that incorporates colors from your established color palette to enhance cohesion.
- Place the Rug: Unroll the rug and position it. Place the front legs of your sofa and chairs firmly on the rug. The rug should define the conversational area, creating a “room within a room.”
Pro-Tip: A rug that’s too small is one of the most common decorating mistakes in an open-plan space. It visually shrinks the living area. When in doubt, always go for the larger size. This also helps with acoustics by absorbing sound and reducing echo.
5. Create Ambiance with Layered Lighting
Pin this lighting guide to create the perfect mood in your home!
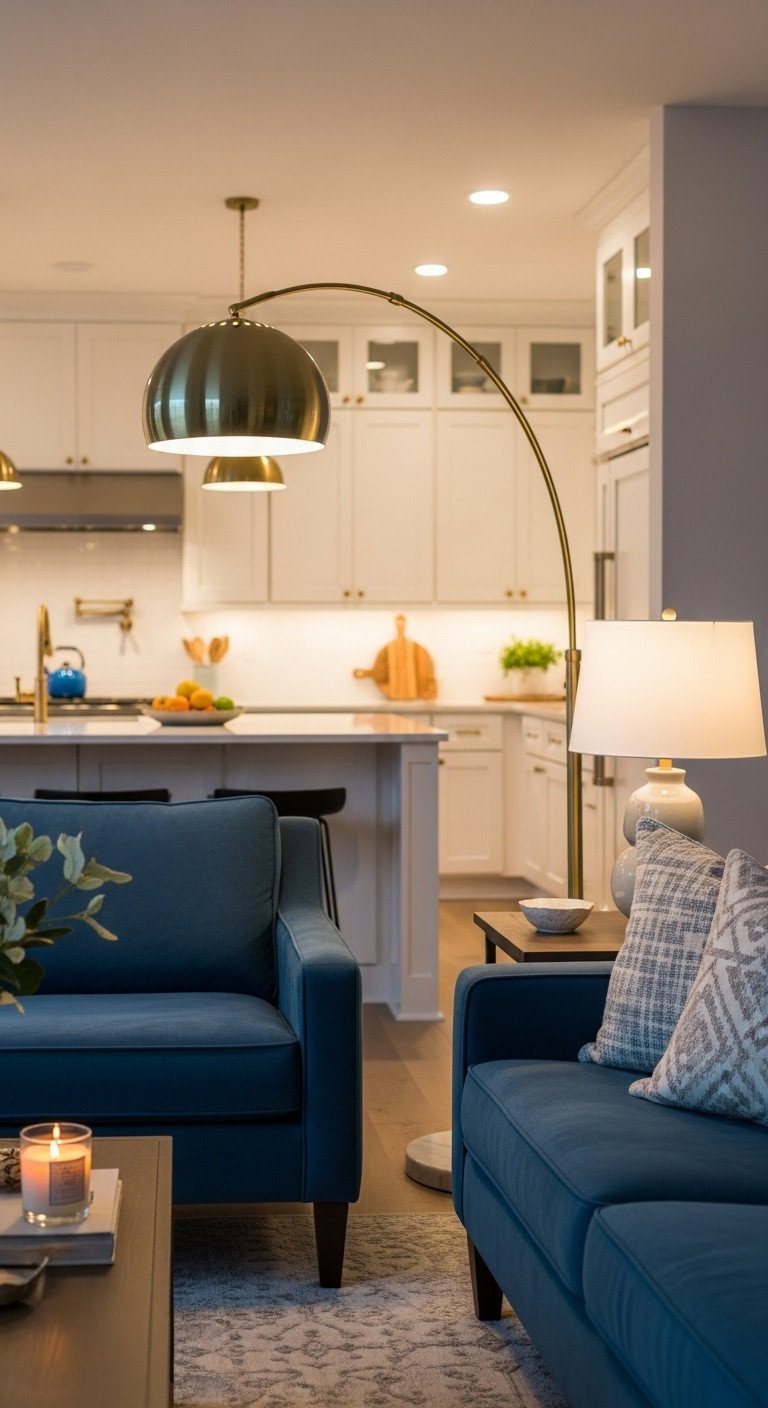
A single overhead light fixture can make a large, open space feel flat and cold. Layered lighting—a mix of ambient, task, and accent lights—is the key to creating mood, defining zones, and making the entire area feel cozier and more functional.
Key Elements
- Ambient Lighting: The overall illumination from recessed lights or a central fixture, ideally on a dimmer switch.
- Task Lighting (Kitchen): Focused light for work areas, such as under-cabinet LED strips and pendant lights over the island.
- Task & Accent Lighting (Living Room): A floor lamp next to a reading chair, table lamps on end tables, or a picture light highlighting artwork.
- Warm-Toned Light Bulbs: Choose bulbs with a color temperature of 2700K-3000K to create a warm, inviting glow rather than a harsh, clinical one.
How to Implement
- Start with Ambient: Ensure your main overhead lighting illuminates the entire space evenly. Install dimmer switches for ultimate control.
- Add Kitchen Tasks: Install under-cabinet lighting to brighten countertops. This makes a huge functional difference and adds a layer of warmth.
- Layer the Living Room: Place a floor lamp and at least one table lamp in your living room seating area to create cozy pools of light.
- Use Different Levels: Turn on different combinations of lights for different activities. For movie night, use only the soft table lamps. For cooking, use the bright kitchen task lights.
Pro-Tip: Aim for a “lighting triangle” in your living area, with three points of light (e.g., floor lamp, table lamp, and another table lamp) to create balanced, inviting illumination and eliminate dark corners.
6. Connect with Repeating Materials and Finishes
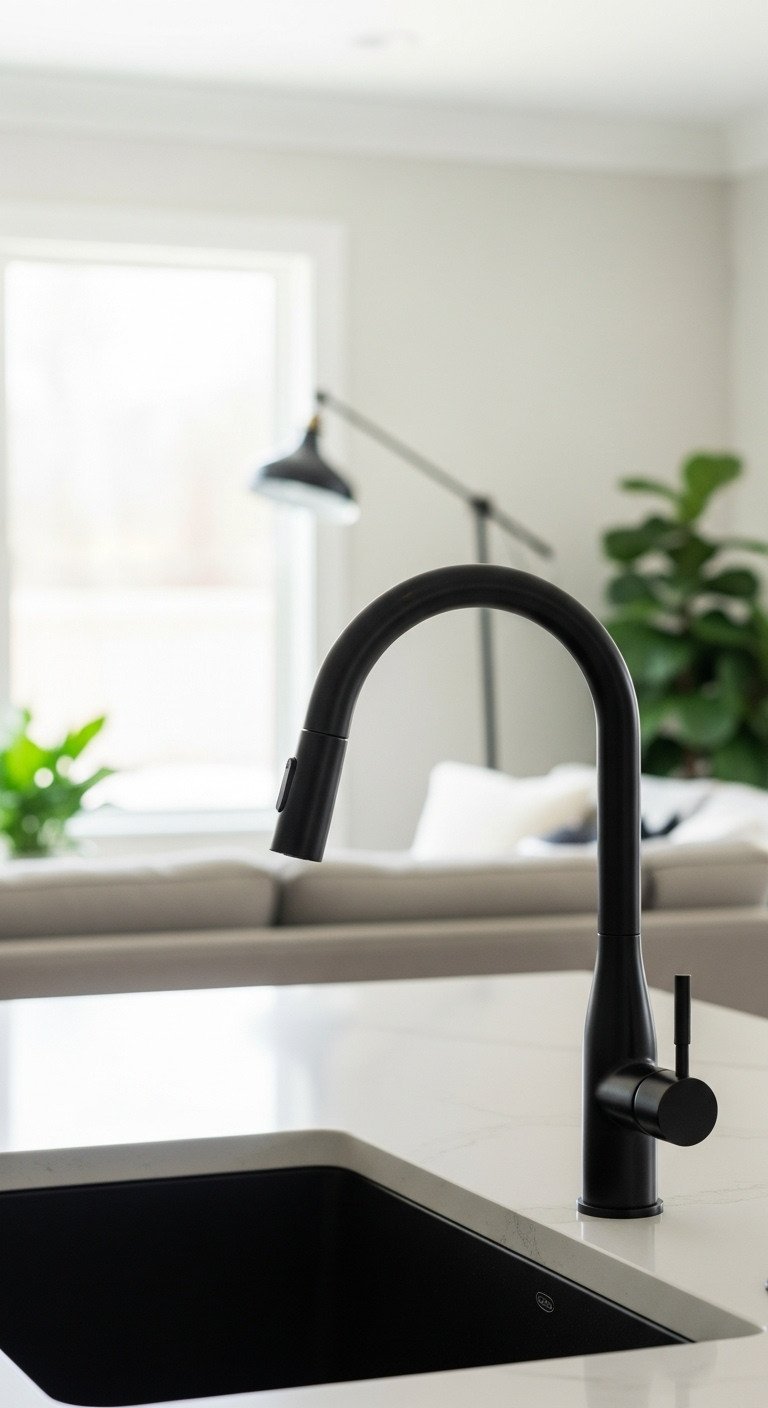
It’s all in the details! Pin this pro tip for a polished look.
Repeating a specific material, finish, or texture across both the kitchen and living room creates a subtle yet powerful visual link. This cohesive design language makes the entire space feel thoughtfully curated and intentionally designed.
Key Elements
- One Dominant Metal: Choose one primary metal finish (e.g., matte black, brushed brass, polished nickel) to use consistently in both zones.
- One Consistent Wood Tone: If you have wood elements, try to keep them in a similar tone. For example, match the wood legs on your bar stools to the wood on your coffee table.
- Repeated Textures: Carry a specific texture across the space, like a ribbed detail on kitchen cabinets and a similarly textured vase in the living room.
Step-by-Step Directions
- Take Inventory: Look at the existing fixed finishes in your space (appliances, faucets, etc.). Decide which metal finish you want to be dominant.
- Update Hardware: An easy and affordable way to implement this is by replacing all kitchen cabinet pulls and knobs with your chosen finish.
- Coordinate in the Living Room: Find at least two items in the living room that feature the same metal. This could be the frame of a mirror, the base of a lamp, or curtain rods.
- Match Wood Tones: When buying new furniture, bring a photo of your existing wood elements (like flooring or cabinets) to help you choose pieces with a complementary tone.
Lesson Learned: You don’t need to match everything perfectly! The goal is a coordinated, not “matchy-matchy,” look. Mixing two (but no more than three) metal finishes is a modern approach, as long as one is clearly dominant.
7. Define Space with a Strategic Furniture Layout
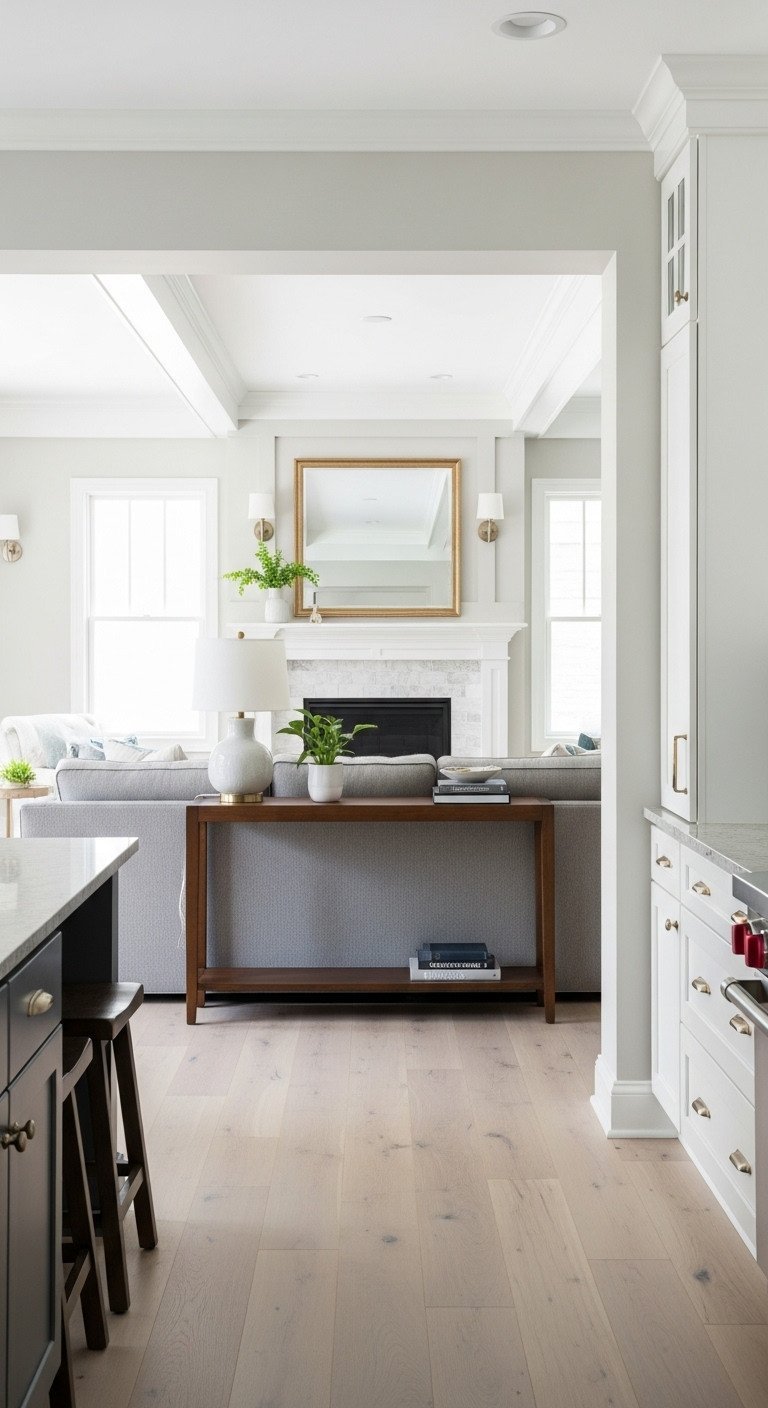
Save this layout secret to finally conquer your open-plan space!
How you arrange your furniture is crucial for creating zones and ensuring good traffic flow. Instead of pushing everything against the walls, “float” your furniture to create visual dividers and more intimate, functional areas.
Materials Needed
- Primary Sofa or Sectional: The largest piece of furniture, which will act as the main divider.
- Slim Console Table: A table that is slightly lower than the back of the sofa and no more than 12-15 inches deep.
- Measuring Tape: To ensure adequate walkway clearance.
Step-by-Step Directions
- Float the Sofa: Pull your main sofa away from the walls. Position it to define the edge of your living room, with its back facing the kitchen or dining area.
- Create a “Soft Wall”: Place a slim console table directly behind the sofa. This creates a beautiful, finished look and acts as a functional dropping spot.
- Style the Console: Add a pair of lamps for ambient lighting, a tray for keys, and some decorative objects. This turns the “dead space” behind a sofa into a stylish feature.
- Check Your Flow: Ensure you have at least 36 inches of clear space for major walkways, like the path from the kitchen past the living room to a hallway or door.
Pro-Tip: Using a sectional sofa is fantastic for an open concept because its L-shape naturally creates a corner and a clear boundary for the living room zone.
8. Draw the Eye with Large-Scale Artwork
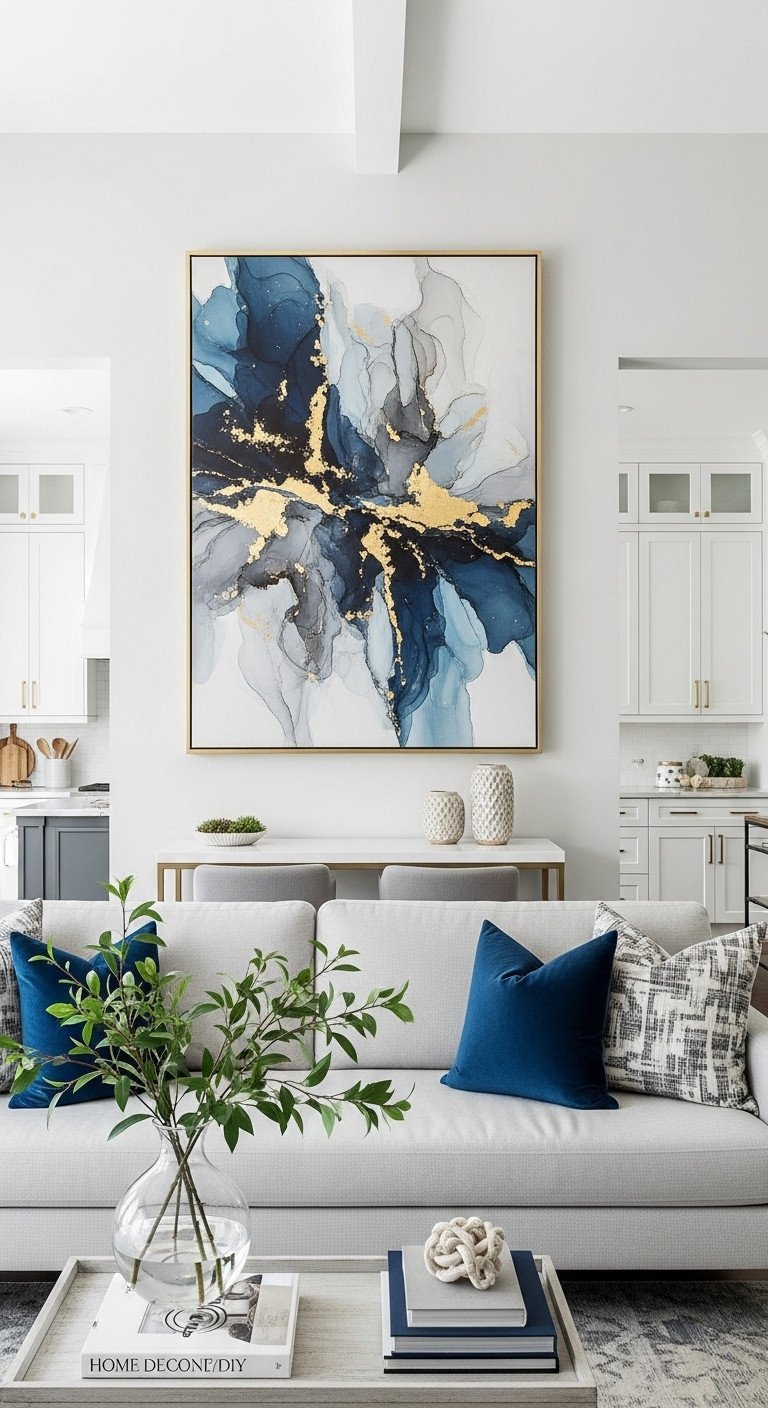
Go big or go home! Pin this focal point idea for maximum impact.
A large, open space needs a strong focal point to anchor it and give it a sense of purpose. An oversized piece of artwork is a perfect solution for a blank wall, drawing the eye and serving as a key element that ties your entire color palette together.
Materials Needed
- One Oversized Piece of Art: A canvas or framed print that is at least 40 inches wide or takes up about two-thirds the width of the sofa it hangs above.
- Picture Hanging Kit: Heavy-duty hardware rated for the weight of your artwork.
- Measuring Tape & Level: To ensure perfect placement.
Step-by-Step Directions
- Identify Your Focal Wall: Choose the most prominent wall in the living or dining area, often the one behind the sofa.
- Select Your Art: Choose a piece of art that contains the primary colors from your established color palette. This is the perfect opportunity to tie everything together.
- Measure for Placement: The center of the artwork should be at eye level (about 57-60 inches from the floor). It should be hung 6-8 inches above the back of the sofa.
- Hang Securely: Use two hooks for large pieces to keep them level and secure. Step back and admire how the art commands attention and anchors the space.
Lesson Learned: A collection of tiny art pieces can look cluttered and lost on a large wall in an open-concept space. One large, impactful piece is far more effective at creating a sophisticated focal point.
9. Soften the Space with Coordinated Textiles
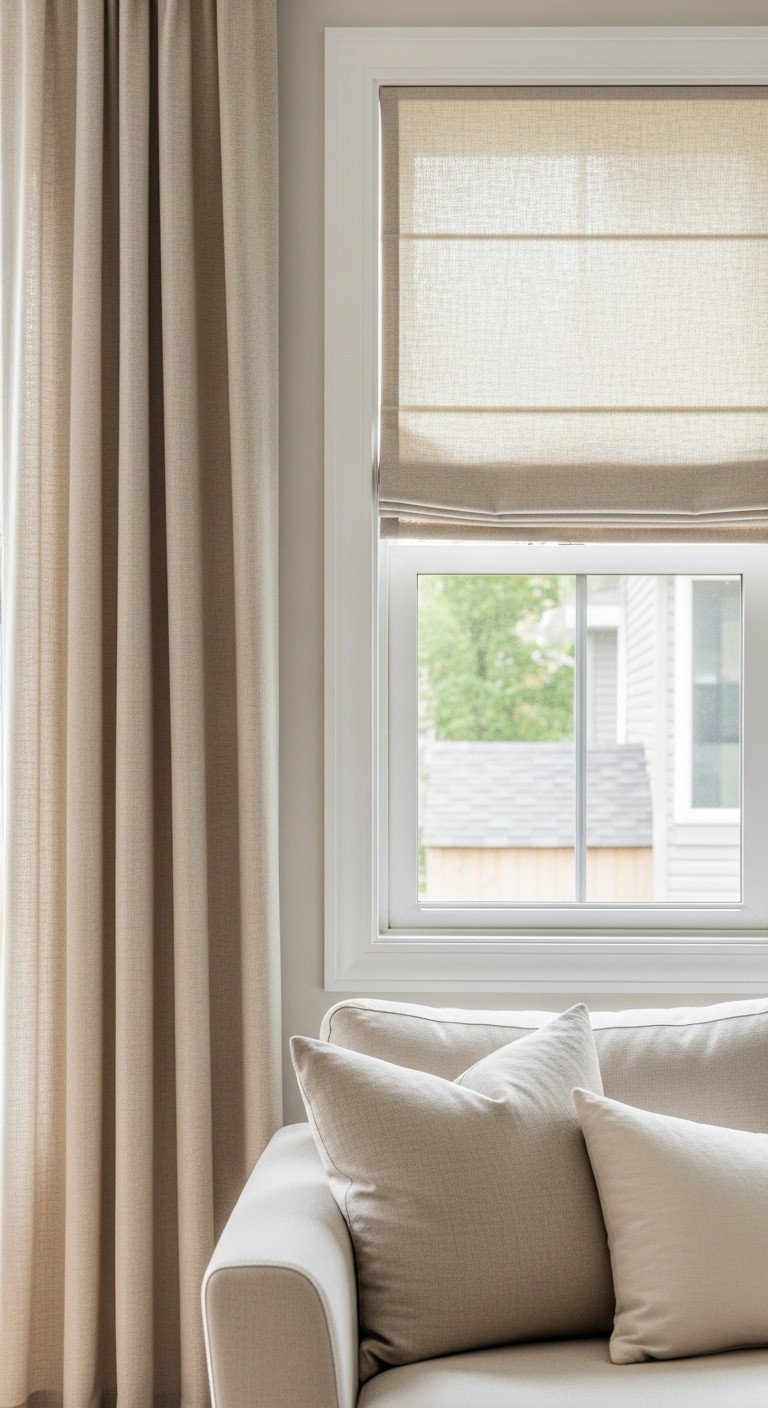
Pin this simple trick for a designer-level cohesive look!
Textiles are the final layer that brings warmth, personality, and cohesion to your space. By coordinating fabrics and textures across both the kitchen and living room, you can soften hard surfaces and add another level of thoughtful design.
Key Elements
- Matching Window Treatments: Use the same fabric or material for curtains in the living room and a Roman shade or valance in the kitchen.
- Coordinated Throw Pillows & Blankets: A set of pillows on the sofa that pulls colors from the kitchen backsplash or artwork.
- Textured Kitchen Textiles: A tea towel or table runner in the kitchen that shares a color or pattern with the living room decor.
Step-by-Step Directions
- Unify the Windows: Choose a simple, neutral fabric like a linen blend for all window treatments in the open-plan area. Use curtains for large windows and a matching Roman shade for the window over the kitchen sink.
- Shop with Swatches: When buying throw pillows, take a photo of your kitchen backsplash or a paint swatch of your cabinet color with you to find a perfect match.
- Layer in Throws: Drape a cozy throw blanket over your sofa or an accent chair. Choose one in your main accent color.
- Connect to the Kitchen: Buy a set of high-quality tea towels or a simple table runner for your island or dining table in the same accent color as your living room pillows. This tiny detail makes a huge difference.
Pro-Tip: Textiles are your secret weapon against echo. Soft surfaces like curtains, rugs, and upholstered furniture are essential for absorbing sound in a large, open room, making it feel much quieter and more intimate.
Key Takeaways: Your Quick Guide to a Cohesive Open-Plan Home
- Unify from the Ground Up: Use one continuous type of flooring throughout the entire space.
- Stick to One Color Palette: Apply the 60-30-10 rule across both zones for effortless harmony.
- Define with Rugs & Furniture: Use a large area rug and the back of your sofa to create a distinct living room “zone” without walls.
- Repeat, Repeat, Repeat: Use the same metal finishes, wood tones, and textiles in both the kitchen and living area for a subtle but powerful connection.
- Layer Your Lighting: Combine ambient, task, and accent lighting to make the large space feel cozy and functional at all hours.
People Also Ask About Decorating an Open Kitchen and Living Room
How do you make an open-plan living room and kitchen feel cozy?
Focus on adding texture, warmth, and defined zones to create coziness. Use a large, plush area rug to anchor the living room furniture. Incorporate soft textiles like chunky knit throws and velvet pillows. Implement a layered lighting scheme with warm-toned bulbs on dimmers to create an inviting ambiance instead of relying on harsh overhead lights.
How do you visually separate a kitchen and living room in an open concept?
Use furniture and decor as “soft” dividers. The most effective methods are to “float” your sofa away from the wall with its back toward the kitchen, creating a clear boundary. You can also use a large area rug to visually define the living room, and hang pendant lights over a kitchen island to designate it as a separate functional zone.
What is the best flooring for a combined kitchen and living room?
Luxury Vinyl Plank (LVP) and engineered hardwood are top choices for open-plan spaces. Both options provide the warm, continuous look of wood which unifies the area beautifully. They are also more durable and water-resistant than traditional hardwood, making them practical for the kitchen zone while still being comfortable for the living area.
Should my kitchen and living room be the same style?
They should feel cohesive, but not necessarily identical. The best approach is to have a dominant style (like Modern Farmhouse) and then weave elements of it through both spaces. For example, use rustic wood shelves in a modern kitchen or sleek, modern hardware on farmhouse-style cabinets to create a harmonious blend.
Final Thoughts
Creating a stunning and cohesive open-plan home is a journey of layering. By starting with a unified foundation of flooring and color and then adding thoughtful layers of texture, light, and personality, you can transform a disjointed space into the harmonious heart of your home. Remember, every element, from a throw pillow to a cabinet pull, is an opportunity to tell a single, beautiful story.
What’s the first idea you’re excited to try in your own space? Share your plans in the comments below.
Last update on 2026-01-14 at 01:42 / Affiliate links / Images from Amazon Product Advertising API
