As an Amazon Associate KitchenwareSets.com earns from qualifying purchases.
Stunning Kitchen Shelf Decor Ideas To Style Like A Pro
Staring at that empty kitchen wall again? It feels like a missed opportunity, a blank space that could be so much more. You’re tired of cluttered countertops and a kitchen that feels functional but lacks personality.
You need a solution that adds both beauty and practical storage. This is where kitchen wall decor with shelves comes in. They are wall-mounted units for both organizing essentials and displaying your personal style.
The key to stunning kitchen shelf decor is balancing everyday functional items with personal decorative objects. This guide will show you how to use a cohesive color palette and vary the height and texture of items to create a display that is both practical and beautiful.
Feeling Uninspired by That Blank Kitchen Wall?
It’s a common story. Your countertops are a magnet for clutter—mail, keys, and that stray appliance you never use. Meanwhile, a perfectly good wall sits empty, a blank canvas with zero personality. You dream of a stylish, “Pinterest-worthy” kitchen, but you feel stuck between lacking storage and wanting a space that truly feels like you.
This is where the magic of kitchen open shelving comes in. It’s the perfect, high-impact solution that solves both problems at once. Open shelves force you to be intentional, turning everyday items like plates and mugs into part of the decor. They clear your counters, add character, and create an open, airy feel that bulky upper cabinets just can’t match. Get ready to discover a gallery of beautiful, achievable kitchen shelf ideas and the pro secrets to recreating them yourself.
9 Stunning Kitchen Shelf Decor Ideas To Style Like A Pro
Ready for some inspiration? We’ve curated nine distinct and popular styling themes to transform your blank kitchen walls. Each idea is a mini-guide with actionable steps, making it easy to find a look that matches your personal taste and replicate it.
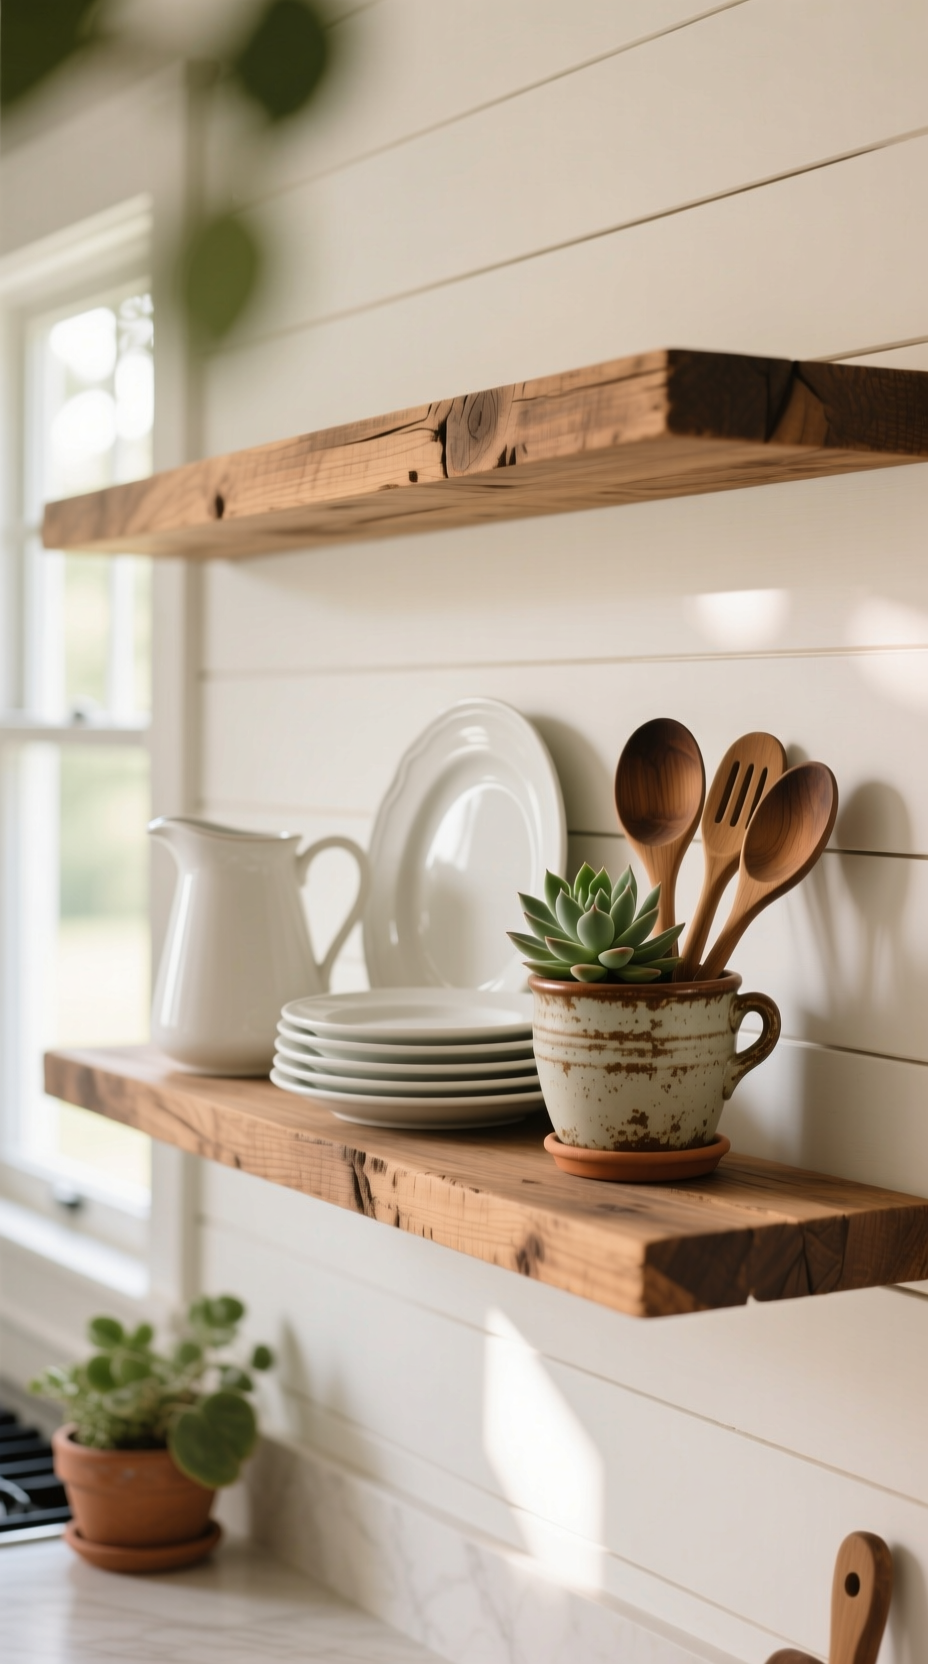
1. The Modern Farmhouse Vignette
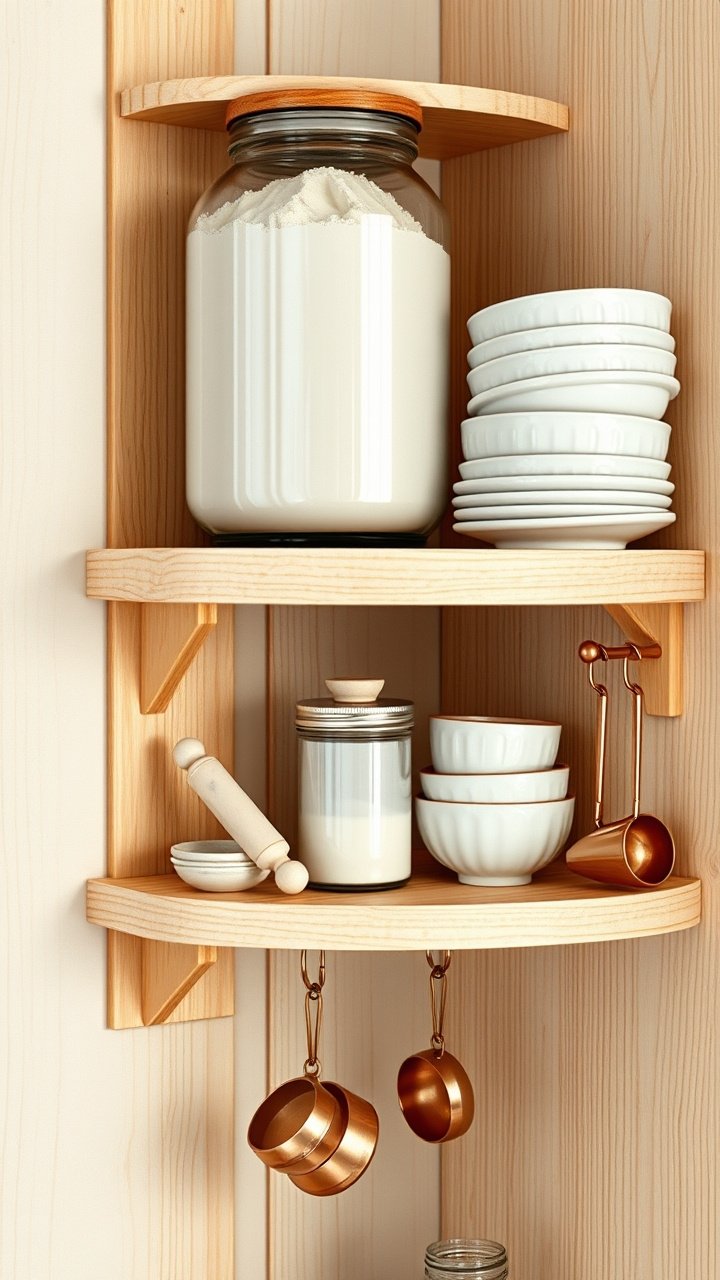
Pin this cozy farmhouse idea for your kitchen!
Key Decor Items:
- Thick reclaimed wood floating shelves (at least 2 inches thick for a substantial look)
- A stack of simple, everyday white ceramic dinner plates
- A classic white ceramic pitcher or vase
- Small potted plants, like succulents or herbs, in terracotta pots
- Vintage-style wooden spoons or rolling pins in a stoneware crock
Styling Steps:
- Start by placing your stack of plates slightly off-center to act as your visual anchor.
- Position the taller pitcher next to the plates to create height variation.
- Lean a small wooden cutting board against the shiplap wall behind the other items to add a warm, layered texture.
- Place the crock of utensils on the opposite side of the plates to balance the composition.
- Finish by tucking in the small potted plant to add a touch of life and color.
Pro-Tip: Mix new, simple white dishes with one or two genuinely old or thrifted wooden items to give the shelf authentic character.
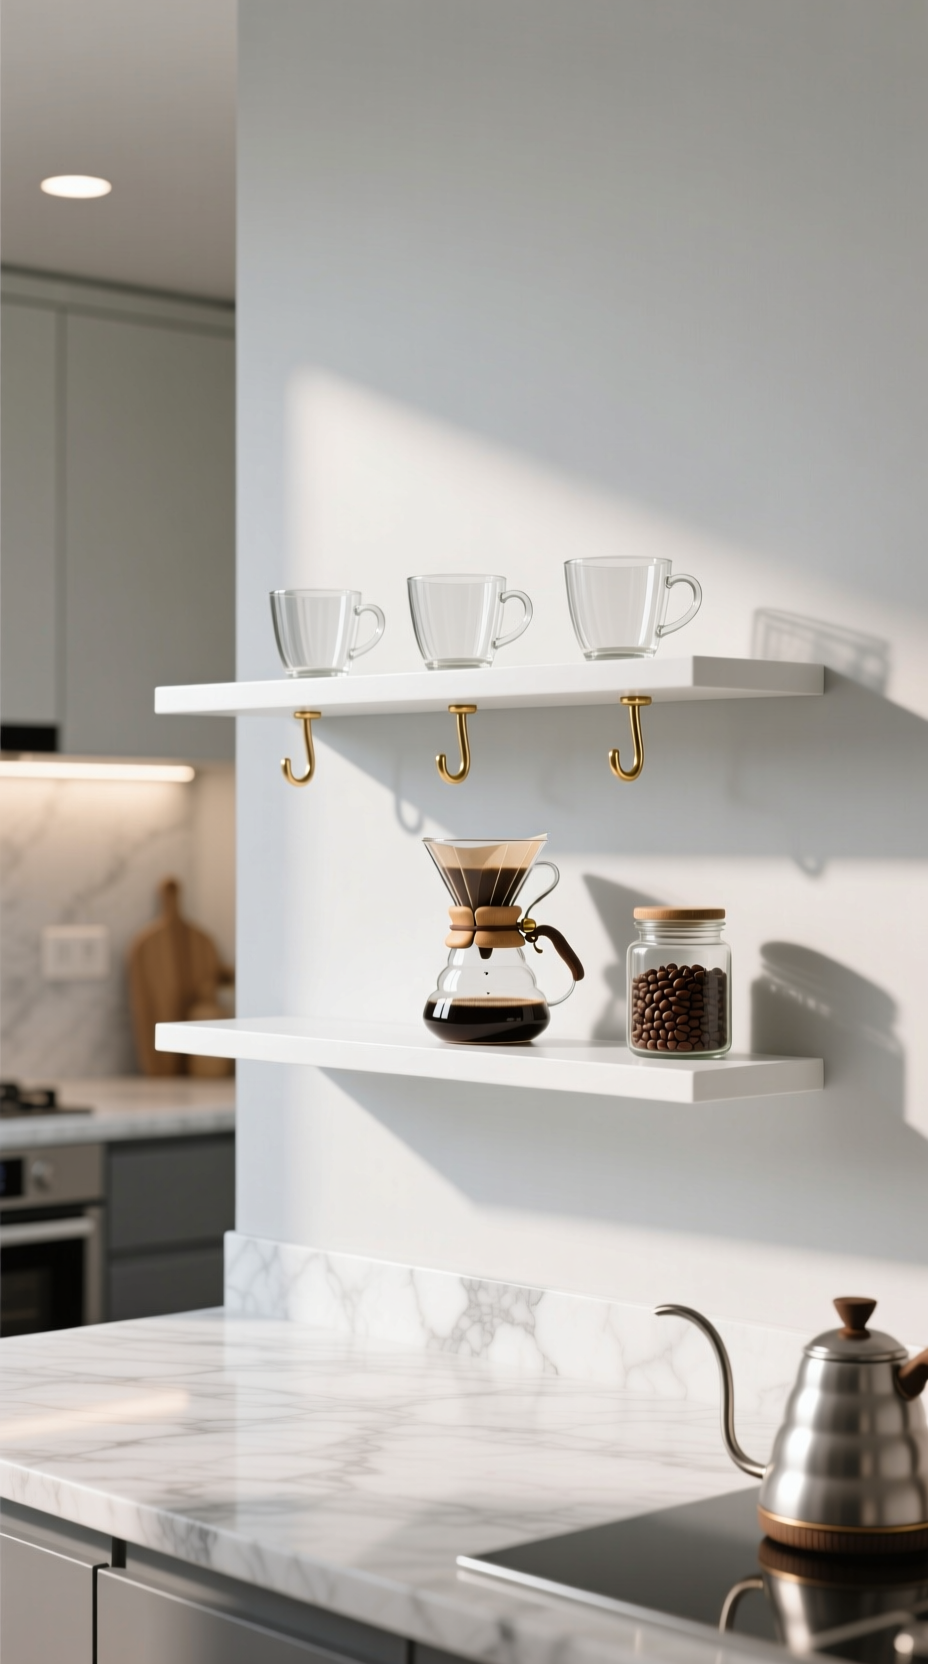
2. The Minimalist Coffee Bar
Save this sleek coffee station idea!
Key Decor Items:
- A slim, white or light wood floating shelf
- Small, screw-in brass or black hooks for hanging mugs
- A matching set of 3-4 glass or ceramic mugs
- Airtight glass canisters for coffee beans and sugar
- Your favorite coffee brewing device, like a sleek pour-over or French press
Styling Steps:
- Install the floating shelf, leaving enough room underneath for your coffee maker on the counter.
- Evenly space and screw in the hooks to the underside of the shelf.
- Hang your mugs from the hooks for a clean, cafe-inspired look.
- On the shelf itself, place the canisters for beans and other essentials.
- Position your pour-over or other beautiful coffee maker as the centerpiece on the shelf. Leave plenty of empty space—the “breathing room” is key to the minimalist aesthetic.
Lesson Learned: Don’t overcrowd it! The elegance of this look comes from having only the essentials on display. Store extra mugs and supplies in a cabinet.
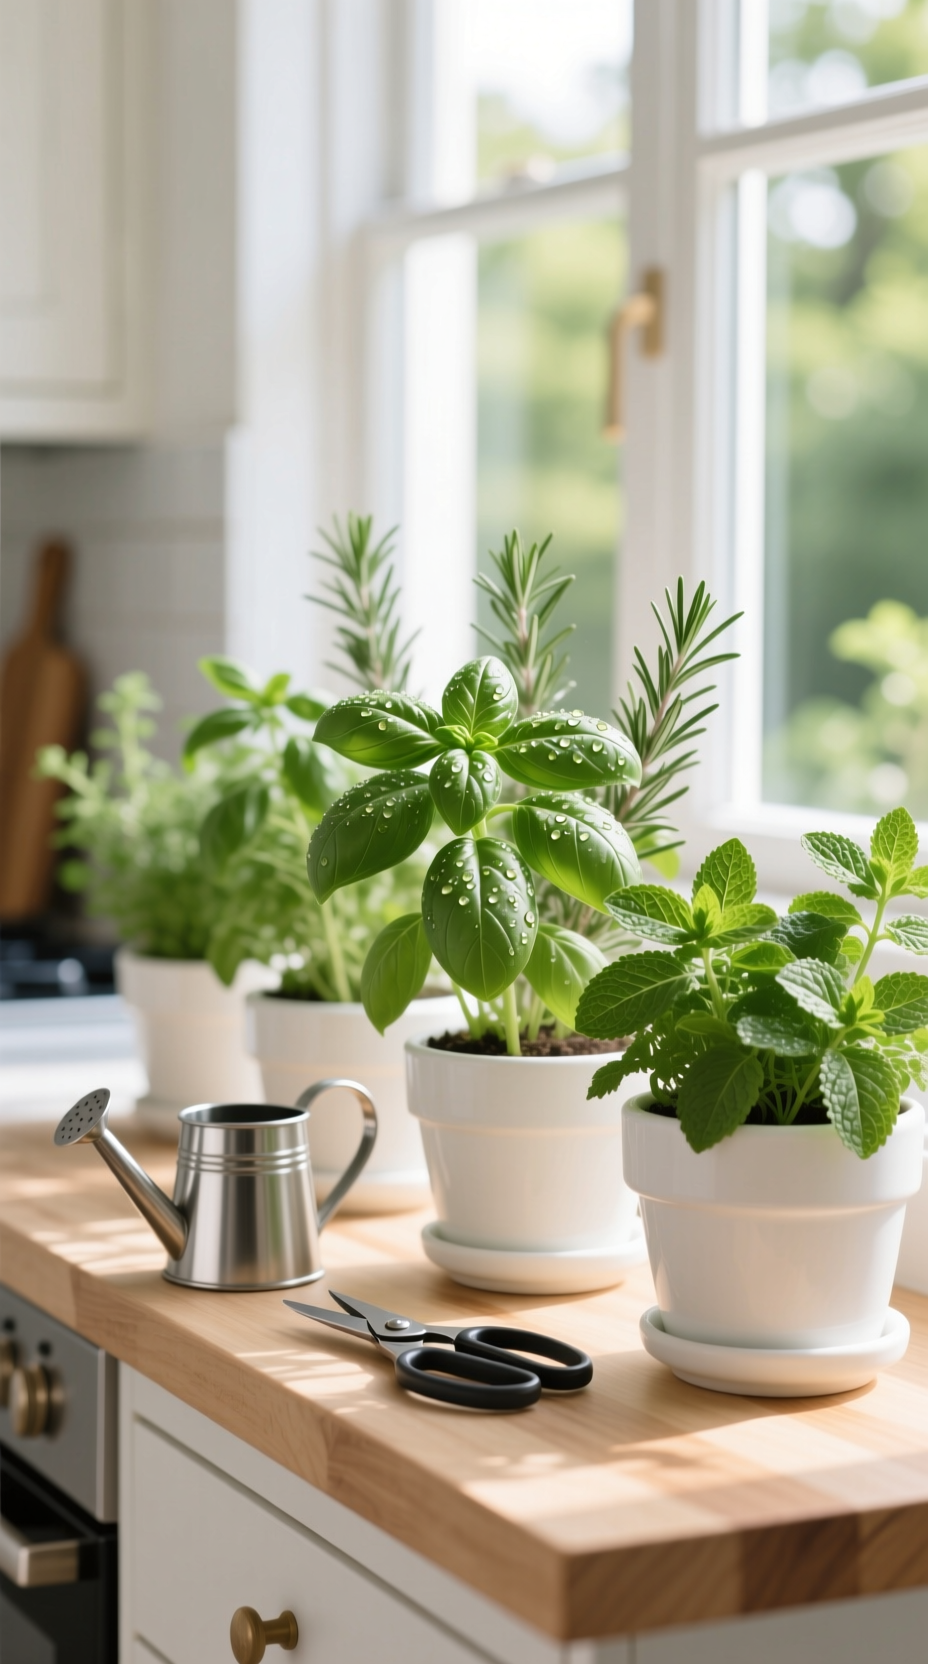
3. The Functional Herb Garden Shelf

Pin this fresh idea for your kitchen window!
Materials Needed:
- A wall shelf suitable for a sunny location, ideally a simple wood or white shelf
- A selection of your favorite culinary herbs (e.g., basil, mint, parsley, rosemary)
- A set of matching pots with drainage holes and saucers
- High-quality potting mix for herbs
- Small herb snips and a stylish small watering can
Step-by-Step Directions:
- Install the shelf in the sunniest spot in your kitchen, typically near a window.
- Carefully pot each herb into its new container using the fresh potting mix.
- Water the herbs thoroughly and allow them to drain completely.
- Arrange the potted herbs in a row on the shelf. Alternate heights and textures for more visual interest.
- Place the small watering can and herb snips at one end of the shelf, making them part of the decor and keeping them handy.
Pro-Tip: Choose pots that complement your kitchen’s style. Simple white or terracotta pots are timeless choices that let the greenery be the star.
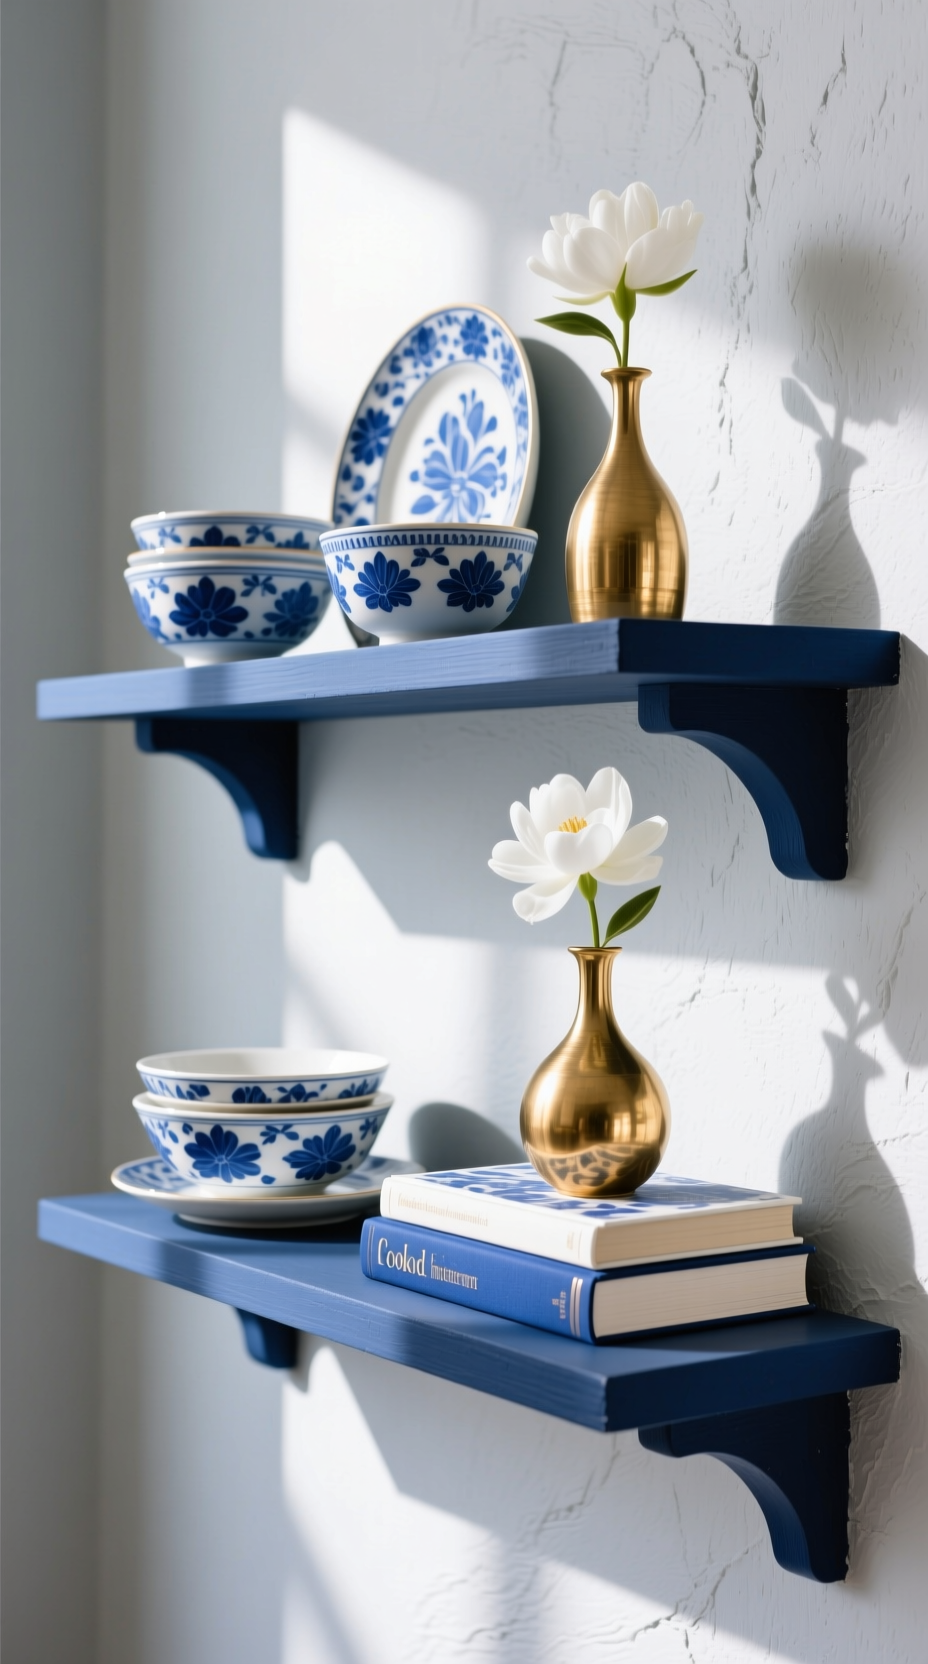
4. The Color-Coordinated Display
Save this bold color-blocking inspiration!
Key Decor Items:
- Floating shelves (either naturally colored or painted to match your color scheme)
- A curated collection of items in 2-3 specific colors (e.g., blue, white, and a metallic accent)
- Items can include: bowls, mugs, small vases, cookbooks, and small art prints.
- A metallic element like a brass planter or copper measuring cups for a touch of shine.
Styling Steps:
- Choose a strict color palette of 2-3 colors. This is the most important step.
- Gather all the items you own that fit this palette. “Shop your home” first!
- Start by placing the largest items, like a stack of bowls or a large vase, on the shelves.
- Fill in with medium-sized items, like mugs or smaller books.
- Weave in your metallic accent pieces last to catch the light and add a touch of luxury.
- Group items by color for a ‘color-blocked’ look, or mix them for a more integrated feel.
Lesson Learned: It’s better to have fewer, well-chosen items that fit the color scheme than to crowd the shelf with things that don’t match. Restraint is key.
5. The Baker’s Corner Shelf
Pin this sweet idea for your baking station!
Key Decor Items:
- Heavy-duty floating shelves that can support significant weight.
- Large, airtight glass jars for storing dry goods like flour, sugar, and oats.
- A nested set of classic mixing bowls.
- Beautiful baking tools to display, such as a marble rolling pin or copper measuring cups.
- Small hooks for hanging measuring cups and spoons.
Styling Steps:
- Install heavy-duty shelves, ensuring they are properly secured into wall studs.
- Decant your most-used dry ingredients into the large glass jars. This creates a uniform, clean look.
- Arrange the large jars on one side of the shelf.
- Stack the mixing bowls next to the jars.
- In the remaining space, display your most beautiful tools. Lean a rolling pin against the back or hang measuring cups from hooks.
Pro-Tip: Use a label maker with a nice font or a white chalk pen to label your jars. It’s both functional and adds to the aesthetic.
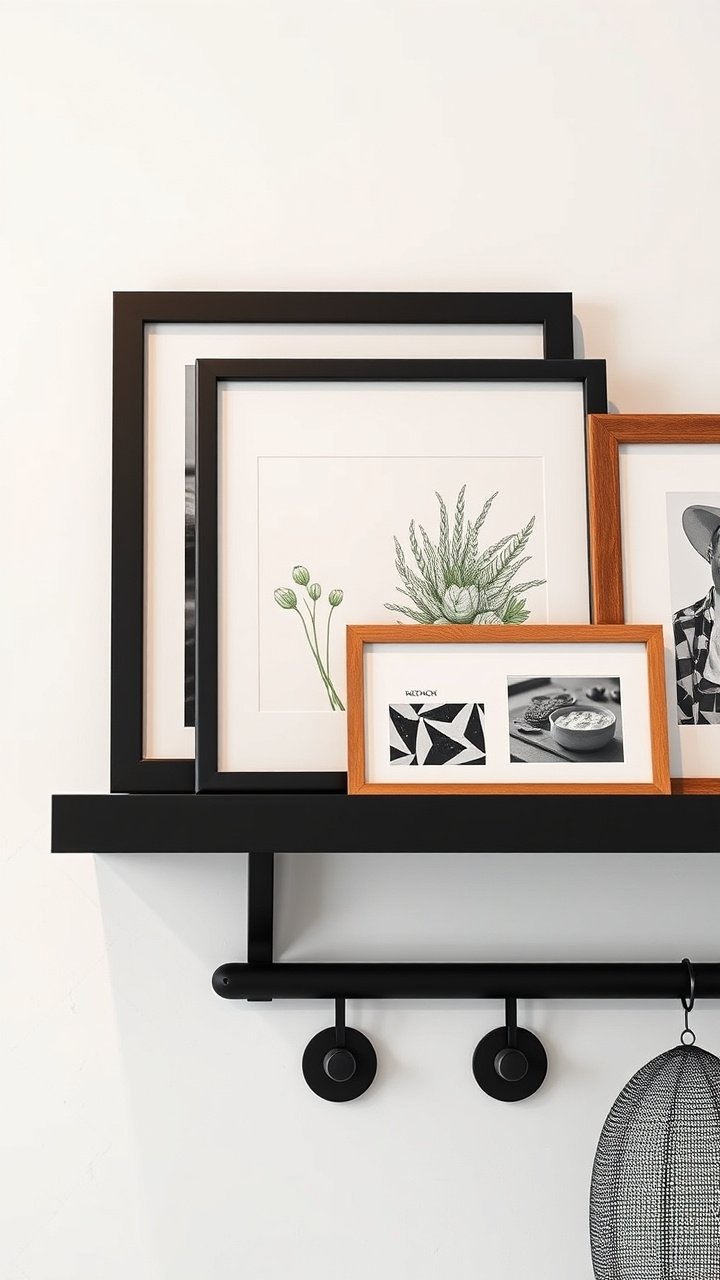
6. The Leaning Art Gallery Ledge
Save this artistic way to personalize your kitchen!
Materials Needed:
- One or more narrow picture ledge shelves.
- A collection of framed art, photos, and prints in various sizes.
- A mix of frame styles and colors (e.g., black, white, natural wood) for an eclectic look.
- A small decorative object, like a tiny plant or a ceramic piece, to add dimension.
Styling Steps:
- Install the picture ledge(s) on your chosen wall. You can stack two or three for a gallery wall effect.
- Start by placing your largest framed piece on the ledge, leaning it against the wall. This is your anchor.
- Layer a medium-sized frame in front of it, overlapping one corner slightly.
- Add smaller frames on either side, continuing to overlap them to create a casual, collected feel.
- Tuck a tiny plant or a single small vase in a gap between frames to break up the straight lines and add life.
Lesson Learned: The beauty of a picture ledge is its flexibility. You can swap out art for the seasons or as your taste changes without putting new holes in the wall.
7. The Warm & Rustic Utensil Hub
Pin this functional and stylish utensil storage idea!
Materials Needed:
- An industrial-style shelf with a built-in pot rail or a separate rail to install underneath.
- A set of sturdy S-hooks.
- Your most-used (and best-looking) utensils, whisks, and small pots.
- On the shelf: a cast-iron skillet, a nice bottle of olive oil, and a container for salt.
Styling Steps:
- Install the shelf and rail combo above your stove or main prep area for easy access.
- Place the S-hooks on the rail.
- Hang your utensils and a small pot or pan from the hooks. Vary the items to create an interesting silhouette.
- On the shelf above, place your heaviest items like a cast-iron pan or Dutch oven.
- Fill in the space with your go-to cooking ingredients like a decorative bottle of olive oil and a salt cellar.
Pro-Tip: Only hang items you use regularly. This setup is for convenience, and items that aren’t used will just collect dust and grease.
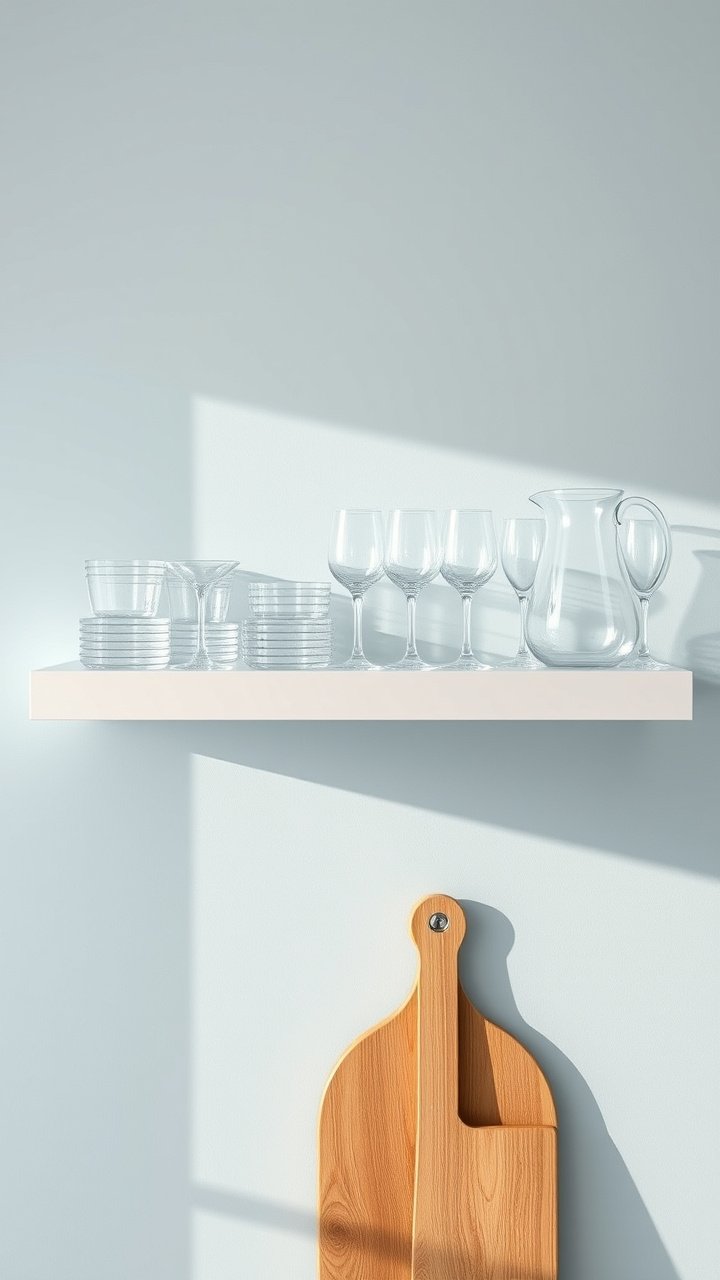
8. The Airy & Bright Glassware Shelf
Save this sparkling clean glassware storage idea!
Key Decor Items:
- A simple white or glass floating shelf.
- Your complete set of everyday drinking glasses.
- A set of matching wine glasses or other stemware.
- A beautiful glass pitcher or carafe to act as a centerpiece.
Styling Steps:
- Install the shelf near your dishwasher or sink for easy unloading and access.
- Group like items together. Create a neat stack of your everyday glasses on one side.
- Line up your stemware (like wine glasses) in a neat row next to the stack.
- Place the glass pitcher in the center to anchor the display.
- Ensure everything is perfectly clean and fingerprint-free to maximize the sparkling effect.
Lesson Learned: This look works best if your glassware matches. A collection of mismatched glasses can look cluttered, so consider investing in a simple, cohesive set.
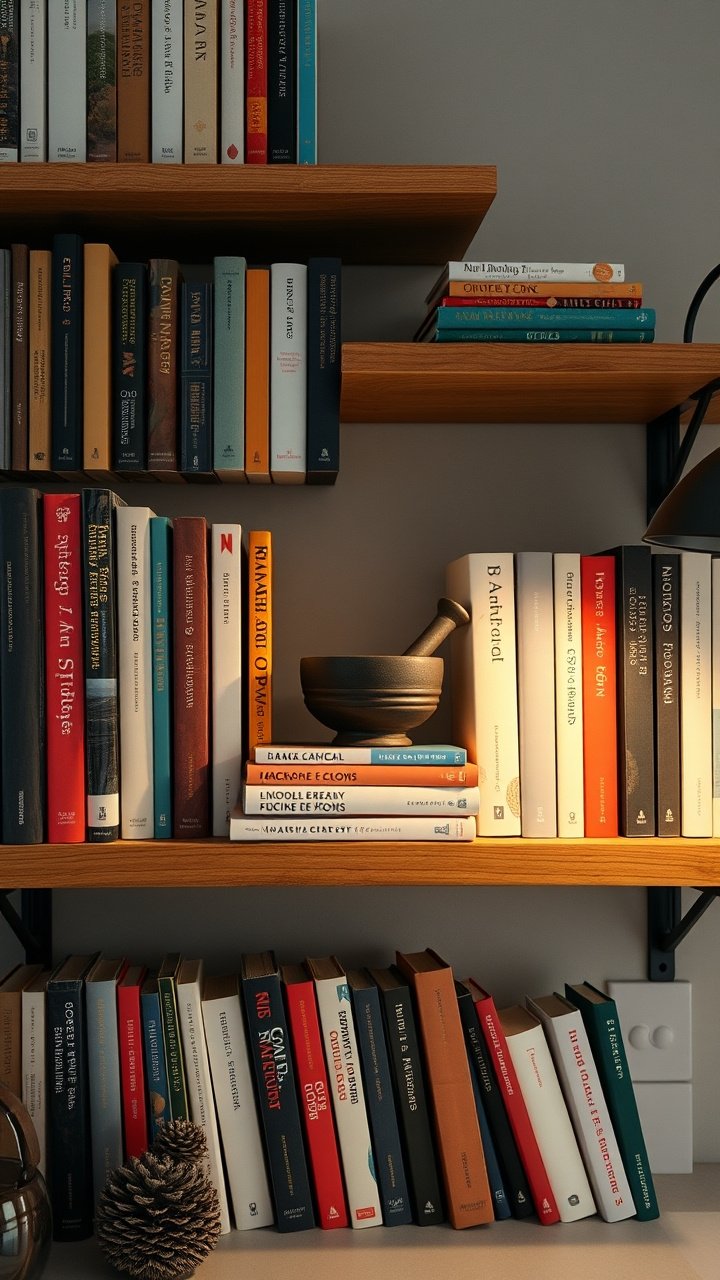
9. The Cookbook Library
Pin this idea for your cookbook collection!
Key Decor Items:
- Sturdy shelves that can hold the weight of many books.
- Your collection of cookbooks.
- Heavy, decorative objects to use as bookends (e.g., a mortar and pestle, a small cast-iron pot).
- Small bowls or other items to place on top of stacked books.
Styling Steps:
- Sort your cookbooks. You can arrange them by color for a rainbow effect or by size.
- Place a group of books vertically, using a heavy object as a bookend.
- Next to that, create a short horizontal stack of 2-3 books. This breaks up the monotony and creates a platform.
- Place a small decorative bowl or a unique kitchen tool on top of the horizontal stack.
- Continue alternating between vertical and horizontal stacks along the length of the shelf to create a dynamic, library-like feel.
Pro-Tip: Keep your most-used cookbooks in the most accessible spot. The ones you rarely use but love for their covers can go on higher shelves.
Key Takeaways: Your Quick Guide to Perfect Kitchen Shelves
Feeling inspired? Here are the core principles to remember as you start styling. This quick reference guide will help you create beautiful, functional kitchen wall shelves every time.
- Balance is Key: Mix everyday functional items (60%) with purely decorative pieces (40%) for a look that’s both beautiful and practical.
- Work in Threes: Group smaller items in odd numbers, especially threes, to create a more dynamic and visually appealing arrangement.
- Vary Height & Layer: Use a mix of tall, medium, and short objects. Create depth by leaning larger items like cutting boards at the back.
- Choose a Color Palette: Stick to 2-3 main colors for your decor to create a cohesive, intentional look and avoid visual clutter.
- Leave Breathing Room: Don’t overcrowd your shelves. Negative space is a powerful design tool that makes your curated items stand out.
People Also Ask About Kitchen Shelf Decor
Are open kitchen shelves still in style in 2026?
Yes, open shelving is still a popular and timeless choice in 2026 kitchen design. While the trend of replacing all upper cabinets has softened, using open shelves as a feature—like over a coffee bar or on a single wall—remains a go-to strategy for designers to add personality and make a kitchen feel more open and airy.
How do you keep open kitchen shelves from looking cluttered?
The key to avoiding clutter is curation and organization. Stick to a limited color palette, use trays or baskets to corral small items, and leave “negative space” or empty areas around your objects. Regularly edit your shelves, storing less attractive essentials in closed cabinets.
How much weight can floating kitchen shelves hold?
Weight capacity depends entirely on the shelf’s construction and installation. High-quality shelves with hidden brackets mounted directly into wall studs can safely hold 40-75 pounds. However, shelves mounted only with drywall anchors will hold significantly less, often only 15-20 pounds, and are best for light decorative items only.
What is the best material for kitchen shelves?
Solid wood is the best all-around material for kitchen shelves. It is strong, durable, can be stained or painted to match any decor, and adds natural warmth. For modern or industrial kitchens, stainless steel is another excellent choice as it’s hygienic, strong, and easy to clean.
Final Thoughts
Your kitchen walls are a canvas waiting for your personal touch. Don’t be afraid to experiment, move things around, and create a display that truly makes you happy every time you walk into the room. It’s not about having a perfect, magazine-ready kitchen—it’s about creating a space that works for you and tells your story.
Which of these ideas are you most excited to try on your own kitchen wall? Let me know in the comments below
Last update on 2026-01-21 at 05:26 / Affiliate links / Images from Amazon Product Advertising API
