As an Amazon Associate KitchenwareSets.com earns from qualifying purchases.
How To Hang Plates On A Wall A Step By Step Visual Guide
Struggling with a boring, blank wall? Do you feel like your space is missing that final, personal touch?
A plate wall is a timeless piece of kitchen wall decor that transforms an empty space into a story. It’s a curated collection of decorative plates, arranged as wall art to create a stunning focal point. You just need a clear plan to get it right.
Decorating with plates is a classic, budget-friendly way to create a stunning and personalized focal point. This guide will give you a foolproof, step-by-step visual process to design and hang your plates perfectly, even if you’re a complete beginner.
Have a Blank Wall? Here’s Why a Plate Display is Your Perfect Solution
That awkward, boring wall in your kitchen or dining room isn’t a problem—it’s an opportunity. Decorating with plates as wall art is a timeless trend that offers a uniquely personal and budget-friendly way to make a statement. Unlike a single piece of art, a DIY plate wall allows you to become the curator, blending colors, sizes, and styles to tell a story that’s entirely yours. This classic decor choice moves beyond a simple craft; it’s an act of creating a personalized focal point that adds character and charm to your home. Based on our experience, this is one of the most impactful stylish home updates you can complete in a weekend. Our step-by-step visual guide removes all the guesswork and helps you avoid common pitfalls, ensuring your project is a stunning success.
Your 7-Step Guide to Hanging Plates on a Wall Perfectly
This is the core of our tutorial—a foolproof process for creating your perfect plate wall display. Following these steps in order is the secret to preventing common mistakes like crooked layouts, unnecessary nail holes, or an unbalanced design. This structured methodology incorporates principles of interior design and safe installation practices to guarantee a professional result.
- Gather Your Tools & Curate Your Plates
- Create Your Paper Layout Template
- Choose the Right Hangers for Your Plates
- Position Your Layout on the Wall
- Mark Your Hanger Placement
- Install Your Hardware Securely
- Hang & Adjust Your Plates
1. Gather Your Tools & Curate Your Plates
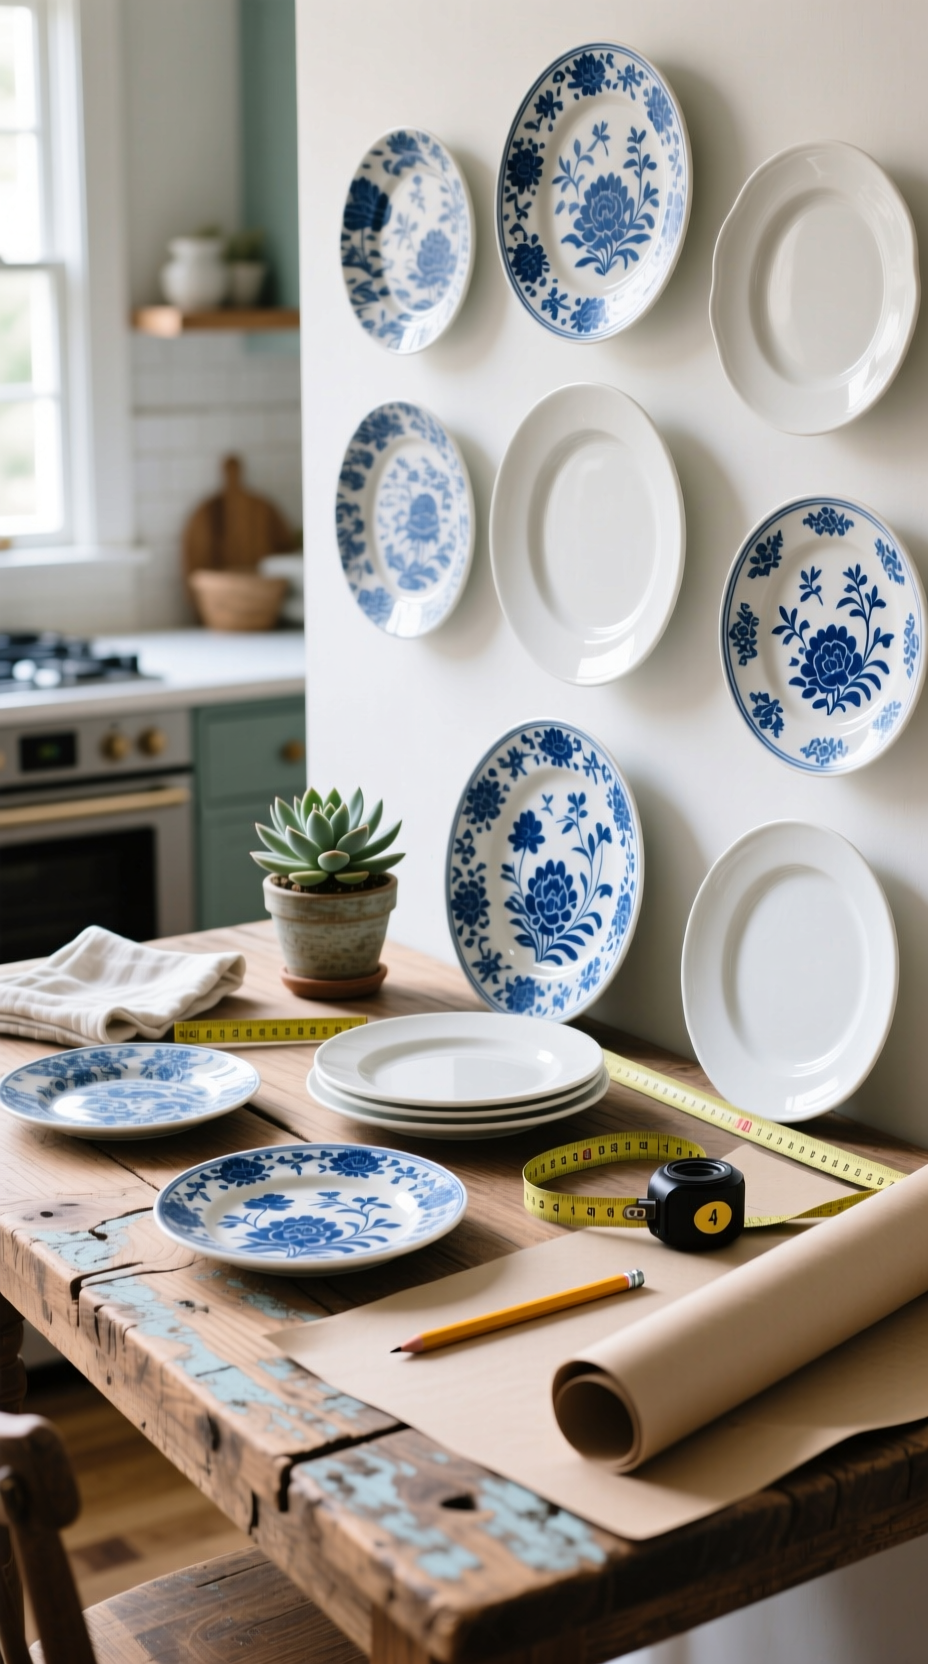
Pin this essential first step to your ‘DIY Home Decor’ board!
Materials Needed for This Step:
- Your collection of plates (aim for an odd number like 7, 9, or 11 for balance)
- Kraft paper or old wrapping paper
- Pencil
- Scissors
- Painter’s tape
- A high-quality, 25-foot steel measuring tape
- Stud finder (electronic model recommended for accuracy)
- A 24-inch level (a laser level is even better for large walls)
Step-by-Step Directions:
- Curate Your Collection: Lay all potential plates on the floor. Edit your selection so they share a common element—a color palette (like blue and white), a theme (botanicals), or a style (mid-century modern). A mix of sizes creates the most visual interest.
- Gather Your Tools: Assemble all your tools in one place. Ensure your level is working and you have fresh batteries for your stud finder.
- Clean Your Plates: Gently wash and dry all plates, especially the backs, to ensure hangers will adhere properly.
Pro-Tip: Don’t have a collection yet? Start by thrifting! Flea markets and thrift stores are treasure troves for unique, affordable vintage wall plates that tell a story.
2. Create Your Paper Layout Template
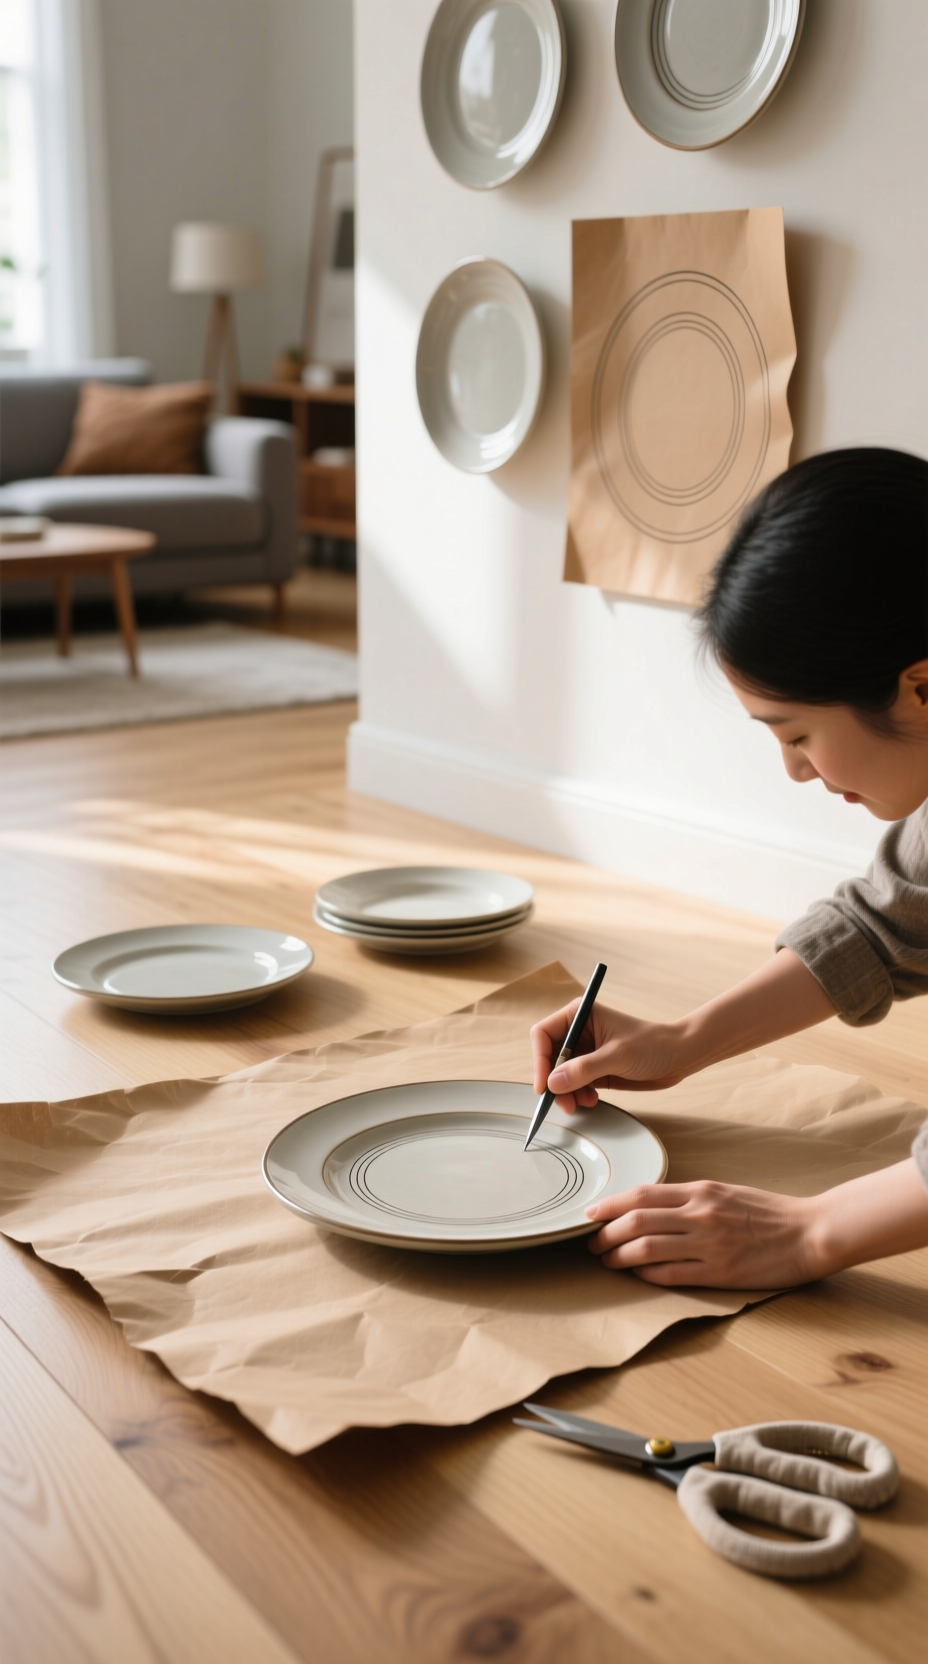
Save this genius no-mistake planning tips!
Materials Needed for This Step:
- Your curated plates
- Kraft paper
- Pencil
- Scissors
Step-by-Step Directions:
- Trace Each Plate: Place each plate onto the kraft paper and carefully trace around it with a pencil.
- Cut Out Templates: Cut out each of the paper circles. These are now your risk-free “plates.”
- Arrange on the Floor: Clear a large space on your floor, roughly the same size as your target wall space. Arrange the paper templates until you find a wall decor composition you love.
- Start with the Largest: Place your largest plate template slightly off-center. Build the rest of the arrangement around it, balancing larger plates with clusters of smaller ones.
- Mind the Gaps: Aim for a consistent spacing of 2-3 inches between each template to create a cohesive, breathable look.
Lesson Learned: This step feels extra, but it’s the single most important part of getting a professional result. It’s much easier to move paper around than it is to fill nail holes.
3. Choose the Right Hangers for Your Plates

Pin this essential guide to plate hangers!
Hanger Types to Consider:
- Wire Spring-Loaded Hangers: These are the traditional choice. They have vinyl-coated tips to protect plates and are very secure. Best for plates with a defined rim that the hooks can grip.
- Adhesive Disc Hangers: These are fabric discs that glue to the back of the plate for a completely invisible look. Ideal for flat-backed plates or modern arrangements.
- Plate Rails or Ledges: Narrow shelves that allow you to lean plates against the wall. Great for renters or for those who like to change their display often.
How to Choose:
- Assess Your Plate: Does it have a rim? Is it flat? Is it extremely valuable? For valuable or antique plates, always use a high-quality wire hanger.
- Check the Weight: Weigh your heaviest plate on a kitchen scale. Choose a hanger with a weight rating that is at least DOUBLE the plate’s actual weight.
- Consider the Look: Do you mind seeing the little brass hooks of a wire hanger, or do you want a “floating” effect? Your answer will guide your choice between wire and adhesive.
- Prepare the Hanger: If using adhesive discs, activate the glue with water and press firmly onto a clean plate back. Let it cure for a full 24 hours before hanging.
Safety Warning: Never use adhesive hangers on plates that are porous, unglazed, or have a textured back, as the glue will not create a secure bond.
4. Position Your Layout on the Wall
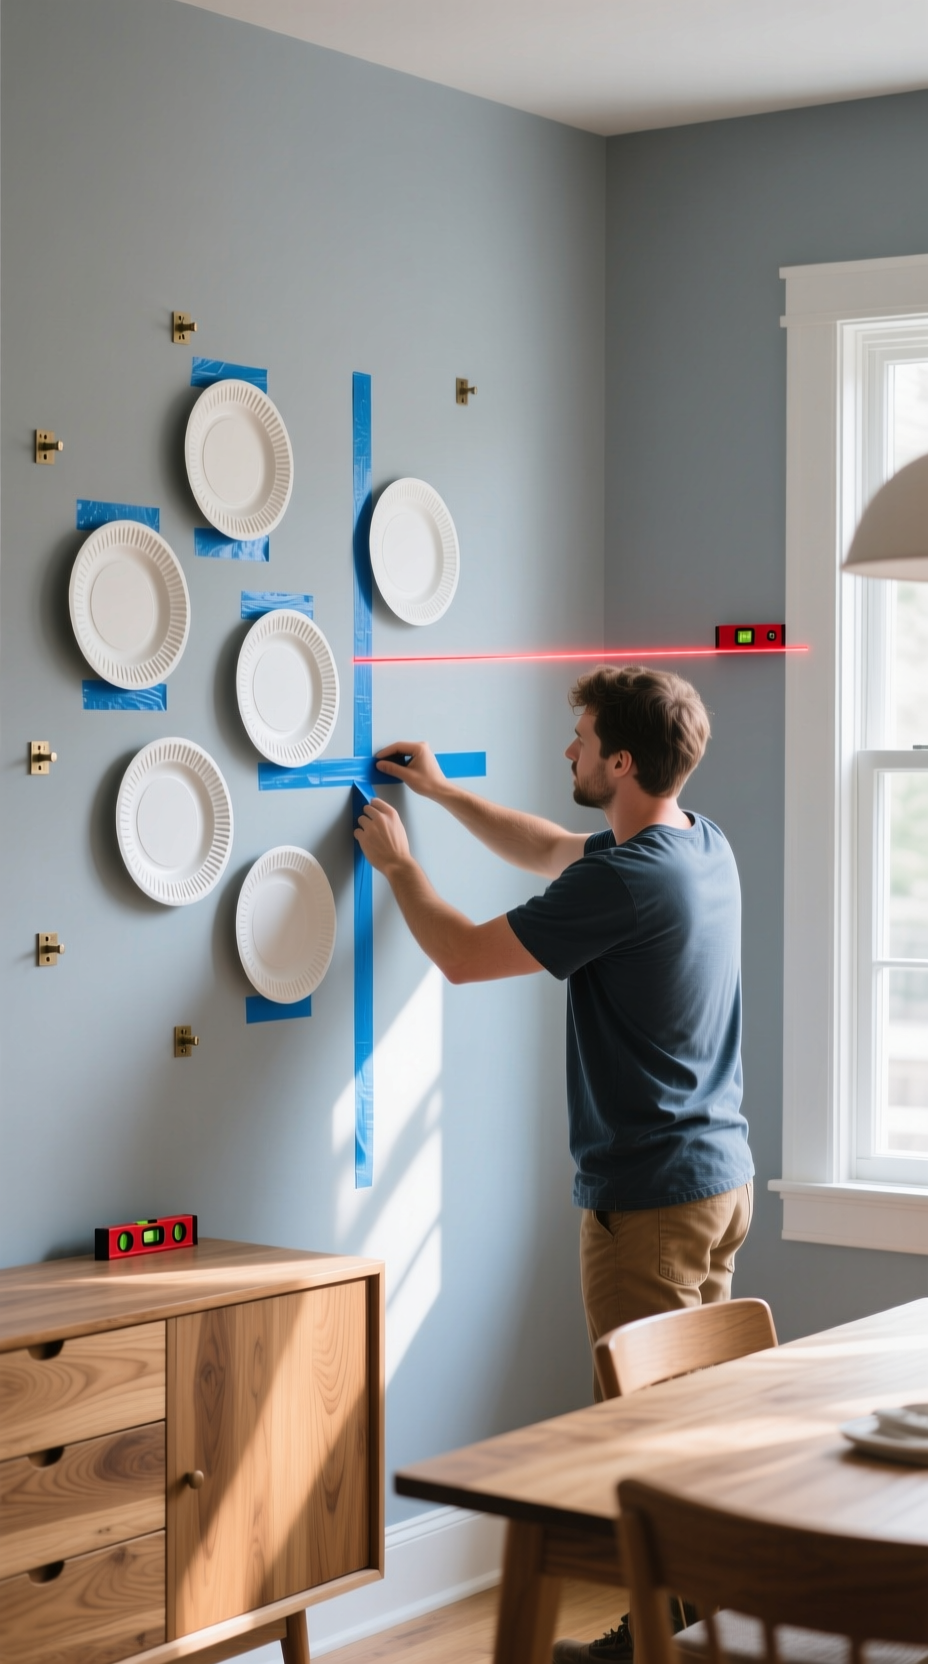
Save this tip for perfect plate placement every time!
Tools Needed for This Step:
- Your paper templates
- Painter’s tape
- Measuring tape
- Level
Step-by-Step Directions:
- Find Your Center: The center of your entire arrangement should be at average eye level, which is 57-60 inches from the floor. Measure and mark this height lightly with a pencil.
- Tape the First Template: Take the paper template of your main (usually largest) plate and tape it to the wall, aligning its center with your 57-inch mark.
- Build Out the Arrangement: One by one, tape the rest of your paper templates to the wall, recreating the layout you perfected on the floor. Use your measuring tape to keep the 2-3 inch spacing consistent.
- Step Back and Check: Go to the other side of the room. Look at the layout from the doorway. Does it feel balanced? Is it centered over your furniture? Make any final adjustments now.
Pro-Tip: Use a laser level to project a horizontal line at the 57-inch mark. This makes it incredibly easy to align the centers of your key plates for a perfectly balanced look.
5. Mark Your Hanger Placement
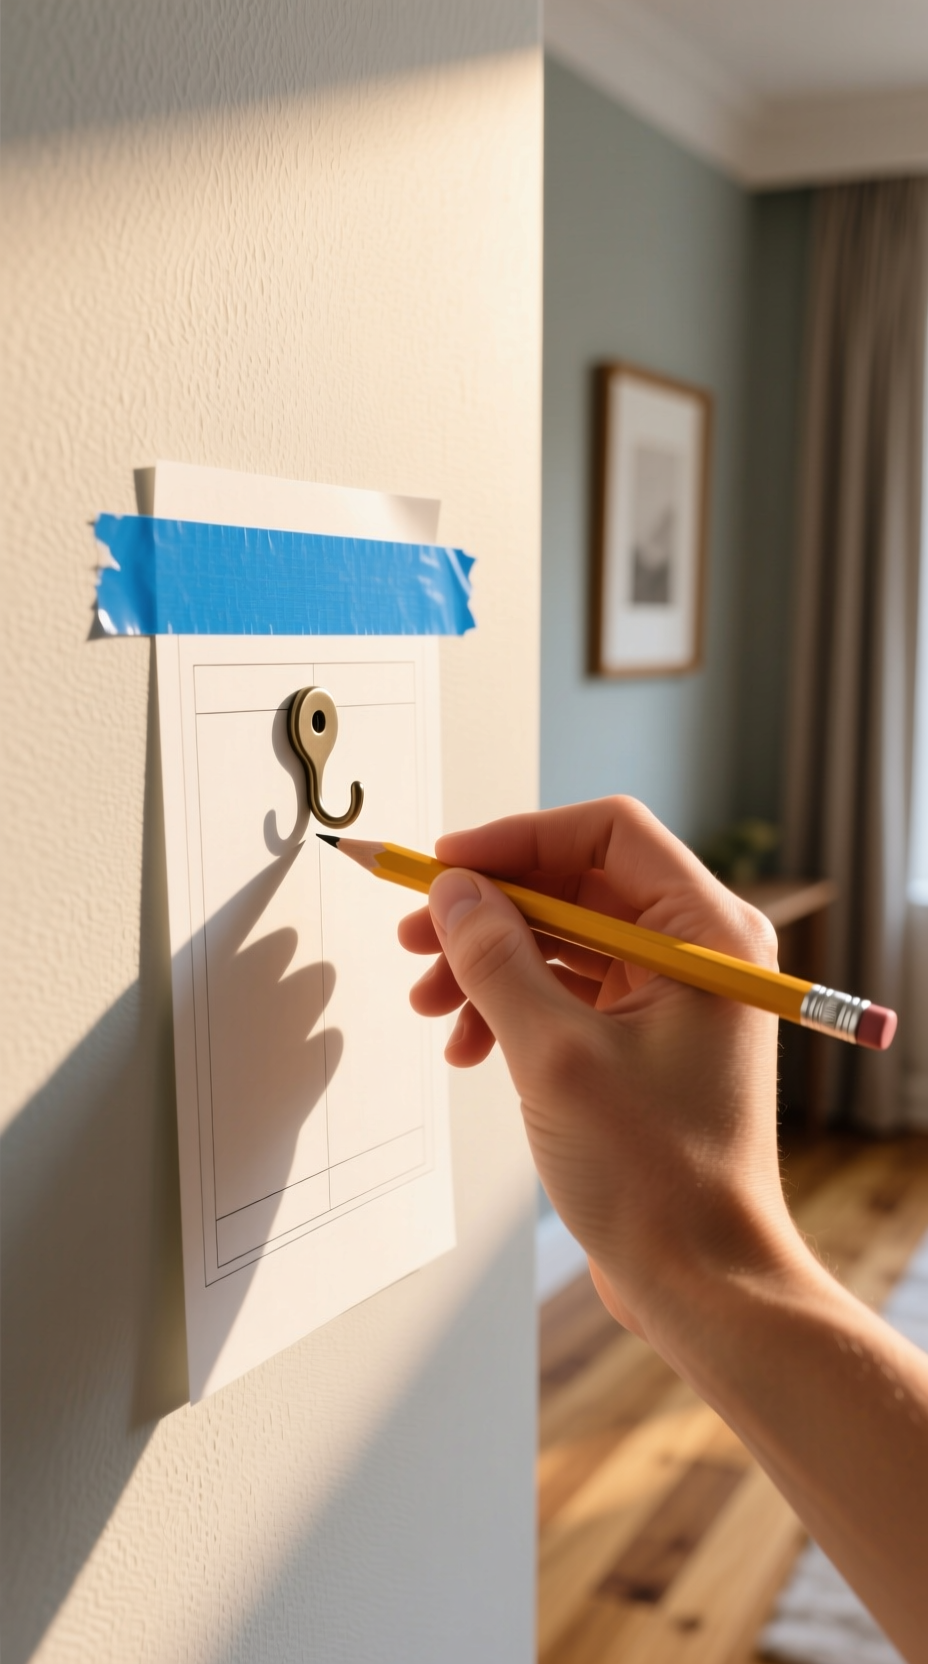
Don’t skip this crucial detail! Pin for later.
Tools Needed for This Step:
- Your chosen plate hangers
- A real plate
- Measuring tape
- Pencil
Step-by-Step Directions:
- Find the “Drop”: Attach a hanger to one of your actual plates. Hold it by the hook as if it were hanging. Measure the distance from the top of the hanger’s hook to the top edge of the plate. This distance is the “drop.”
- Mark the Template: Go to one of your paper templates on the wall. Measure down from the top edge of the paper circle by the “drop” distance you just found. Make a small, clear mark with your pencil.
- Mark Through the Paper: Gently press your pencil into the mark, hard enough to leave a small indentation on the wall behind the paper.
- Repeat for All: Do this for every single paper template on the wall. This ensures your nail will go in the exact right spot to make the real plate hang where the paper one is now.
Lesson Learned: Every hanger is slightly different. Don’t assume the nail goes at the top of the plate. Measuring the “drop” is the secret to getting the placement right on the first try.
6. Install Your Hardware Securely
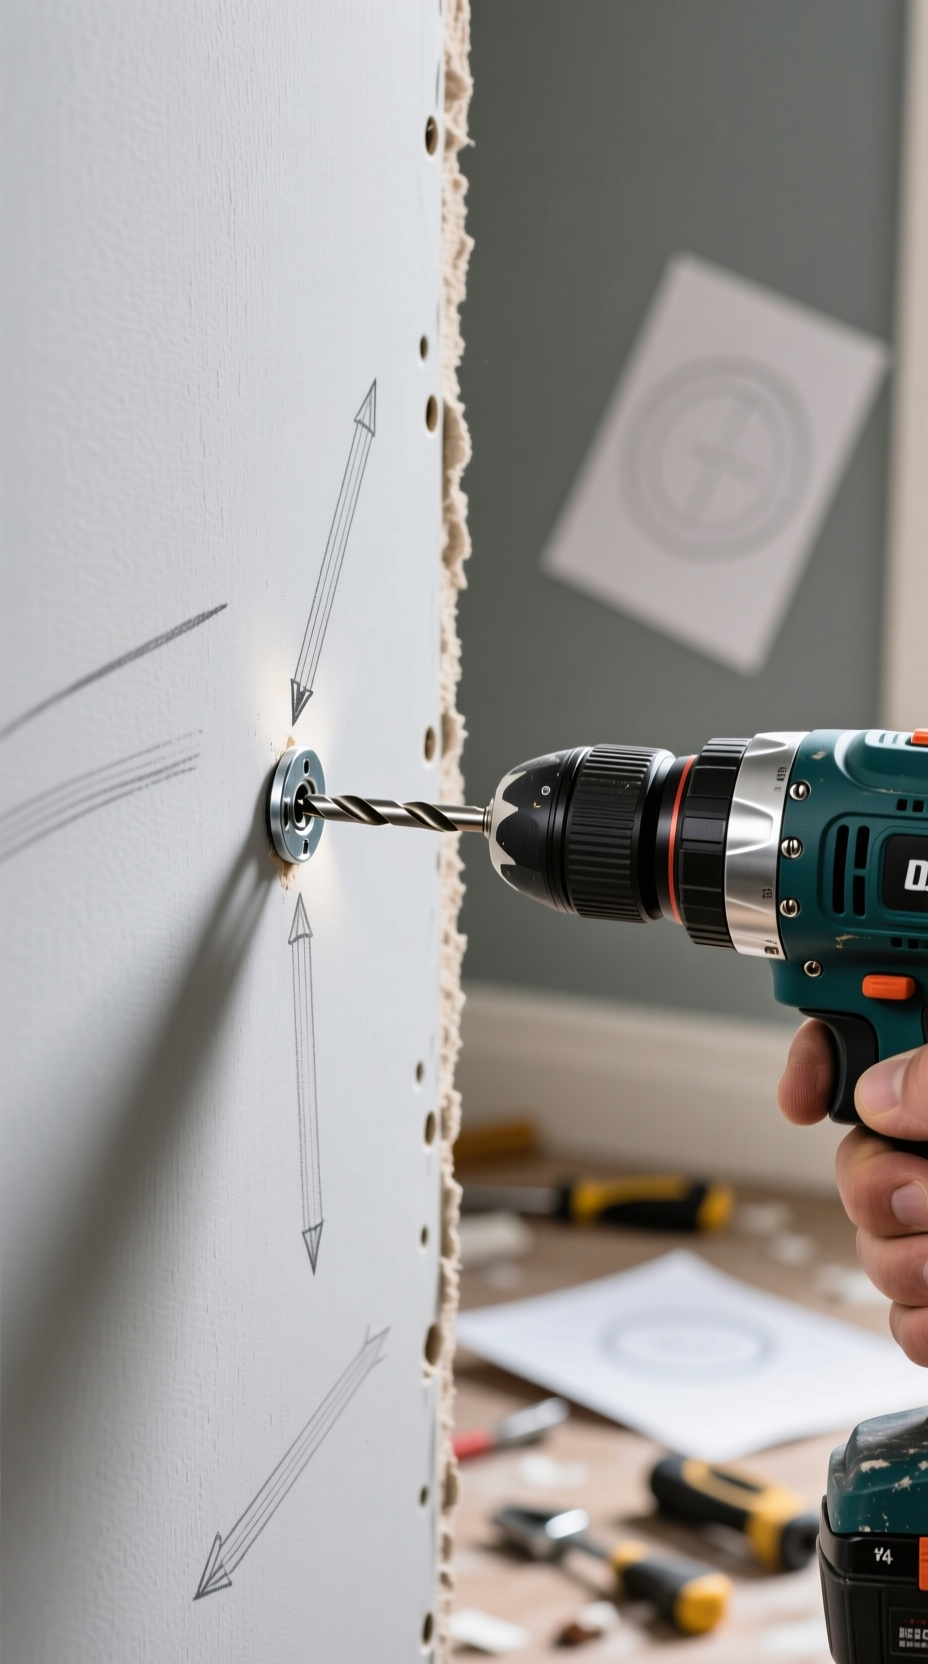
Save this guide for hanging heavy decor safely!
Tools Needed for This Step:
- Hammer or drill
- Nails or screws (as recommended by your hanger’s packaging)
- Drywall anchors (if needed)
- Stud finder
Step-by-Step Directions:
- Remove Templates: Carefully take down your paper templates, revealing the small pencil marks on the wall.
- Check for Studs: Run your stud finder over each mark. If a mark lands on a stud, you’re golden! You can drive a screw directly into it.
- Install Anchors (If No Stud): For any mark not on a stud, you MUST use a drywall anchor for security. For plates under 5 lbs, a simple tap-in or screw-in anchor is fine.
- For Heavy Plates (>5 lbs): If you have a heavy platter and no stud, use a more robust anchor like a toggle bolt. This requires drilling a larger hole but provides superior holding power.
- Install Nail/Screw: Hammer in your nail or drive your screw into the anchor, leaving it sticking out about 1/4 inch to hang the plate on.
Safety First: Never hang a plate weighing more than a pound on drywall with just a nail. It will eventually pull out. Always use an anchor or find a stud.
7. Hang & Adjust Your Plates
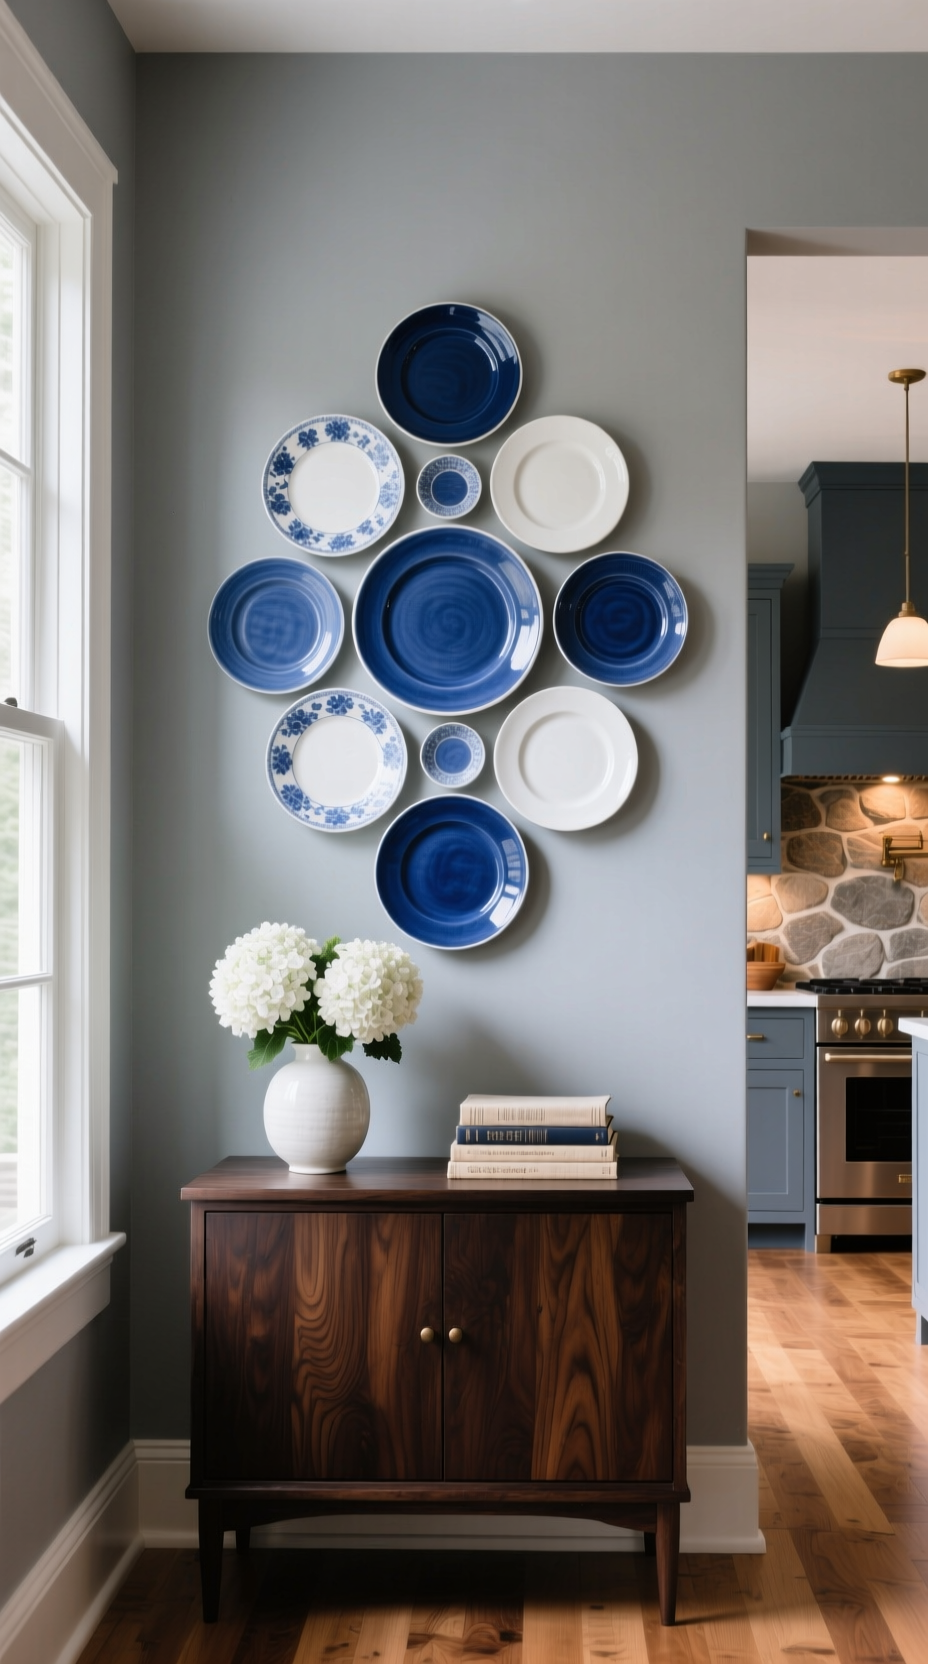
Love this look? Pin the complete tutorial!
Tools Needed for This Step:
- Your plates with hangers attached
- A small level or a level app on your phone
- Museum putty (optional)
Step-by-Step Directions:
- Hang the First Plate: Carefully hang your main, central plate onto its hook or screw.
- Continue Hanging: Work your way outwards, hanging each plate on its designated hardware.
- Check for Level: After hanging each plate, gently press on the sides to see if it wobbles or spins. Place your small level on top of a plate to check if it’s straight.
- The Putty Trick: If a plate won’t stay straight, take a tiny ball of museum putty and stick it on the back of the plate at the bottom. Gently press the plate against the wall. The putty will hold it perfectly in place.
- Admire Your Work: Step back and enjoy your beautiful, custom wall art that you created yourself!
Pro-Tip: Keep your paper templates. If you ever move, you can easily recreate the exact same arrangement in your new home without having to plan it all over again.
Key Takeaways: Your Quick Guide to a Perfect Plate Wall
Here’s a quick summary of the most important steps for a successful kitchen wall decor plates display. Getting these four things right is the key to a beautiful and secure result.
| Step | Core Action | Key to Success |
|---|---|---|
| Planning | Make paper templates for your layout. | Arrange on the floor first to avoid mistakes. |
| Hardware | Choose hangers rated for 2x plate weight. | Use adhesive discs for invisible look, wire for security. |
| Placement | Center the arrangement at eye level (57″). | Use a level to ensure a professional finish. |
| Safety | Use drywall anchors if not on a stud. | Never hang heavy plates on a nail in drywall alone. |
People Also Ask About Hanging Decorative Plates
How do you hang decorative plates on a wall without using nails?
The best way to hang plates without nails is by using adhesive plate hangers combined with removable adhesive hooks. First, clean the back of your plate with rubbing alcohol. Apply the adhesive disc hanger and let it cure for 24 hours. Then, stick a brand-name removable hook (like 3M Command) to the wall, press firmly, and hang your plate. This method is ideal for renters or for avoiding wall damage.
Can you use regular dinner plates for wall decor?
Yes, you can absolutely use regular dinner plates for wall decor. Many stunning and affordable plate walls are made from interesting dinner plates found at thrift stores or flea markets. Just ensure you use a hanging method that is strong enough to support their weight, as dinner plates can sometimes be heavier than decorative ones.
How do you keep a plate wall from looking dated or old-fashioned?
To create a modern plate wall, focus on the arrangement and the plates themselves. Opt for an asymmetrical, organic layout rather than a rigid, symmetrical one. Choose plates with modern graphic designs, abstract patterns, or a simple monochromatic color scheme (like all white plates in different textures). Mixing in woven baskets or modern art can also update the look.
Final Thoughts
A blank wall is a canvas, an opportunity to infuse your home with personality and style. By following these steps, you can transform that empty space into a unique focal point that tells your story. You’ve learned how to curate a collection, plan a balanced layout using paper templates, choose the right hanging hardware, and install it all safely and securely. The result is more than just plates on a wall; it’s a piece of custom art that you created.
What story will your plate wall tell? We’d love to see your creations—share them in the comments below
Last update on 2026-01-14 at 01:54 / Affiliate links / Images from Amazon Product Advertising API
