As an Amazon Associate KitchenwareSets.com earns from qualifying purchases.
The Best Hot Dog Chili Recipe Youll Ever Make
Ever hosted a cookout, grilled the perfect hot dogs, and then reached for the chili, only to feel a wave of disappointment? You’re not alone. It’s a moment that should be a home run, but so often ends up being a letdown.
The problem is that most chili recipes are designed to be a hearty, standalone meal in a bowl. They’re chunky, often full of beans, and have a flavor profile that’s meant to be the star all on its own. When you spoon that kind of chili onto a hot dog, it’s a disaster. It’s too heavy, it overpowers the hot dog, and most of it ends up on the plate instead of in your mouth. You deserve better than a messy, disappointing chili dog.
The secret to a truly unforgettable cookout is a dedicated hot dog chili recipe designed specifically as a topping—a smooth, saucy, perfectly balanced chili that clings to the hot dog and bun, enhancing every single bite. This recipe isn’t just chili; it’s the ultimate hot dog sauce that transforms a simple meal into a gourmet experience, making it far superior to anything you can buy in a can.
Why Is It So Hard to Find a GOOD Hot Dog Chili Recipe?
The primary reason it’s so difficult is that most recipes fail to distinguish between bowl chili and hot dog chili, which are fundamentally different in texture and purpose. I can’t tell you how many BBQs I’ve been to where the chili was an afterthought—a pot of kidney-bean-laden stew that simply didn’t belong on a hot dog. It’s a common mistake that comes from not understanding what makes a hot dog topping truly great. A proper hot dog chili is a condiment, a sauce, and its job is to complement, not conquer. After years of testing and tweaking, I promise this recipe understands the assignment perfectly.
The Difference Between Hot Dog Chili and Regular Chili
The main difference is that hot dog chili has a finer, smoother texture and a sweeter, tangier flavor profile, while regular chili is chunkier and designed as a standalone meal. Understanding these distinctions is the key to unlocking chili dog perfection. In my experience, once you grasp this, you’ll never look at a can of chili the same way again.
Here’s a breakdown of the key differences:
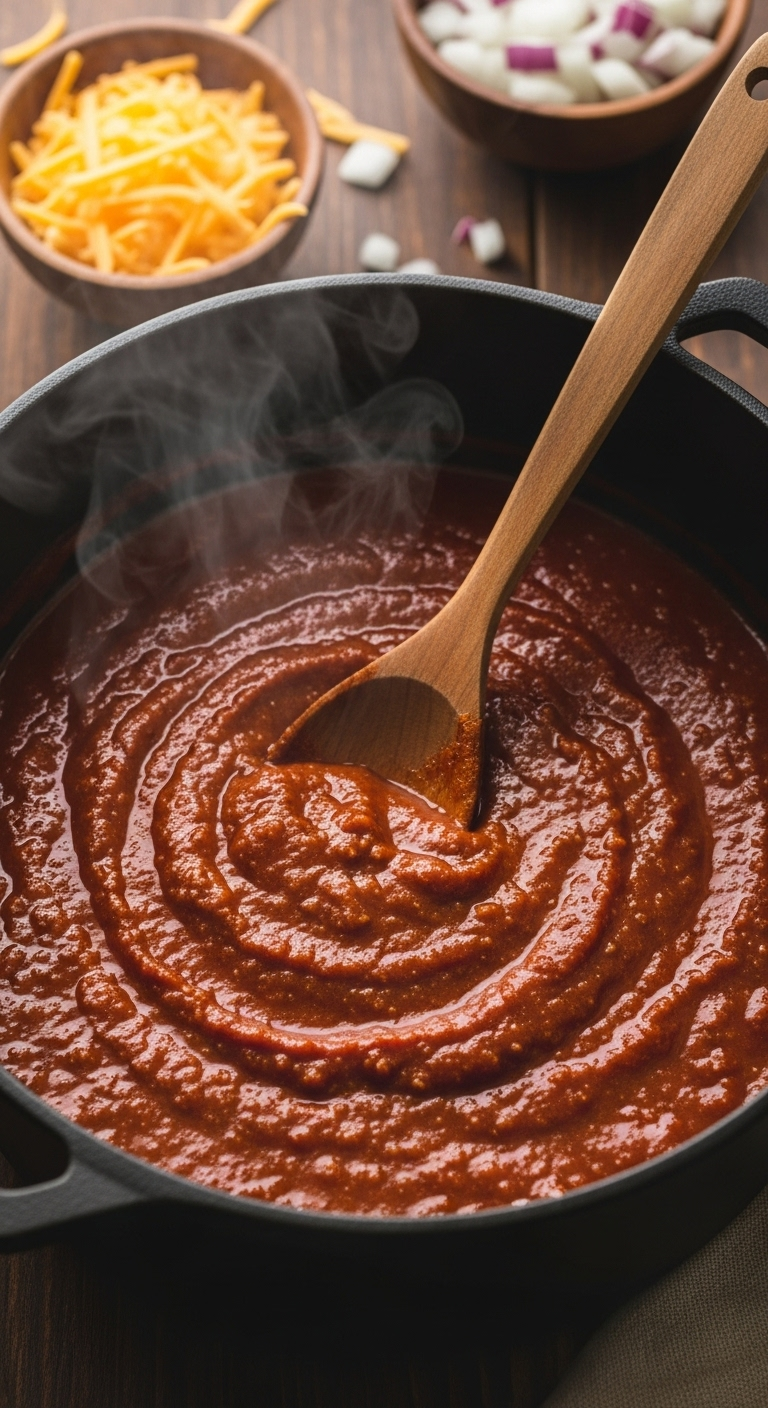
- Texture: This is the most crucial distinction. Hot dog chili, sometimes called “chili sauce,” should have a very fine, almost paste-like consistency with finely crumbled meat. This is often achieved by cooking the raw ground beef in a bit of water and mashing it as it cooks. Regular chili is intentionally chunky, with large pieces of meat, vegetables, and often whole beans.
- Flavor Profile: While both are savory, hot dog chili leans slightly sweeter and tangier. This comes from a higher proportion of ingredients like ketchup and a touch of brown sugar. This sweetness balances the salty, smoky flavor of the hot dog. Regular chili is typically focused on deep, spicy, and smoky flavors from a complex blend of dried chiles.
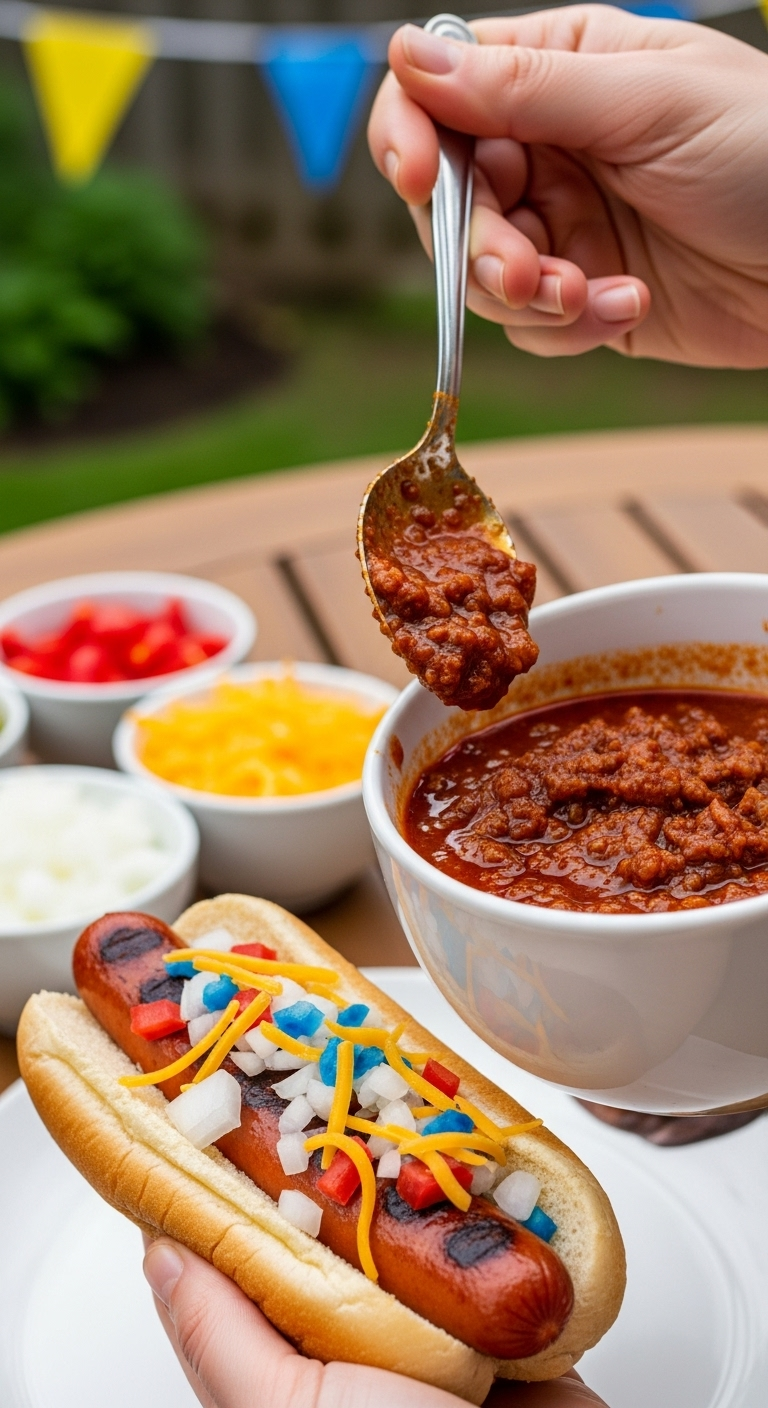
- Purpose: This is the “why.” Regular chili is the main event, meant to be eaten with a spoon. Hot dog chili is a supporting actor—a topping or condiment whose entire purpose is to elevate the hot dog. The smoother sauce clings better to the dog and the bun, ensuring you get that perfect chili-dog flavor in every single bite without a huge mess.
The Best Hot Dog Chili Recipe (Seriously!)
This is an easy, no-bean hot dog chili recipe that comes together in under an hour using simple, pantry-staple ingredients. I can say with confidence that this is the best because it’s the result of years of cookouts, family gatherings, and a relentless quest for that perfect “hot dog joint” flavor. It’s my go-to, tried-and-true recipe that has never failed to get rave reviews. It creates a perfectly balanced, saucy topping that will make your hot dogs the star of any BBQ.
- Prep Time: 10 minutes
- Cook Time: 30 minutes
- Yield: Approx. 6 cups (enough for 24+ hot dogs)
The Only Hot Dog Chili Recipe You’ll Ever Need

Ingredients:
- 1.5 lbs lean ground beef (90/10 recommended)
- 1 cup water or beef broth
- 1 medium yellow onion, finely diced
- 2 cloves garlic, minced
- 1 (15 oz) can tomato sauce
- 1/2 cup ketchup
- 2 tbsp chili powder
- 1 tbsp packed brown sugar
- 1 tbsp Worcestershire sauce
- 1 tsp ground cumin
- 1/2 tsp salt
- 1/2 tsp black pepper
- Optional: 1/4 tsp cayenne pepper for heat
Instructions:
- In a large pot or Dutch oven, combine the raw ground beef and 1 cup of water or beef broth. Bring to a simmer over medium-high heat.
- Use a potato masher or a sturdy spoon to break the meat apart into very fine crumbles as it cooks. Continue to simmer and break up the meat until it is fully cooked and no pink remains, about 8-10 minutes. Do not drain the liquid.
- Add the finely diced onion and minced garlic to the pot. Cook for 3-4 minutes until the onion has softened.
- Stir in the tomato sauce, ketchup, chili powder, brown sugar, Worcestershire sauce, cumin, salt, and pepper. Mix until everything is well combined.
- Bring the mixture to a gentle boil, then reduce the heat to low. Let the chili simmer, uncovered, for at least 20-30 minutes, stirring occasionally. The chili should thicken into a rich sauce. For a deeper flavor, simmer for up to 1 hour.
- Taste and adjust seasonings if necessary. Add more salt for flavor, brown sugar for sweetness, or cayenne for heat. Serve warm over your favorite hot dogs.
Pro-Tip: The secret to the perfect hot dog chili texture is cooking the raw ground beef in water. It prevents clumping and creates the fine, saucy consistency you get at classic hot dog joints. Don’t skip this step!
Pin this recipe for your next BBQ!
Level Up Your Cookout: 5 Ideas for the Ultimate Hot Dog Bar
To create the ultimate hot dog bar for your next party, you need these five key elements: 1. The Perfect Chili, 2. A Variety of Toppings, 3. Quality Buns & Dogs, 4. Creative Condiments, and 5. Easy Serving Solutions. As an experienced host, I’ve found that transforming a simple hot dog meal into a “build-your-own” bar is the easiest way to feed and impress a crowd. It’s interactive, fun, and lets everyone customize their perfect meal. This chili recipe is the star, and here’s how to build the rest of the show around it.
1. The Star of the Show: Perfect Hot Dog Chili

Materials Needed:
- The prepared hot dog chili from the recipe above.
- A small slow cooker (2-4 quarts) or a small pot on a portable induction burner.
- Serving ladle.
Step-by-Step Directions:
- Prepare the hot dog chili recipe as directed.
- Once the chili has finished simmering, transfer it to a small slow cooker.
- Set the slow cooker to the “Keep Warm” setting. This will maintain the perfect temperature for hours without overcooking the chili.
- Place a ladle in or next to the slow cooker for easy, mess-free serving.
Pro-Tip: Making the chili a day ahead not only saves you time on party day, but it also allows the flavors to meld and deepen overnight. Simply reheat it on the stove before transferring it to the slow cooker.
See how easy it is? Save this tip for your party planning board!
2. Classic & Creative Toppings

Materials Needed:
- Small bowls
- Spoons
- Labels/signs
Step-by-Step Directions:
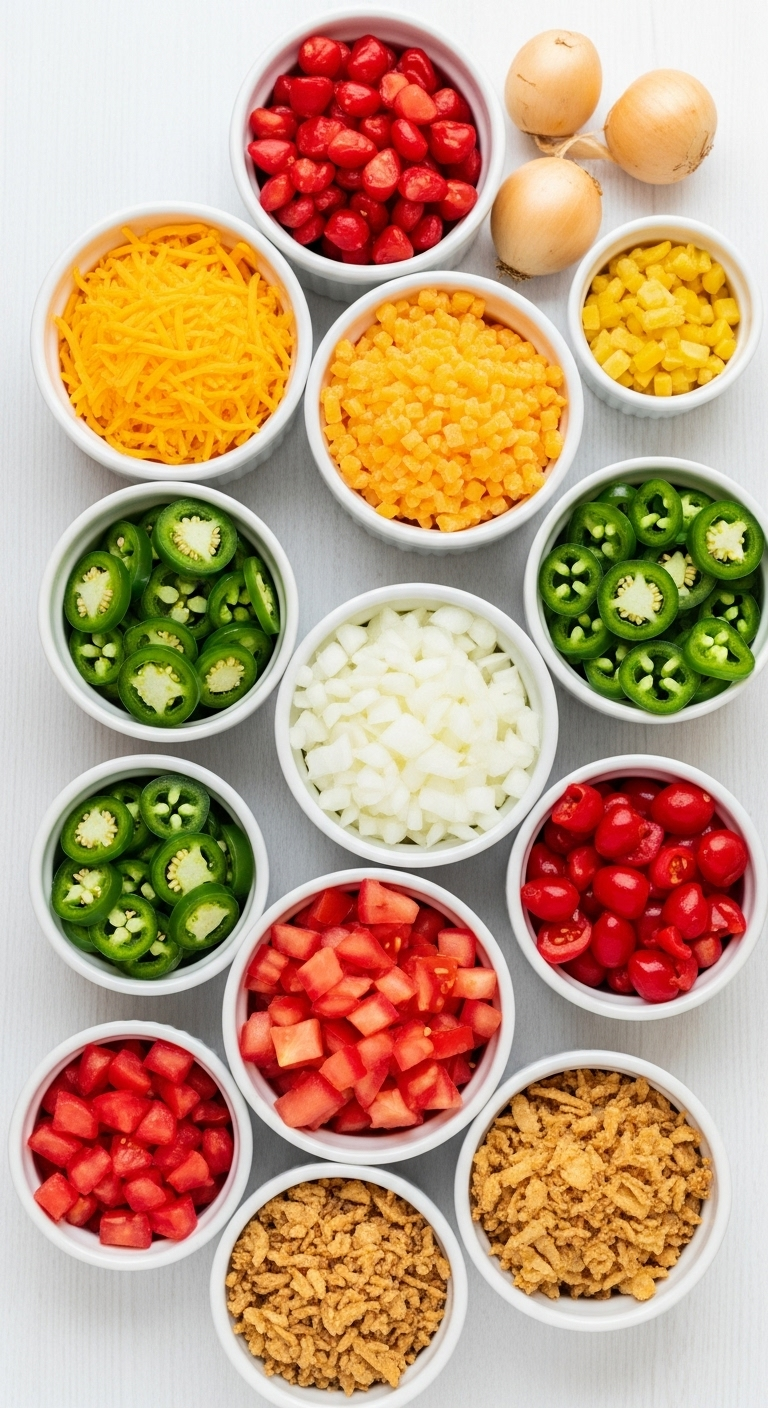
Organize your toppings in small, individual bowls for a clean, inviting setup. Here are some ideas:
- The Classics: Finely diced white or red onion, shredded sharp cheddar cheese, sweet pickle relish, jalapeño slices (fresh or pickled).
- The Crunchy Crew: Crispy fried onions, crushed Fritos or other corn chips, crumbled bacon.
- The Creamy & Tangy: Sour cream or Mexican crema, coleslaw, sauerkraut.
- The Veggie Patch: Diced tomatoes, chopped fresh cilantro, pickled red onions.
Lesson Learned: Always prep your toppings in small, individual bowls. It looks neater, prevents cross-contamination, and makes it easier for guests to see all their options. It’s a small detail that makes a huge difference in presentation.
What’s your favorite topping? Save this list for inspiration!
3. Don’t Forget the Condiments
Materials Needed:
- Squeeze bottles or small bowls with spoons.
Step-by-Step Directions:
Go beyond the basics to give your guests plenty of choices.
- Must-Haves: Classic yellow mustard, ketchup.
- Level Up: Offer a variety of mustards like spicy brown, Dijon, or a honey mustard.
- Add Some Heat: Provide bottles of your favorite hot sauce or sriracha.
- Cool & Creamy: A squeeze bottle of mayonnaise or a simple aioli can be a surprise hit.
Pro-Tip: Transfer condiments into clean, matching squeeze bottles for a professional, cohesive look. It’s a small detail that makes a big impact on your setup.
Elevate your condiment game!
4. The Foundation: Buns & Dogs
Materials Needed:
- Grilling tongs
- Serving tray
- Foil
Step-by-Step Directions:
The quality of your buns and dogs forms the base of the entire experience.
- The Dogs: Offer a choice if possible. All-beef franks are classic, but smoked sausages or bratwurst can be a great alternative. Grill, boil, or pan-fry them just before serving.
- The Buns: Go beyond standard white buns. Offer soft potato rolls, sturdy pretzel buns, or rich brioche-style buns.
- Keep them Warm: Lightly toast or steam the buns for the best texture. You can wrap them in foil and keep them on the cool side of the grill or in a low-temperature oven (2025) until ready to serve.
Lesson Learned: A great chili dog is ruined by a soggy bun. Toasting the buns slightly creates a barrier that helps them stand up to the chili and toppings.
The right foundation makes all the difference!
5. The Full Spread: Assembling Your Bar

Materials Needed:
- Table, tablecloth
- Plates, napkins, cutlery
Step-by-Step Directions:
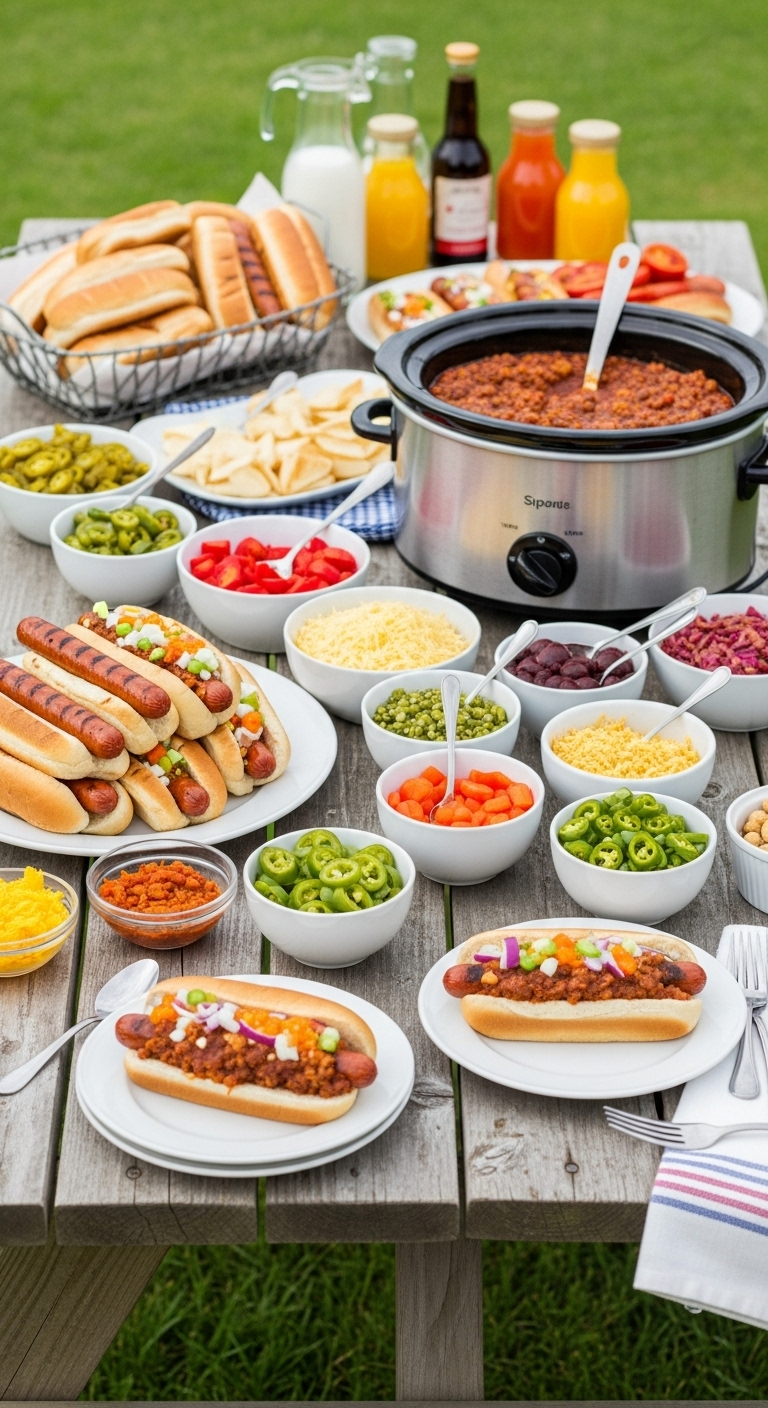
Arrange your bar for a smooth and logical flow to prevent traffic jams.
- Create a Flow: Arrange the bar in a logical order. Start with plates, then the buns, then the hot dogs.
- Chili is Next: Place the slow cooker with the hot chili next in line.
- Toppings Galore: Arrange all your topping bowls after the chili. Place spoons in each.
- Finish with Condiments: Have the condiment bottles and napkins at the very end of the line.
Pro-Tip: Use small, handwritten or printable labels for each topping and condiment. It helps guests know what’s what and adds a charming, thoughtful touch to your party.
Ready to host? Pin this setup for your next party!
Key Takeaways: Your Quick Guide to hot dog chili recipe
Here’s a quick summary of the most important things to remember for chili dog success:
- Texture is Key: Cook raw ground beef in water and mash it to achieve the fine, saucy texture that defines great hot dog chili. Don’t drain the liquid.
- Balance Sweet & Savory: Don’t skip the ketchup and brown sugar. They balance the acidity of the tomato and create the classic, slightly sweet flavor profile.
- Simmer for Flavor: Let the chili simmer for at least 20-30 minutes (or longer!) to allow the flavors to meld and the sauce to thicken properly.
- Serve it in a Bar: The best way to serve chili dogs to a crowd is a “build-your-own” hot dog bar. Keep the chili warm in a slow cooker for easy serving.
- Make it Ahead: The chili tastes even better the next day, making it the perfect make-ahead party food.
People Also Ask About hot dog chili recipe
What is the secret ingredient in hot dog chili?
While recipes vary, the “secret” to authentic hot dog chili flavor is often the combination of a savory element like Worcestershire sauce and a sweet element like brown sugar. This pairing balances the tangy tomato base and creates the signature sweet and savory taste that distinguishes it from regular chili.
Should hot dog chili have beans?
Traditionally, no, authentic hot dog chili is a bean-free sauce. The smooth, “no-bean” texture is intentional, as it allows the chili to act as a proper condiment that coats the hot dog and bun, rather than a chunky topping that falls off.
How do you thicken hot dog chili?
The best way to thicken hot dog chili is to let it simmer uncovered on low heat, which allows excess liquid to evaporate naturally. If you’re short on time, you can create a slurry by mixing one tablespoon of cornstarch with two tablespoons of cold water, then stirring it into the simmering chili until it thickens.
Final Thoughts
Now you have the secret to the best hot dog chili ever! It’s more than just a recipe; it’s the centerpiece of a fun, memorable meal with family and friends. Making this incredible chili from scratch is easy, and I guarantee it’s the foolproof way to make any cookout a massive success.
What’s the one topping you absolutely can’t live without on your chili dog? Let me know in the comments below
