As an Amazon Associate KitchenwareSets.com earns from qualifying purchases.
Beautiful Christmas Kitchen Shelves A Step By Step Guide
Do your beautiful kitchen shelves feel more intimidating than inspiring when it’s time to decorate for Christmas?
Decorating Christmas kitchen open shelves is the art of turning everyday storage into a festive focal point. You want to add that magical holiday touch, but you’re worried it will just look cluttered or messy. It’s a common challenge in the heart of the home.
The key to beautiful Christmas kitchen shelves is a simple, layered approach. This guide will show you exactly how to choose a theme, place your decor with purpose, and create a stunning display that looks both festive and effortlessly chic. Get ready to transform your kitchen.
Feeling Unsure How to Decorate Your Kitchen Shelves for Christmas?
Staring at a blank canvas can be the hardest part of any creative project, and your kitchen shelves are no exception. They are a prominent feature, and the pressure to get them “just right” for the holidays is real. You see endless inspiration online, but translating those perfect pictures into your own space often leads to frustration. The fear of creating a cluttered mess instead of a cohesive, festive display is completely valid.
From my experience, I know starting with a blank slate can be the hardest part. That’s why I created this simple, foolproof method to guide you from empty shelves to a festive masterpiece. This isn’t about just adding random Christmas decor; it’s about a reliable process that removes the guesswork and empowers you to create a magazine-worthy display you’ll be proud of.
Decorating kitchen shelves for Christmas involves a simple process: start by clearing everything off, choose a cohesive theme and color palette, anchor the display with large items, layer in medium and small decor, add greenery and lighting, and finish by editing for a clean, professional look.
My 7-Step Method to Beautifully Styled Christmas Shelves
This is the core of the guide—a simple, repeatable styling method that anyone can follow to achieve professional results. By following these seven steps, you will overcome the fear of clutter and learn the styling principles needed to create a balanced, beautiful, and festive arrangement. This is my personal, tested process for turning empty shelves into a cozy Christmas kitchen highlight.
- Start with a Clean Slate
- Choose Your Theme & Color Palette
- Place Your Anchors
- Layer in Medium Pieces
- Sprinkle in Small Details
- Weave in Greenery & Light
- Perform the Final Edit
1. Start with a Clean Slate
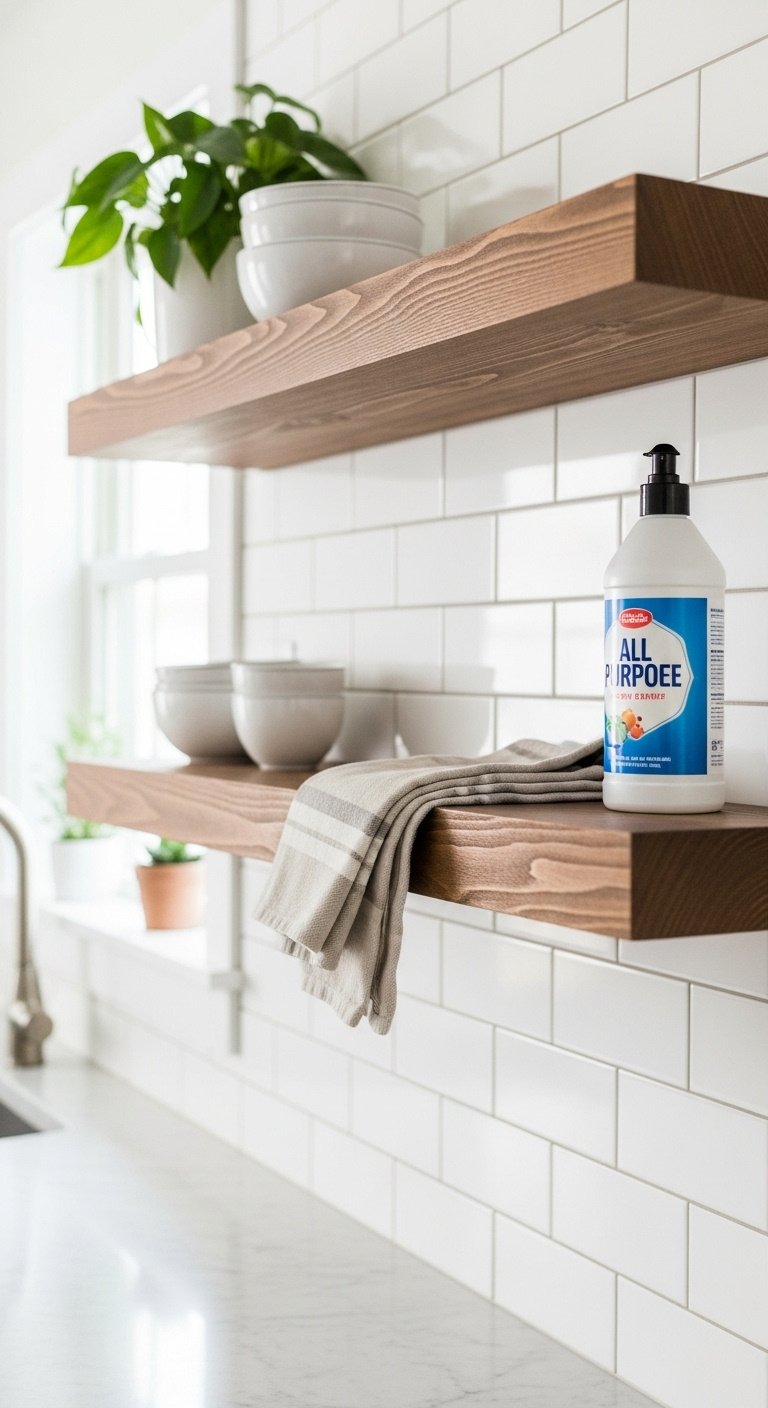
Pin this essential first step to your ‘Holiday Decorating’ board!
Materials Needed:
- Warm, soapy water or your favorite all-purpose cleaner (look for a streak-free formula safe for your shelf material)
- A clean microfiber cloth
- A clear countertop or table to temporarily place your everyday items
Step-by-Step Directions:
- Empty Everything: Carefully remove every single item from your open shelves. Don’t just shuffle things around.
- Wipe Down: Give the shelves a thorough wipe-down to remove any dust or kitchen grease. Start with a fresh, clean surface.
- Assess Your Space: Take a moment to look at the empty shelves. Notice the space you have to work with, including the height between shelves and the total length. This is your blank canvas!
Pro-Tip: Take a quick ‘before’ photo on your phone! It’s incredibly satisfying to compare it to your final ‘after’ shot.
2. Choose Your Theme & Color Palette
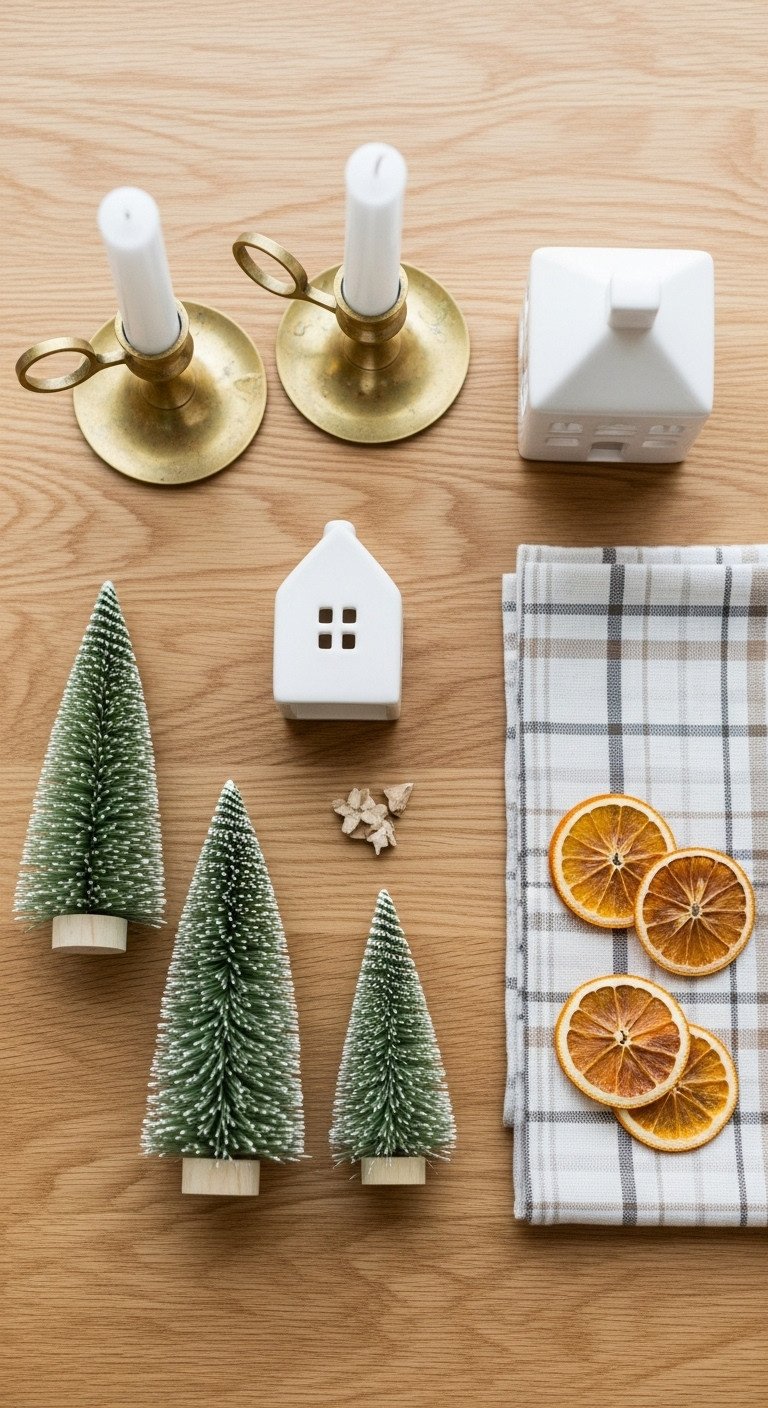
Save this beautiful color palette inspiration!
Materials Needed:
- A few inspiration images from Pinterest or magazines
- A small collection of potential decor items to establish your theme (e.g., a set of colorful bottle brush trees or some neutral ceramic houses)
Step-by-Step Directions:
- Pick a Vibe: Decide on the feeling you want. Cozy and rustic? Modern and minimalist? Nostalgic and vintage?
- Select 2-3 Core Colors: Don’t try to use every color. Choose a simple palette. Great options include: red and green with white; gold, green, and wood tones; or a simple black and white with brass accents.
- ‘Shop’ Your House: Before buying anything new, gather items from around your home that fit your chosen theme and palette. White dishes, wooden bowls, and brass candlesticks are great neutral starting points.
Lesson Learned: My first few attempts at decorating looked cluttered because I skipped this step. Sticking to a limited color palette is the single best trick for a professional look.
3. Place Your Anchors
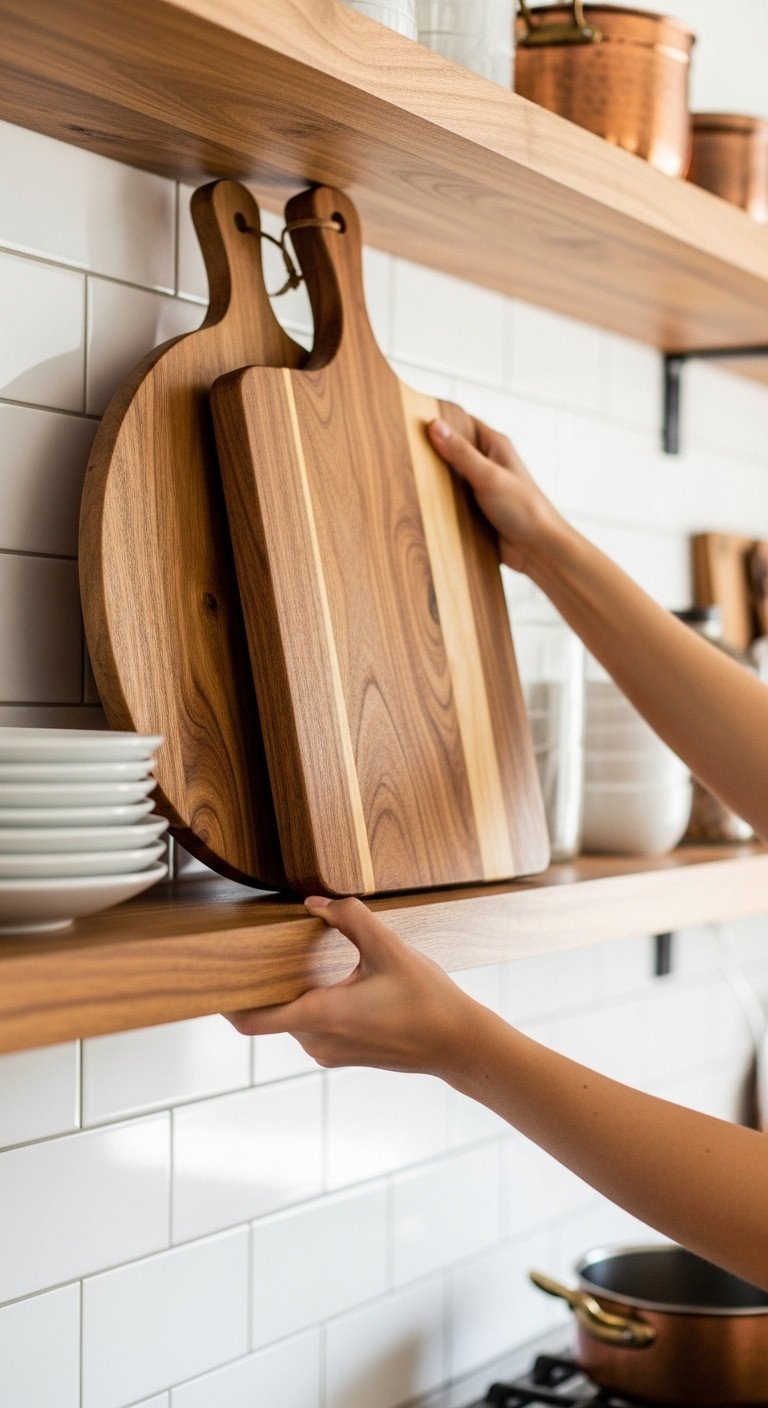
Pin this pro styling tip for creating visual balance!
Materials Needed:
- Your largest decorative items. Good examples include:
- A large wooden cutting board or serving platter
- Framed seasonal art or a printable quote
- A large, shallow decorative bowl or a cake stand
Step-by-Step Directions:
- Identify Your Anchors: Pick 2-3 of your largest, flattest items. These anchor pieces will serve as the backdrop for your other decor.
- Place Them First: Lean your anchor items against the back of the shelves. Don’t center everything perfectly. Place one on the left of the top shelf and one on the right of the bottom shelf to create asymmetrical balance.
- Create a Foundation: These pieces ground your entire display and provide a surface to layer smaller items in front of, adding visual weight.
Pro-Tip: Using items with height, like a tall cutting board, helps draw the eye upward and makes your ceilings feel higher.
4. Layer in Medium Pieces
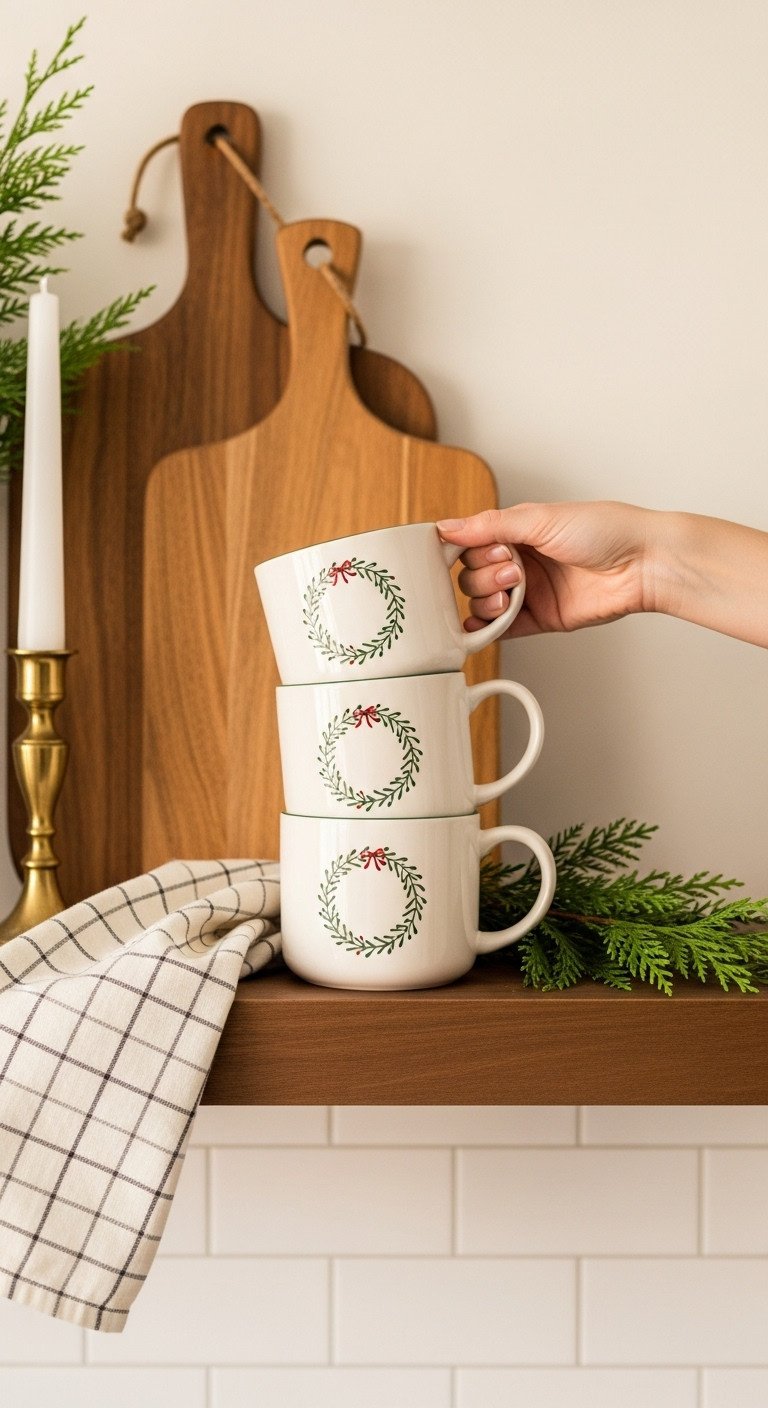
Save this idea for making functional items festive!
Materials Needed:
- Your medium-sized items, which can be functional or decorative:
- Stacks of everyday white or neutral-colored plates and bowls
- A set of festive holiday mugs that match your color palette
- Small canisters for tea or coffee
- A small pitcher or vase
Step-by-Step Directions:
- Add Functional Groups: Neatly stack your everyday plates or bowls. Place them slightly in front of one of your anchor pieces. This adds depth and shows these shelves are still part of a working kitchen.
- Place Decorative Objects: Add your medium-sized decorative items, like a pitcher or a collection of holiday mugs.
- Create Vignettes: Start grouping items together. Place a stack of mugs next to a canister. This is where the ‘Rule of Odds’ comes in—groups of 3 or 5 objects are most pleasing to the eye.
Pro-Tip: Sticking to one color for all your everyday dishware (like classic white) creates a calm, organized backdrop that makes your colorful Christmas decor pop.
5. Sprinkle in Small Details
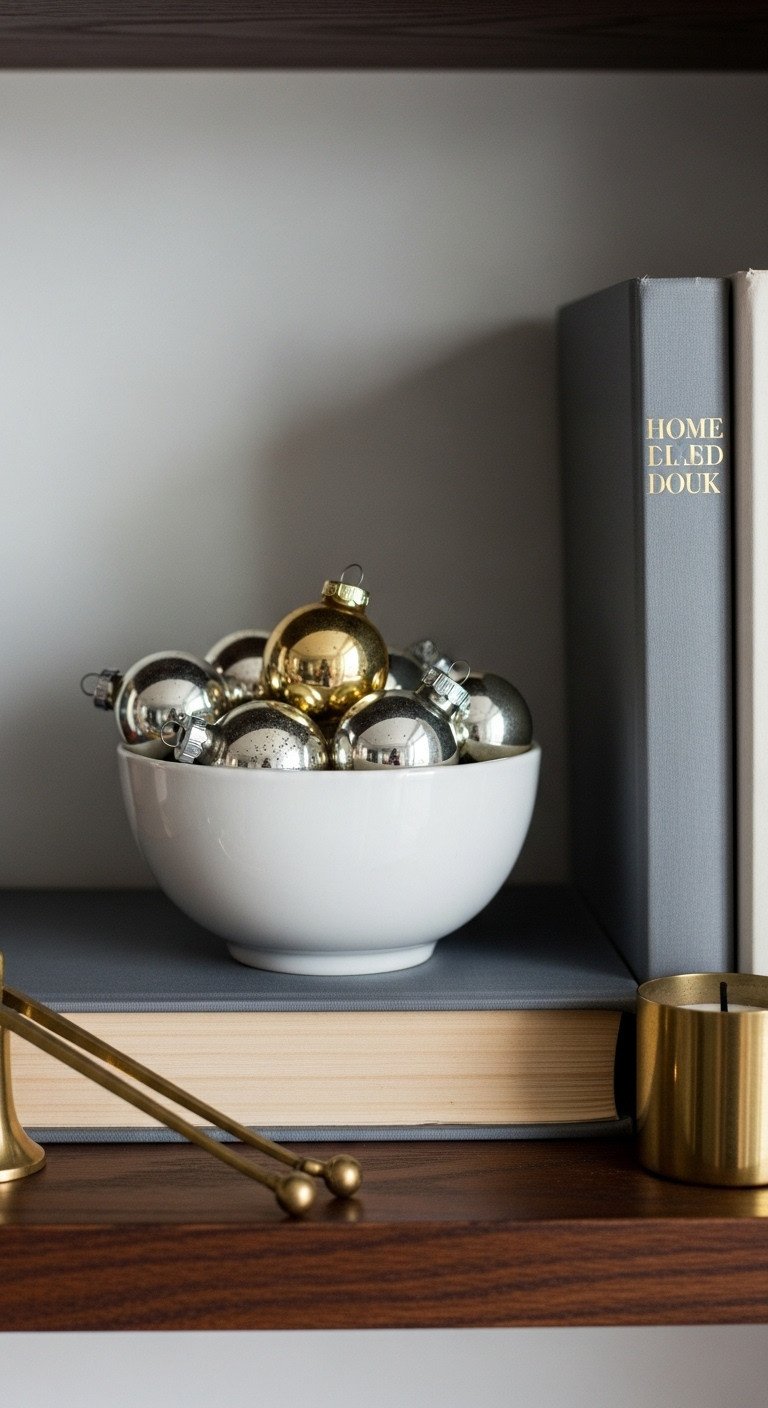
Pin this charming idea for adding a festive sparkle!
Materials Needed:
- Your smallest decorative items:
- A small decorative bowl or dish (a white ceramic bowl is very versatile)
- A handful of small ornaments that match your color scheme
- Natural elements like pinecones or nuts
- A single brass candlestick or a small figurine
Step-by-Step Directions:
- Fill the Gaps: Look for empty spots and add a small object to complete a vignette. Tuck a pinecone next to a stack of plates.
- Corral Small Items: Use a small bowl to hold a collection of little ornaments. This makes them feel like a single, intentional object rather than clutter.
- Add a Personal Touch: This is the perfect place to add something meaningful, like a single vintage ornament from your childhood or a small figurine.
Lesson Learned: Don’t feel like you need to fill every inch of space. A few well-placed small items are more impactful than a dozen scattered around. Negative space is your friend!
6. Weave in Greenery & Light
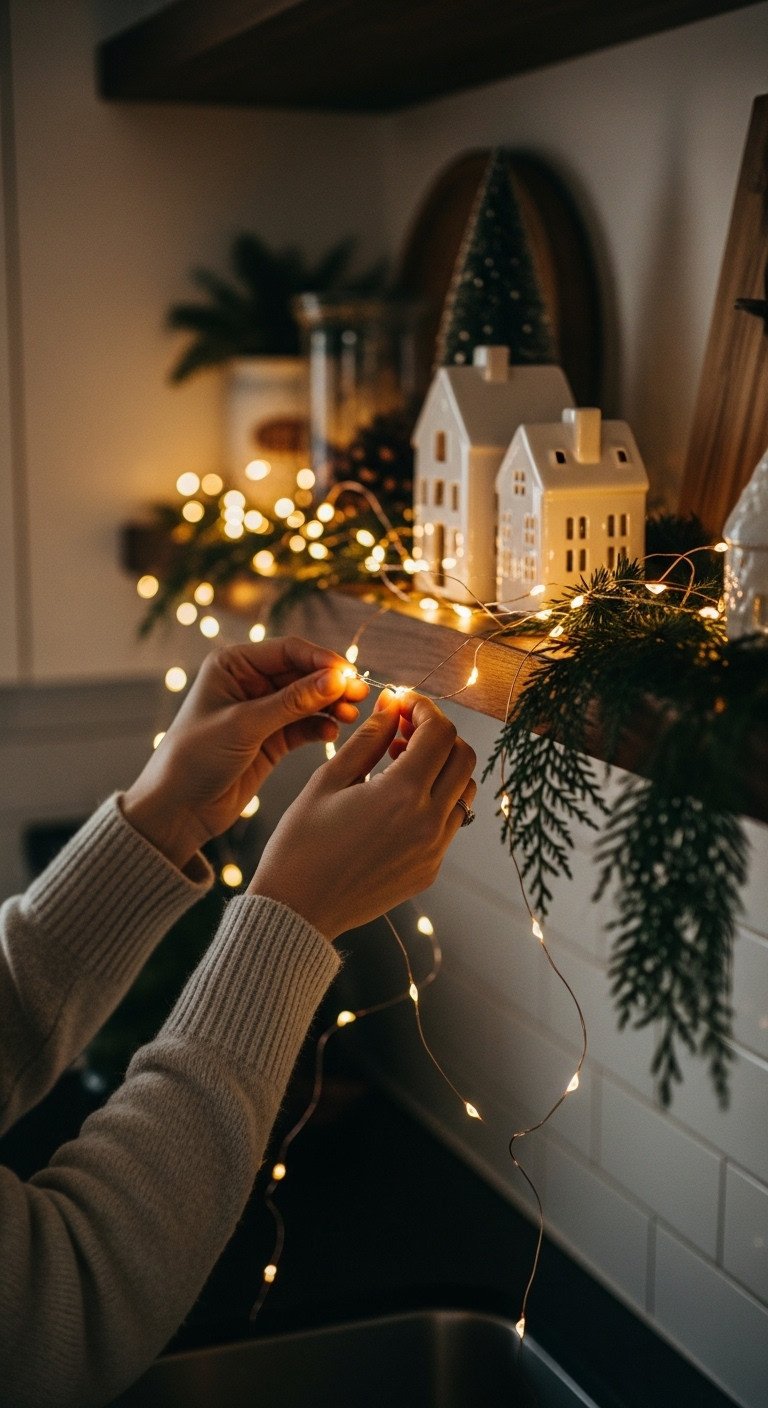
Save this tip to make your Christmas decor truly magical!
Materials Needed:
- A small, delicate faux or real garland (cedar and eucalyptus are beautiful options)
- A few loose sprigs of greenery
- One or two strings of battery-operated micro LED fairy lights (warm white gives the coziest glow)
Step-by-Step Directions:
- Drape the Greenery: Lay a small garland along the length of one shelf, weaving it in front of and behind some items.
- Tuck in Sprigs: Place small sprigs of greenery in pitchers, vases, or simply lay them next to a stack of bowls.
- Add the Sparkle: Weave the fairy lights throughout your display. The thin wire is easy to hide. Tuck the small battery pack behind a cookbook or anchor piece. This step adds instant magic, especially at night.
Pro-Tip: Always choose battery-operated lights for shelves. It’s safer, and you don’t have to worry about ugly cords hanging down your wall.
7. Perform the Final Edit
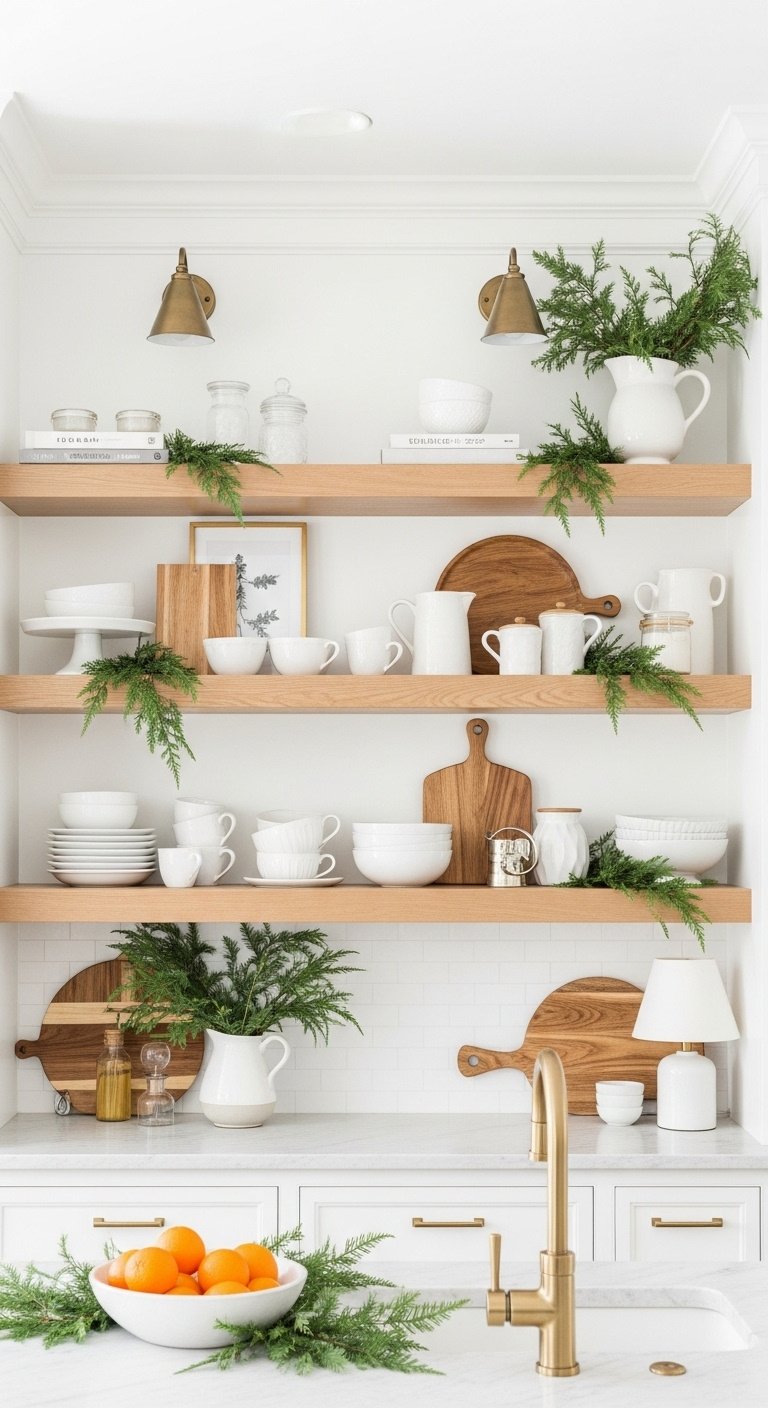
Pin the stunning final result for your dream kitchen inspiration!
Materials Needed:
- A critical eye
- A small decorative tray or shallow basket (optional, but helpful)
Step-by-Step Directions:
- Step Back: Walk to the other side of the room and look at your shelves as a whole. Does anything immediately jump out as being too much or out of place?
- Take One Thing Away: This is a classic designer trick. If the shelves feel a tiny bit too full, challenge yourself to remove just one item. It often makes the whole display feel more balanced and intentional.
- Group Loose Items: If you have a few small items that still feel like they are floating, place them together on a small tray. This instantly makes them look like a curated collection.
Lesson Learned: This final step is what separates amateur decorating from a professional look. It’s tempting to keep adding, but the real skill is knowing when to stop and what to take away.
Key Takeaways: Your Quick Guide to Stunning Christmas Shelves
Here is a quick review of the most important styling principles to remember when you decorate your Christmas kitchen shelves.
- Choose a Theme First: Decide on a 2-3 color palette before you start to ensure a cohesive look.
- Anchor & Layer: Start with large items in the back and layer smaller items forward to create depth.
- Group in Threes: Arrange small items in odd-numbered groups to create pleasing vignettes.
- Mix Textures: Combine wood, ceramic, metal, and greenery to add visual interest.
- Add Light: Weave in battery-powered fairy lights for a magical, cozy glow.
- Edit, Edit, Edit: When in doubt, take one item away. Negative space is essential for a polished look.
People Also Ask About Christmas Kitchen Shelves
How do I decorate kitchen shelves that I use every day?
Focus on integrating festive touches with your functional items. Neatly stack your everyday plates and bowls to create an organized backdrop. Then, swap out your regular mugs for festive ones, tuck a few sprigs of greenery between stacks of bowls, or place a small bowl of colorful ornaments in a safe corner. The key is to enhance, not obstruct.
How can I decorate my Christmas shelves on a tight budget?
‘Shop’ your house first and focus on DIY and natural elements. Gather neutral items like cutting boards, white dishes, and cookbooks to use as a base. Then, add free natural decor like foraged pinecones and cedar clippings. A simple, homemade dried orange garland adds beautiful color and scent for just the cost of a few oranges.
How do I make my shelf decor look cohesive and not messy?
The most effective method is to choose a limited color palette and stick to it. Before you place a single item, decide on 2-3 main colors (e.g., green, gold, and white). By ensuring every item fits this color scheme, your shelves will automatically look coordinated and intentional rather than cluttered and chaotic.
What is the best way to add lights to kitchen shelves safely?
Use battery-powered micro LED ‘fairy lights’ on a thin, flexible wire. These lights stay cool to the touch, making them safe to use near dishes and decor. The small, easy-to-hide battery pack means you don’t need a nearby outlet or have to deal with unsightly cords running down your wall.
Final Thoughts
Remember, there are no perfect shelves—only shelves that make you happy! Your kitchen is the heart of your home, and adding these simple festive touches is a wonderful way to fill it with warmth and magic for the holiday season. I hope this step-by-step guide has inspired you and given you the confidence to create a display you truly love.
What’s your favorite tip you learned today? I’d love to see photos of your beautiful Christmas kitchen shelves—please share them in the comments below
Last update on 2026-01-29 at 20:53 / Affiliate links / Images from Amazon Product Advertising API
