As an Amazon Associate KitchenwareSets.com earns from qualifying purchases.
Kitchen Counter Vinyl Wrap: 7 Easy DIY Makeover Steps
Tired of staring at outdated kitchen counters but dreading the hefty price tag of a full remodel? Kitchen counter vinyl wrap swoops in as your budget-friendly hero, delivering a jaw-dropping transformation without breaking the bank. What is a kitchen counter vinyl wrap? It’s a self-adhesive vinyl sheet that revamps your existing countertops, mimicking luxe finishes like marble or wood in just hours. As a DIY veteran who’s tackled countless kitchen makeovers, I’m unveiling seven foolproof steps to a Pinterest-worthy upgrade. Curious how to morph your space in one weekend? Dive into this guide to master picking the perfect vinyl, prepping like a pro, and applying it flawlessly!
What is a Kitchen Counter Vinyl Wrap?
A kitchen counter vinyl wrap is a genius adhesive sheet that cloaks your existing countertops, instantly refreshing their vibe. Think of it as a renter’s dream or a homeowner’s quick fix—affordable, removable, and oh-so-stylish.
Benefits of Vinyl Wraps
Vinyl wraps slash renovation costs while delivering stunning durability. A 2023 HomeAdvisor survey reveals savings up to 80% compared to new countertops. They resist scratches, handle heat up to 150°F, and install in a snap—perfect for busy DIYers craving instant upgrades.
Types of Vinyl Wraps Available
From glossy marble to cozy wood grains, vinyl wraps nail every aesthetic. Matte finishes ooze modern chic, while textured options add rustic flair. Brands like d-c-fix churn out premium picks that feel as luxe as they look.
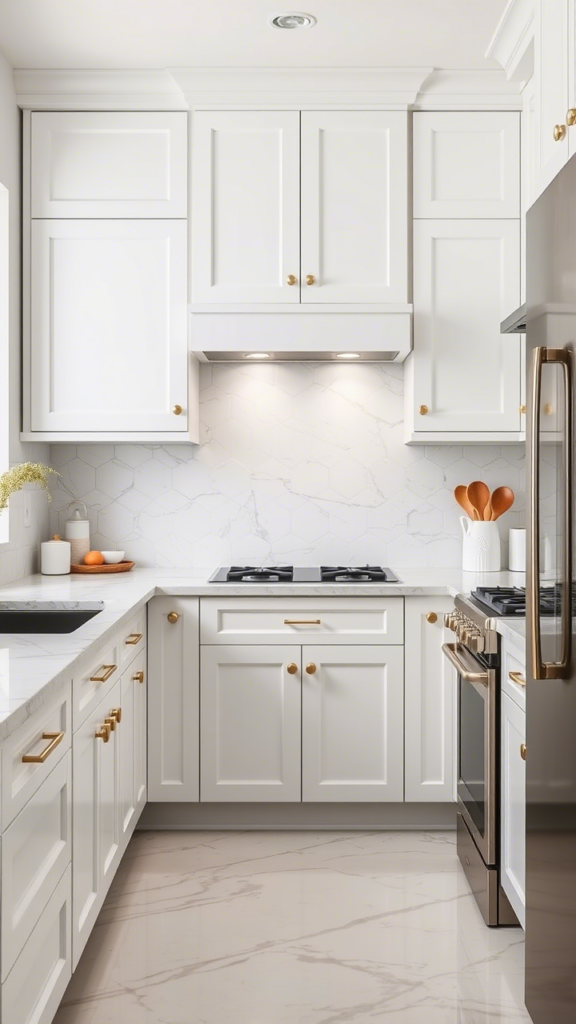
Tip: Grab wraps with built-in adhesive—skip the gluey hassle!
How Can I Update My Kitchen Counters on a Budget with Vinyl Wrap?
Revamping your kitchen counters doesn’t demand a fat wallet—vinyl wraps make it cheap and chic. They dodge pricey replacements and pro labor, delivering maximum wow for minimal dough.
1. Choose Affordable Vinyl Options
Hunt budget-friendly vinyl from spots like Chasing Paper or AmazonBasics. Snag trendy concrete or terrazzo looks for under $50 a roll. Compare square footage prices to stretch every penny.
2. DIY Installation
Ditch labor costs and wield your own tools—squeegee, utility knife, measuring tape. A quick YouTube tutorial boosts your skills. You’ll nail it solo in a weekend.
3. Repurpose Existing Surfaces
No demolition needed—wrap over laminate or tile. Smooth and clean the surface first, and bam, you’ve slashed both time and expense.
4. Opt for Partial Wraps
Stretch your roll further by wrapping key spots like edges or islands. This clever hack amps up impact without maxing out material.
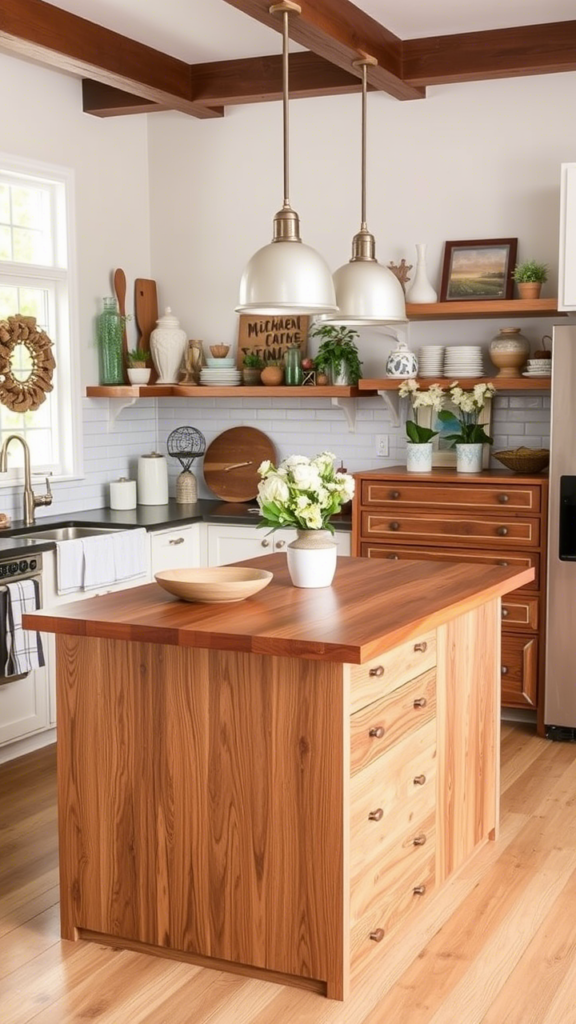
Key Takeaway: Vinyl wraps turn tight budgets into big transformations—focus on high-traffic zones first.
What are Some Popular Vinyl Wrap Designs for Kitchen Counters?
Vinyl wraps unleash a design playground—tailor your kitchen’s soul with endless styles. From classic to bold, these trending picks dazzle.
1. Marble Elegance
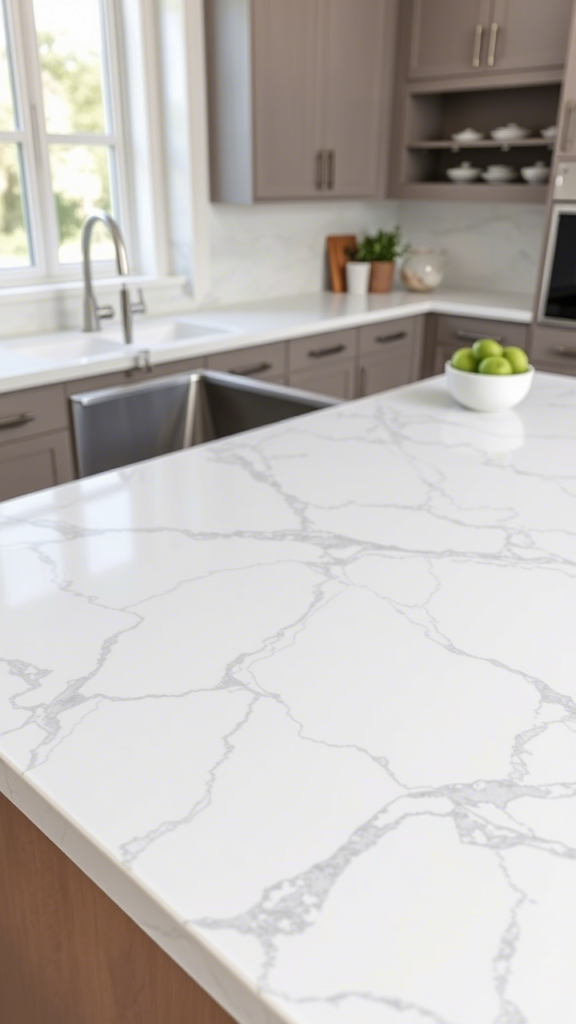
Marble-look wraps flaunt gray veining on crisp white, oozing luxury sans upkeep. Stain-resistant and wipeable, they’re a busy cook’s dream.
2. Rustic Wood Charm
Wood-grain vinyl wraps radiate warmth, aping oak or walnut vibes. They sync flawlessly with farmhouse or Scandi decor, cozying up any space.
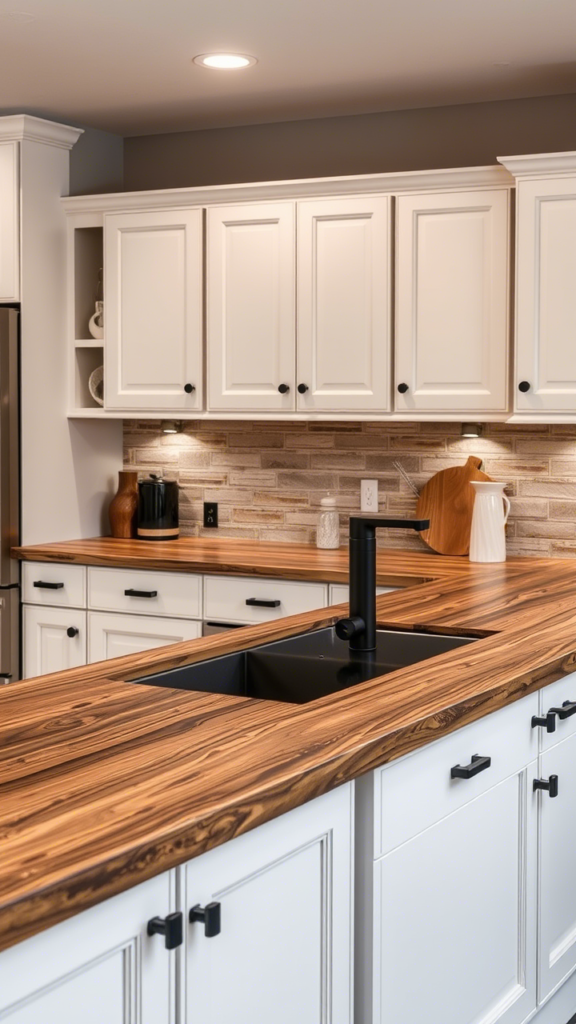
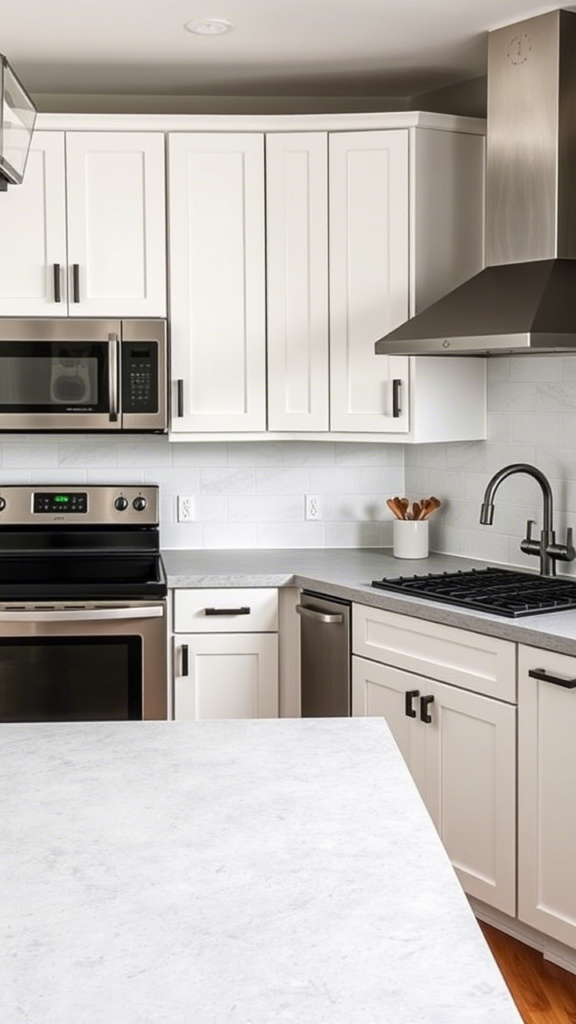
3. Sleek Concrete Chic
Concrete-style wraps bring industrial cool with matte, smooth finishes. They vibe with minimalist kitchens, adding understated swagger.
4. Bold Solid Colors
Solid hues like black, navy, or blush pink scream personality. Paired with neutral cabinets, they forge a striking focal point.
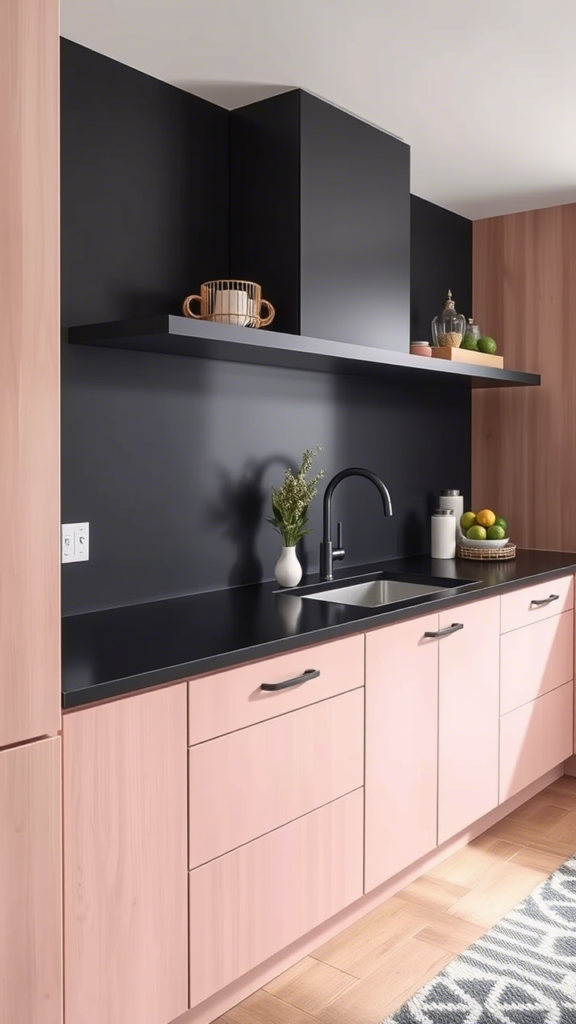
Tip: Snag samples—screen colors can trick the eye!
How Do I Prepare My Kitchen Counter for a Vinyl Wrap?
Prep seals the deal for a flawless vinyl finish—skimp here, and you’ll battle bubbles or peeling. Nail these steps for pro results.
Clean and Degrease Thoroughly
Blast away grease and grime with a degreaser, then rinse and dry. Vinyl clings best to spotless surfaces—don’t slack on this.
Sand for Smoothness
Smooth glossy or bumpy spots with 220-grit sandpaper. Wipe dust with a tack cloth—adhesion loves a sleek canvas.
Remove Hardware and Fixtures
Yank off faucets, handles, anything in the way. This clears the path for a seamless, snag-free wrap.
Measure Twice, Cut Once
Size up your counter, adding an inch for overhang. Precise cuts dodge waste and guarantee a snug fit.
[Image: Generate a high-quality, close-up photograph of a kitchen counter being prepared for a vinyl wrap for the blog post “Kitchen Counter Vinyl Wrap: 7 Easy DIY Makeover Steps”. The image should focus on hands sanding the countertop surface, with a tack cloth and measuring tape nearby. The setting should be well-lit, emphasizing the prep process.]
Key Takeaway: Prep patience equals wrap perfection—don’t rush it.
What Tools Do I Need for a Vinyl Wrap Makeover?
Round up these must-haves for a slick vinyl wrap job. Most lurk in your toolbox, keeping costs lean.
- Utility Knife: Slices razor-sharp edges and corners.
- Squeegee: Banishes bubbles, locks in adhesion.
- Measuring Tape: Ensures spot-on sizing.
- Heat Gun or Hairdryer: Molds vinyl around curves.
- Ruler: Guides clean, straight cuts.
Tip: No squeegee? A credit card pinch-hits like a champ!
How Do I Apply the Vinyl Wrap to My Kitchen Counter?
Applying vinyl wrap is a breeze with these steps—slow and steady wins the bubble-free race. You’ve got this!
1. Cut the Vinyl to Size
Measure and snip your vinyl, leaving a 1-2 inch overhang. Extra wiggle room eases alignment woes.
2. Peel and Stick Slowly
Peel a few inches of backing, press vinyl down, and smooth with a squeegee. Work bit by bit—rushing invites chaos.
3. Smooth Out Bubbles
Squeegee from center to edges, chasing out air. Stubborn bubbles? Lift and re-stick—no sweat.
4. Trim Excess Vinyl
Trim overhang with a utility knife, hugging the counter’s edge. Slow cuts yield crisp perfection.
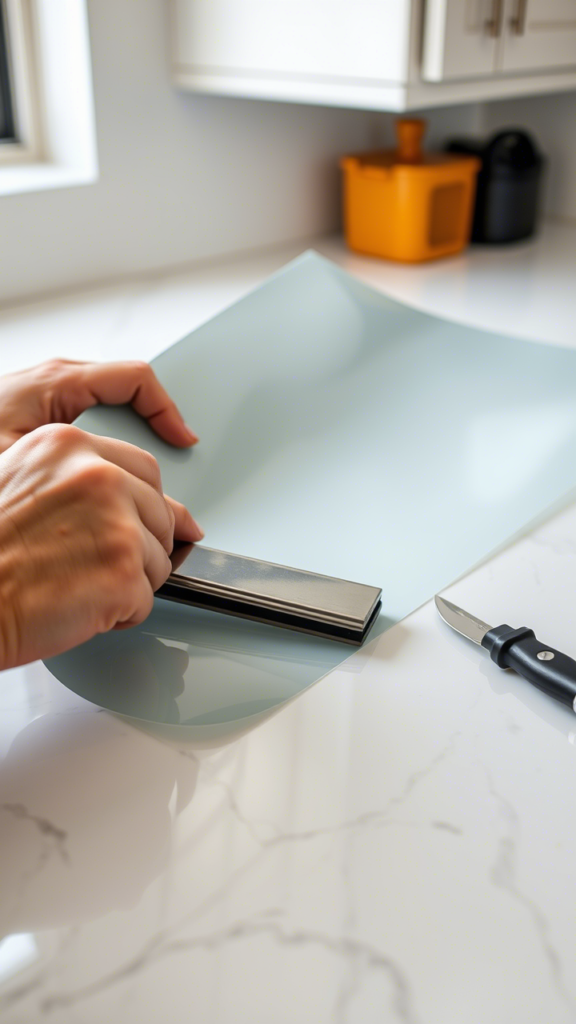
Tip: Heat corners with a hairdryer for snug bends.
How Do I Maintain and Care for My Vinyl-Wrapped Counter?
Keep your vinyl wrap pristine with easy TLC—gentle care stretches its lifespan. Here’s the scoop.
Clean with Gentle Products
Swipe with mild soap and water—harsh stuff dulls the shine. Blot spills fast, especially on pale wraps.
Avoid Excessive Heat
Vinyl shrugs off 150°F, but hot pans warp it. Trivets are your counter’s best pals.
Reseal Edges if Needed
Edges lifting? Dab adhesive or heat them back down—quick fixes keep it tight.
Key Takeaway: Baby your wrap, and it’ll gleam for years.
FAQs About Kitchen Counter Vinyl Wrap
How Long Does a Vinyl Wrap Last on Kitchen Counters?
With TLC, vinyl wraps endure 3-5 years. Heavy use might call for earlier touch-ups.
Can I Apply Vinyl Wrap Over Tile or Uneven Surfaces?
Yes, but level it first—fill grout with spackle and sand smooth for a flawless finish.
Is Vinyl Wrap Heat-Resistant for Kitchen Use?
It handles 150°F fine, but dodge direct heat. Trivets save the day.
Can I Remove the Vinyl Wrap Without Damaging My Counter?
Totally—peel slowly, then zap residue with adhesive remover or rubbing alcohol.
How Much Does a Kitchen Counter Vinyl Wrap Cost?
Rolls run $20-$50, covering 10-15 square feet. A full kitchen revamp? Under $200.
Summary
Vinyl wraps dish out dazzling kitchen counter makeovers without the hefty price tag. These seven steps—from picking swanky designs to mastering application—unlock a pro-level upgrade in a flash. Ready to ditch the drab? Which vinyl vibe will you rock?

